Connect a private hostname
Instead of managing static IP lists and routes, you can connect users to private HTTP and non-HTTP applications using their hostnames (for example, wiki.internal.local). Private hostname routes are especially useful when the application has an unknown or ephemeral IP, which often occurs when infrastructure is provisioned by a third-party cloud provider.
When a user requests a private hostname, Cloudflare Gateway assigns an initial resolved IP from a CGNAT range to route the traffic through your tunnel to the correct private IP address. For a deep dive into the architecture and packet flow, refer to our announcement blog post ↗.
The table below summarizes the Cloudflare One products that are compatible with private hostname routing. Refer to the table legend for guidance on interpreting the table.
✅ Product works with no caveats
🚧 Product can be used with some caveats
❌ Product cannot be used
End users can connect to private hostnames using the following traffic on-ramps:
| On-ramp method | Compatibility |
|---|---|
| Cloudflare One Client | ✅ |
| PAC files | ✅ |
| Browser Isolation | ✅ |
| Cloudflare Mesh | ✅ |
| Cloudflare WAN | 🚧1 |
Feature availability
| Client modes |
|---|
| Traffic and DNS mode |
| System | Availability | Minimum client version |
|---|---|---|
| Windows | ✅ | 2025.4.929.0 |
| macOS | ✅ | 2025.4.929.0 |
| Linux | ✅ | 2025.4.929.0 |
| iOS | ✅ | 1.11 |
| Android | ✅ | 2.4.2 |
| ChromeOS | ✅ | 2.4.2 |
-
Not compatible with ECMP routing. For hostname-based routing to work, DNS queries and the resulting network traffic must reach Cloudflare over the same IPsec/GRE tunnel.
↩
Private hostname routing only works for applications connected with cloudflared. Other traffic off-ramps require IP-based routes.
| Connector | Compatibility | Minimum version |
|---|---|---|
| cloudflared | ✅ | 2025.7.0 |
| Cloudflare Mesh | ❌ | |
| Cloudflare WAN | ❌ |
This section covers how to enable remote access to a private hostname application using cloudflared.
Before you can connect to private hostnames, you must enable the Gateway proxy.
- Go to Traffic policies > Traffic settings.
- In Proxy and inspection, turn on Allow Secure Web Gateway to proxy traffic.
- Select TCP.
- Select UDP (required to proxy traffic to internal DNS resolvers).
- (Recommended) To proxy traffic for diagnostic tools such as
pingandtraceroute, select ICMP. You may also need to update your system to allow ICMP traffic throughcloudflared.
-
Add the following permission to your
cloudflare_api_token↗:Zero Trust Write
-
Turn on the TCP and/or UDP proxy using the
cloudflare_zero_trust_device_settings↗ resource:resource "cloudflare_zero_trust_device_settings "global_warp_settings" {account_id = var.cloudflare_account_idgateway_proxy_enabled = truegateway_udp_proxy_enabled = true}
Cloudflare will now proxy traffic from enrolled devices, except for the traffic excluded in your split tunnel settings. For more information on how Gateway forwards traffic, refer to Gateway proxy.
Your devices must also forward the following traffic to Cloudflare:
- Initial resolved IPs:
- IPv4:
100.80.0.0/16 - IPv6:
2606:4700:0cf1:4000::/64
- IPv4:
- DNS queries for your private hostname
Configuration steps vary depending on your device on-ramp:
Cloudflare One Clients
-
In your WARP device profile, configure Split Tunnels such that the initial resolved IPs route through the WARP tunnel. Configuration depends on your Split Tunnels mode:
- Exclude mode: Delete
100.64.0.0/10from your Split Tunnels list. We recommend adding back the IP ranges that are not explicitly used for Cloudflare One services. This reduces the risk of conflicts with existing private network configurations that may use the CGNAT address space. - Include mode: Add Split Tunnel entries for the following IP addresses:
- IPv4:
100.80.0.0/16 - IPv6:
2606:4700:0cf1:4000::/64
- IPv4:
- Exclude mode: Delete
- In Local Domain Fallback, delete the top-level domain for your private hostname. This configures WARP to send the DNS query to Cloudflare Gateway for resolution.
Cloudflare Mesh
- In your mesh node device profile, ensure that the initial resolved IP listed above route through the tunnel.
- Depending on where you installed the mesh node, you may also need to route those destination IPs through the node and point your DNS resolver to Cloudflare Gateway. Refer to Routes.
Cloudflare WAN
- Ensure that the initial resolved IP listed above route through Cloudflare WAN to Cloudflare.
- Point the DNS resolver for your Cloudflare WAN network to Cloudflare Gateway.
-
Log in to Cloudflare One ↗ and go to Networks > Connectors > Cloudflare Tunnels.
-
Select Create a tunnel.
-
Choose Cloudflared for the connector type and select Next.
-
Enter a name for your tunnel. We suggest choosing a name that reflects the type of resources you want to connect through this tunnel (for example,
enterprise-VPC-01). -
Select Save tunnel.
-
Next, you will need to install
cloudflaredand run it. To do so, check that the environment under Choose an environment reflects the operating system on your machine, then copy the command in the box below and paste it into a terminal window. Run the command. -
Once the command has finished running, your connector will appear in Cloudflare One.
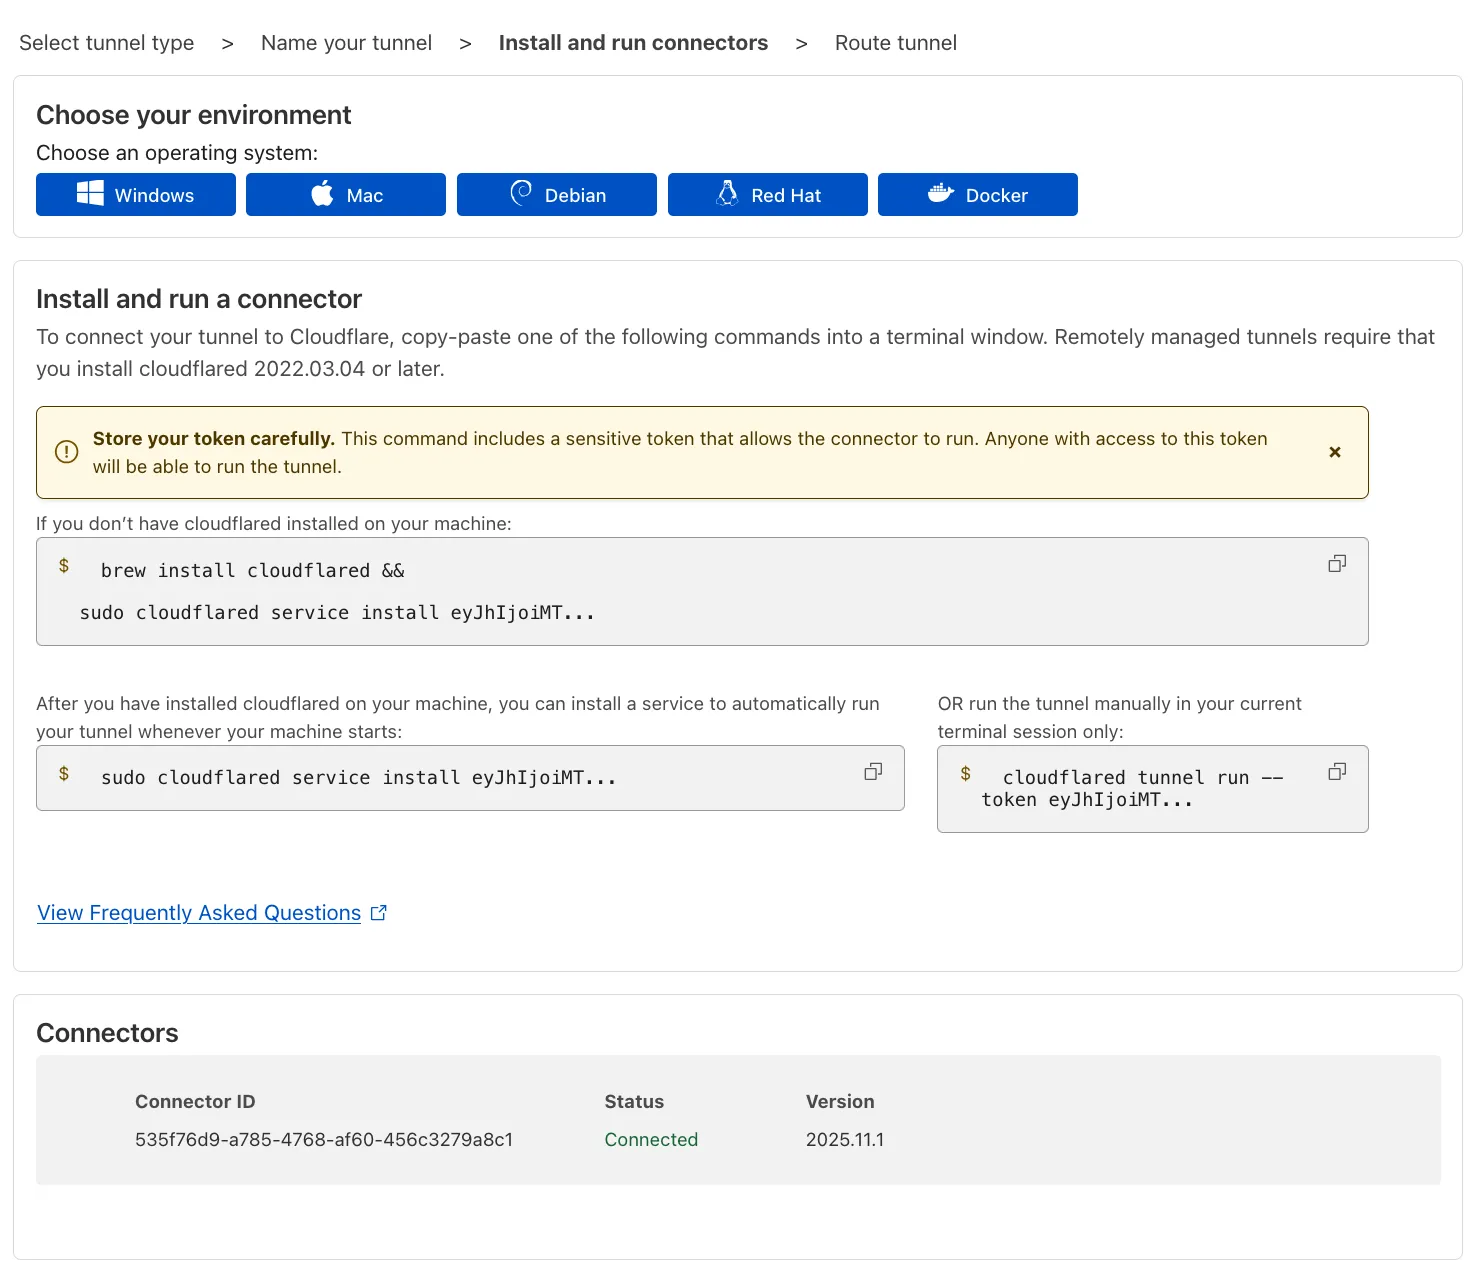
-
Select Next.
-
In the Hostname routes tab, enter the fully qualified domain name (FQDN) that represents your application (for example,
wiki.internal.local).Hostname format restrictions
- Character limit: Must be less than 255 characters.
- Supported wildcards: A single wildcard (
*) is allowed, and it must represent a full DNS label. Example:*.internal.local - Unsupported wildcards: The following wildcard formats are not supported:
- Partial wildcards such as
*-dev.internal.localordev-*.internal.local. - Wildcards in the middle, such as
foo*bar.internal.localorfoo.*.internal.local. - Multiple wildcards in the hostname, such as
*.*.internal.local.
- Partial wildcards such as
- Wildcard trimming: Leading wildcards (
*) are trimmed off and an implicit dot (.) is assumed. For example,*.internal.localis saved asinternal.localbut will match all subdomains at the wildcard level (coversfoo.internal.localbut notfoo.bar.internal.local). - Dot trimming: Leading and ending dots (
.) are allowed but trimmed off.
-
Select Complete setup.
When Gateway receives a request for your private hostname, it must resolve the hostname to a private IP address. There are two ways to configure this, depending on your network topology.
By default, cloudflared uses the private DNS resolver configured on its host machine (for example, in /etc/resolv.conf on Linux).
If the machine running cloudflared can already resolve wiki.internal.local to its private IP using the local system resolver, no further configuration is required. You can skip to Step 3.
If you need cloudflared to use a specific internal DNS server that is different from the host's default resolver, you must explicitly connect that DNS server to Cloudflare via an IP/CIDR route. You will also need to configure a Gateway resolver policy to route queries to this specific private DNS server.
-
To create an IP/CIDR route for the DNS server:
- Go to Networks > Routes > CIDR.
- Select Add CIDR route.
- Enter the private IP address of your internal DNS resolver.
- Select the Cloudflare Tunnel that connects to the network where this DNS server resides.
- Select Create.
-
To create a resolver policy:
- Go to Traffic policies > Resolver policies.
- Select Create a policy.
- Create an expression that matches the private hostname:
Selector Operator Value Host in wiki.internal.local - Under Configure custom DNS resolvers, enter the private IP address of your internal DNS server.
- From the dropdown menu, select the
- Privaterouting option and the virtual network assigned to the tunnel you selected in the previous step. - Select Create policy.
By default, all devices enrolled in your Zero Trust organization can connect to your private network through Cloudflare Tunnel. You can configure Gateway to inspect your network traffic and either block or allow access based on user identity and device posture. To learn more about policy design, refer to Secure your first application.
To prevent Cloudflare One Client users from accessing your entire private network, we recommend creating a catch-all Gateway block policy for your private IP space. You can then layer on higher priority Allow policies (in either Access or Gateway) which grant users access to specific applications or IPs.
You can create an Access self-hosted application for your private hostname and configure Access policies within that application. This option allows you to manage user access alongside your SaaS and other web apps.
If you prefer to secure the application using a traditional firewall model, you can build Gateway network policies using the SNI or SNI Domain selector. For an additional layer of protection, add a Gateway DNS policy to allow or block the Host or Domain from resolving.
Example network policies
The following example consists of two policies: the first allows specific users to reach your application, and the second blocks all other traffic.
- Allow company employees
| Selector | Operator | Value | Logic | Action |
|---|---|---|---|---|
| SNI | in | wiki.internal.local | And | Allow |
| User Email | matches regex | .*@example.com |
- Catch-all block policy
| Selector | Operator | Value | Action |
|---|---|---|---|
| Destination IP | in | 10.0.0.0/8 | Block |
Example DNS policy
| Selector | Operator | Value | Logic | Action |
|---|---|---|---|---|
| Host | in | wiki.internal.local | And | Allow |
| User Email | matches regex | .*@example.com |
End users can now reach the application by going to its private hostname. For example, to connect to a private web application, open a browser and go to wiki.internal.local.
If you cannot connect, verify the following:
-
Confirm DNS resolution - From the device, confirm that you can successfully resolve the private hostname:
Terminal window nslookup wiki.internal.localServer: 127.0.2.2Address: 127.0.2.2#53Non-authoritative answer:Name: wiki.internal.localAddress: 100.80.200.48The query should resolve using WARP's DNS proxy and return a Gateway initial resolved IP. If the query fails to resolve or returns a different IP, check your Local Domain Fallback configuration and Gateway resolver policies.
-
Check Gateway logs - Review your Gateway network logs to see if the connection is being blocked by a policy.
-
Verify tunnel status - Confirm that your tunnel is healthy and connected by checking tunnel status.
-
Test connectivity to initial resolved IP - When you connect to the application using its private hostname, the device should make a connection to the initial resolved IP:
Terminal window curl -v4 http://wiki.internal.local* Trying 100.80.200.48:80...* Connected to wiki.internal.local (100.80.200.48) port 80...If the request fails, confirm that the initial resolved IP routes through the WARP tunnel. You can also check your tunnel logs to confirm that requests are routing to the application's private IP.
Starting with Chrome 142 ↗, the browser restricts requests from websites to local IP addresses, including the Gateway initial resolved IP CGNAT range (100.80.0.0/16). Because this range falls within 100.64.0.0/10, Chrome categorizes these addresses as belonging to a local network. When a website loaded from a public IP makes subrequests to a domain resolved through an initial resolved IP, Chrome treats this as a public-to-local network request and displays a prompt asking the user to allow access to devices on the local network. Chrome will block requests to these domains until the user accepts this prompt.
This commonly occurs when an Egress policy matches broadly used domains (such as cloudfront.net or github.com), causing subrequests from public pages to resolve to the 100.80.0.0/16 range.
If the affected request originates from within an iframe (for example, an application embedded in a third-party portal), the iframe must declare the local-network-access permission for the browser prompt to appear in the parent frame:
- Chrome 142-144: Use the
allow="local-network-access"attribute on the iframe element. - Chrome 145+: The permission was split into
allow="local-network"andallow="loopback-network".
If iframes are nested, every iframe in the chain must include the appropriate attribute. Since third-party applications control their own iframe attributes, this may not be configurable by the end user.
To avoid this issue, choose one of the following options:
- Override IP address space classification (Chrome 146+): Use the
LocalNetworkAccessIpAddressSpaceOverrides↗ Chrome Enterprise policy to reclassify the100.80.0.0/16range as public. This is the most targeted fix because it only changes the classification for the initial resolved IP range rather than disabling security checks entirely. - Allow specific URLs (Chrome 140+): Use the
LocalNetworkAccessAllowedForUrls↗ Chrome Enterprise policy to exempt specific websites from Local Network Access checks. Note thathttps://*is a valid entry to disable checks for all URLs. - Allow specific URLs (Chrome 146+): Use the
LocalNetworkAllowedForUrls↗ Chrome Enterprise policy, which replacesLocalNetworkAccessAllowedForUrlsstarting in Chrome 146. - Opt out of Local Network Access restrictions (Chrome 142-152): Use the
LocalNetworkAccessRestrictionsTemporaryOptOut↗ Chrome Enterprise policy to completely opt out of Local Network Access restrictions. This is a temporary policy and will be removed after Chrome 152. - Disable the Chrome feature flag: Go to
chrome://flagsand set the Local Network Access Checks flag to Disabled. This approach is suitable for individual users but not for enterprise-wide deployment.