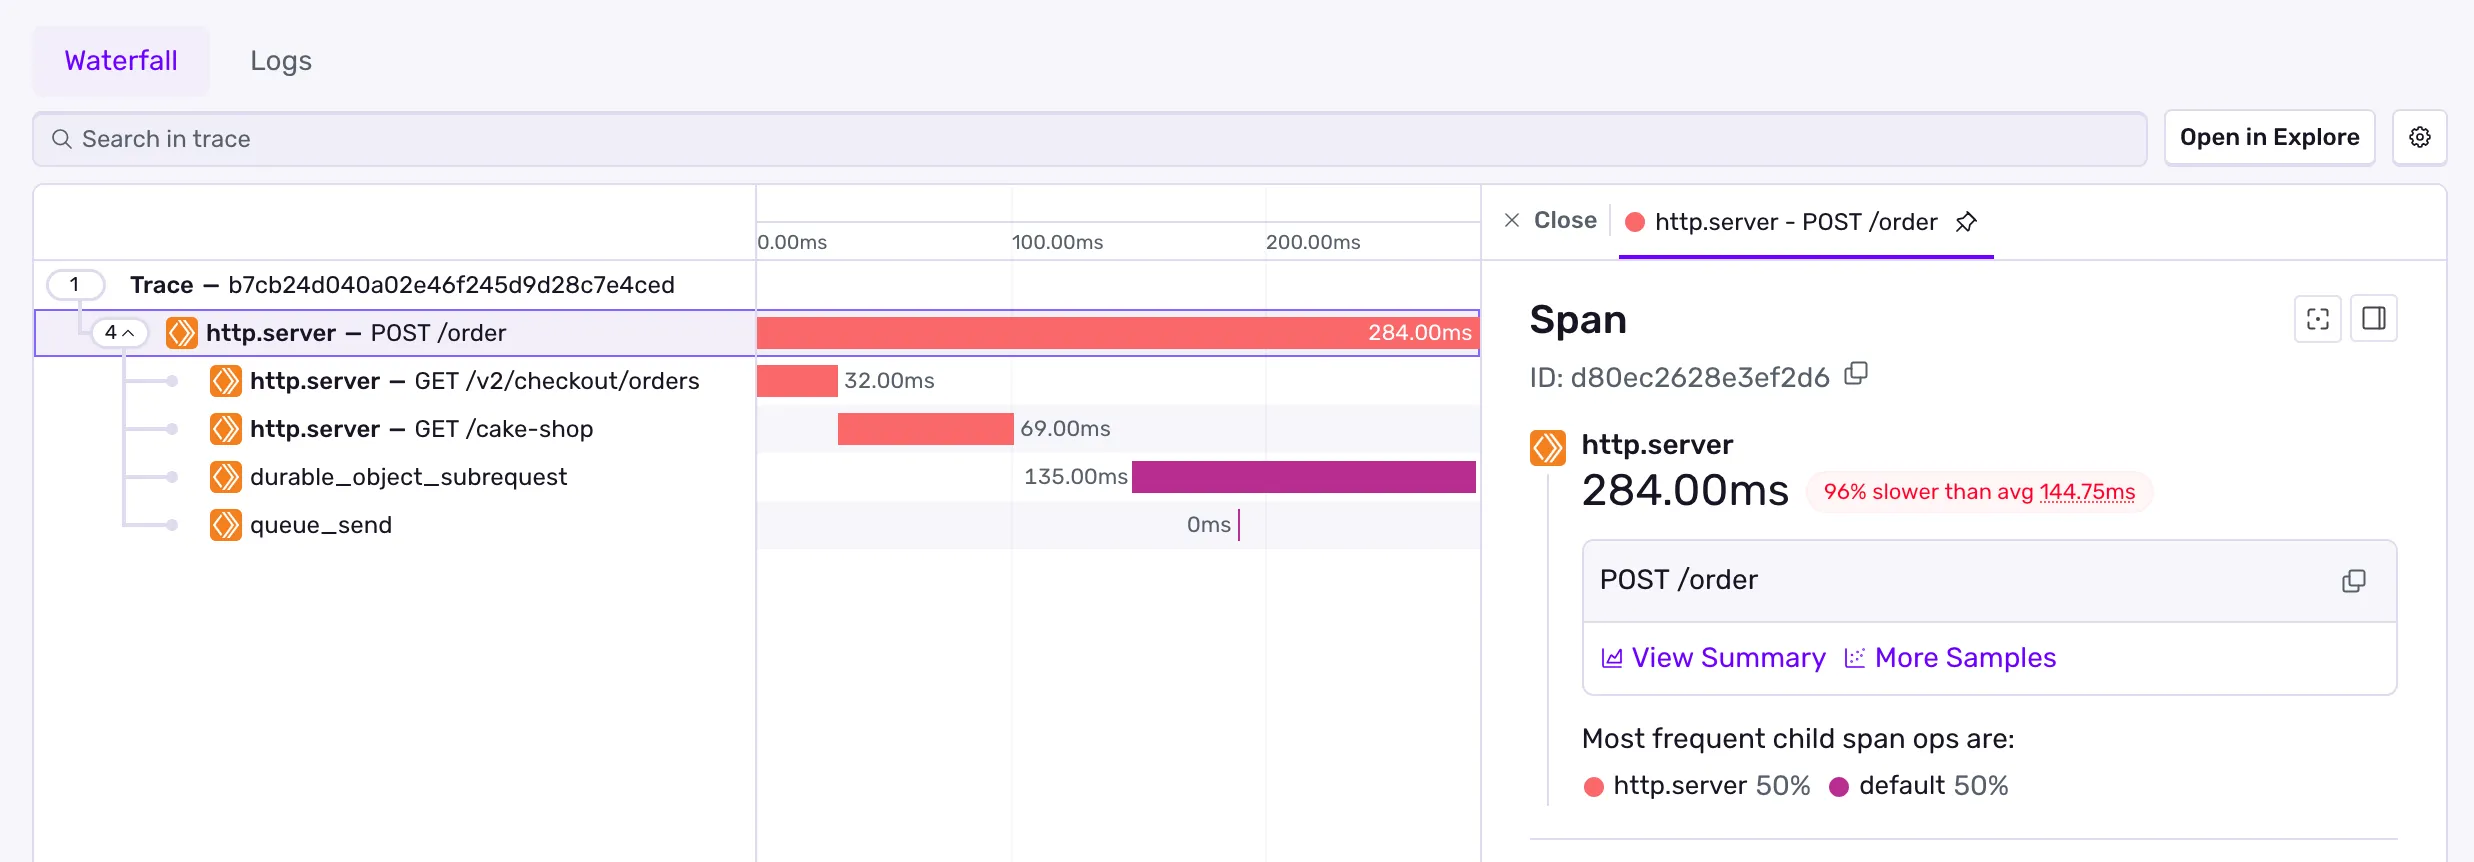
Export to Sentry
Sentry is a software monitoring tool that helps developers identify and debug performance issues and errors. From end-to-end distributed tracing to performance monitoring, Sentry provides code-level observability that makes it easy to diagnose issues and learn continuously about your application code health across systems and services. By exporting your Cloudflare Workers application telemetry to Sentry, you can:
- Query logs and traces in Sentry
- Create custom alerts and dashboards to monitor your Workers

This guide will walk you through exporting OpenTelemetry-compliant traces and logs to Sentry from your Cloudflare Worker application
Before you begin, ensure you have:
- Are signed up for a Sentry account ↗ (free tier available)
- A deployed Worker that you want to monitor
If you don't already have a Sentry project to send data to, you'll need to create one to start sending Cloudflare Workers application telemetry to Sentry.
- Log in to your Sentry account ↗
- Navigate to the Insights > Projects in the navigation sidebar, which will open a list of your projects.
- Click New Project ↗
- Fill out the project creation form and click Create Project to complete the process.
Sentry provides separate OTLP endpoints for traces and logs which you can use to send your telemetry data to Sentry.
- Traces:
https://{HOST}/api/{PROJECT_ID}/integration/otlp/v1/traces - Logs:
https://{HOST}/api/{PROJECT_ID}/integration/otlp/v1/logs
You can find your OTLP endpoints in the your project settings.
- Go to the Settings > Projects ↗ page in Sentry.
- Select your project from the list and click on the project name to open the project settings.
- Go to the "Client Keys (DSN)" sub-page for this project under the "SDK Setup" heading.
There you'll find your Sentry project's OTLP logs and OTLP traces endpoints, as well as authentication headers for the endpoints. Make sure to copy the endpoints and authentication headers.
For more details on how to use Sentry's OTLP endpoints, refer to Sentry's OTLP documentation ↗.
To set up a destination in the Cloudflare dashboard, navigate to your Cloudflare account's Workers Observability ↗ section. Then click Add destination and configure either a traces or logs destination.
To configure your traces destination, click Add destination and configure the following:
- Destination Name:
sentry-traces(or any descriptive name) - Destination Type: Select Traces
- OTLP Endpoint: Your Sentry OTLP traces endpoint (e.g.,
https://{HOST}/api/{PROJECT_ID}/integration/otlp/v1/traces) - Custom Headers: Add the Sentry authentication header:
- Header name:
x-sentry-auth - Header value:
sentry sentry_key={SENTRY_PUBLIC_KEY}where{SENTRY_PUBLIC_KEY}is your Sentry project's public key
- Header name:
To configure your logs destination, click Add destination and configure the following:
- Destination Name:
sentry-logs(or any descriptive name) - Destination Type: Select Logs
- OTLP Endpoint: Your Sentry OTLP logs endpoint (e.g.,
https://{HOST}/api/{PROJECT_ID}/integration/otlp/v1/logs) - Custom Headers: Add the Sentry authentication header:
- Header name:
x-sentry-auth - Header value:
sentry sentry_key={SENTRY_PUBLIC_KEY}where{SENTRY_PUBLIC_KEY}is your Sentry project's public key
- Header name:
With your destinations created in the Cloudflare dashboard, update your Worker's configuration to enable telemetry export.
{ "observability": { "traces": { "enabled": true, // Must match the destination name in the dashboard "destinations": ["sentry-traces"] }, "logs": { "enabled": true, // Must match the destination name in the dashboard "destinations": ["sentry-logs"] } }}[observability.traces]enabled = truedestinations = [ "sentry-traces" ]
[observability.logs]enabled = truedestinations = [ "sentry-logs" ]After updating your configuration, deploy your Worker for the changes to take effect.
Was this helpful?
- Resources
- API
- New to Cloudflare?
- Directory
- Sponsorships
- Open Source
- Support
- Help Center
- System Status
- Compliance
- GDPR
- Company
- cloudflare.com
- Our team
- Careers
- © 2026 Cloudflare, Inc.
- Privacy Policy
- Terms of Use
- Report Security Issues
- Trademark
-