In this tutorial, you will learn how to send transactional emails from Workers using Postmark ↗. At the end of this tutorial, you’ll be able to:
- Create a Worker to send emails.
- Sign up and add a Cloudflare domain to Postmark.
- Send emails from your Worker using Postmark.
- Store API keys securely with secrets.
To continue with this tutorial, you’ll need:
- A Cloudflare account ↗, if you don’t already have one.
- A registered domain.
- Installed npm ↗.
- A Postmark account ↗.
Start by using C3 to create a Worker project in the command line, then, answer the prompts:
npm create cloudflare@latestAlternatively, you can use CLI arguments to speed things up:
npm create cloudflare@latest email-with-postmark -- --type=hello-world --ts=false --git=true --deploy=falseThis creates a simple hello-world Worker having the following content:
export default {
	async fetch(request, env, ctx) {
		return new Response("Hello World!");
	},
};If you don’t already have a Postmark account, you can sign up for a free account here ↗. After signing up, check your inbox for a link to confirm your sender signature. This verifies and enables you to send emails from your registered email address.
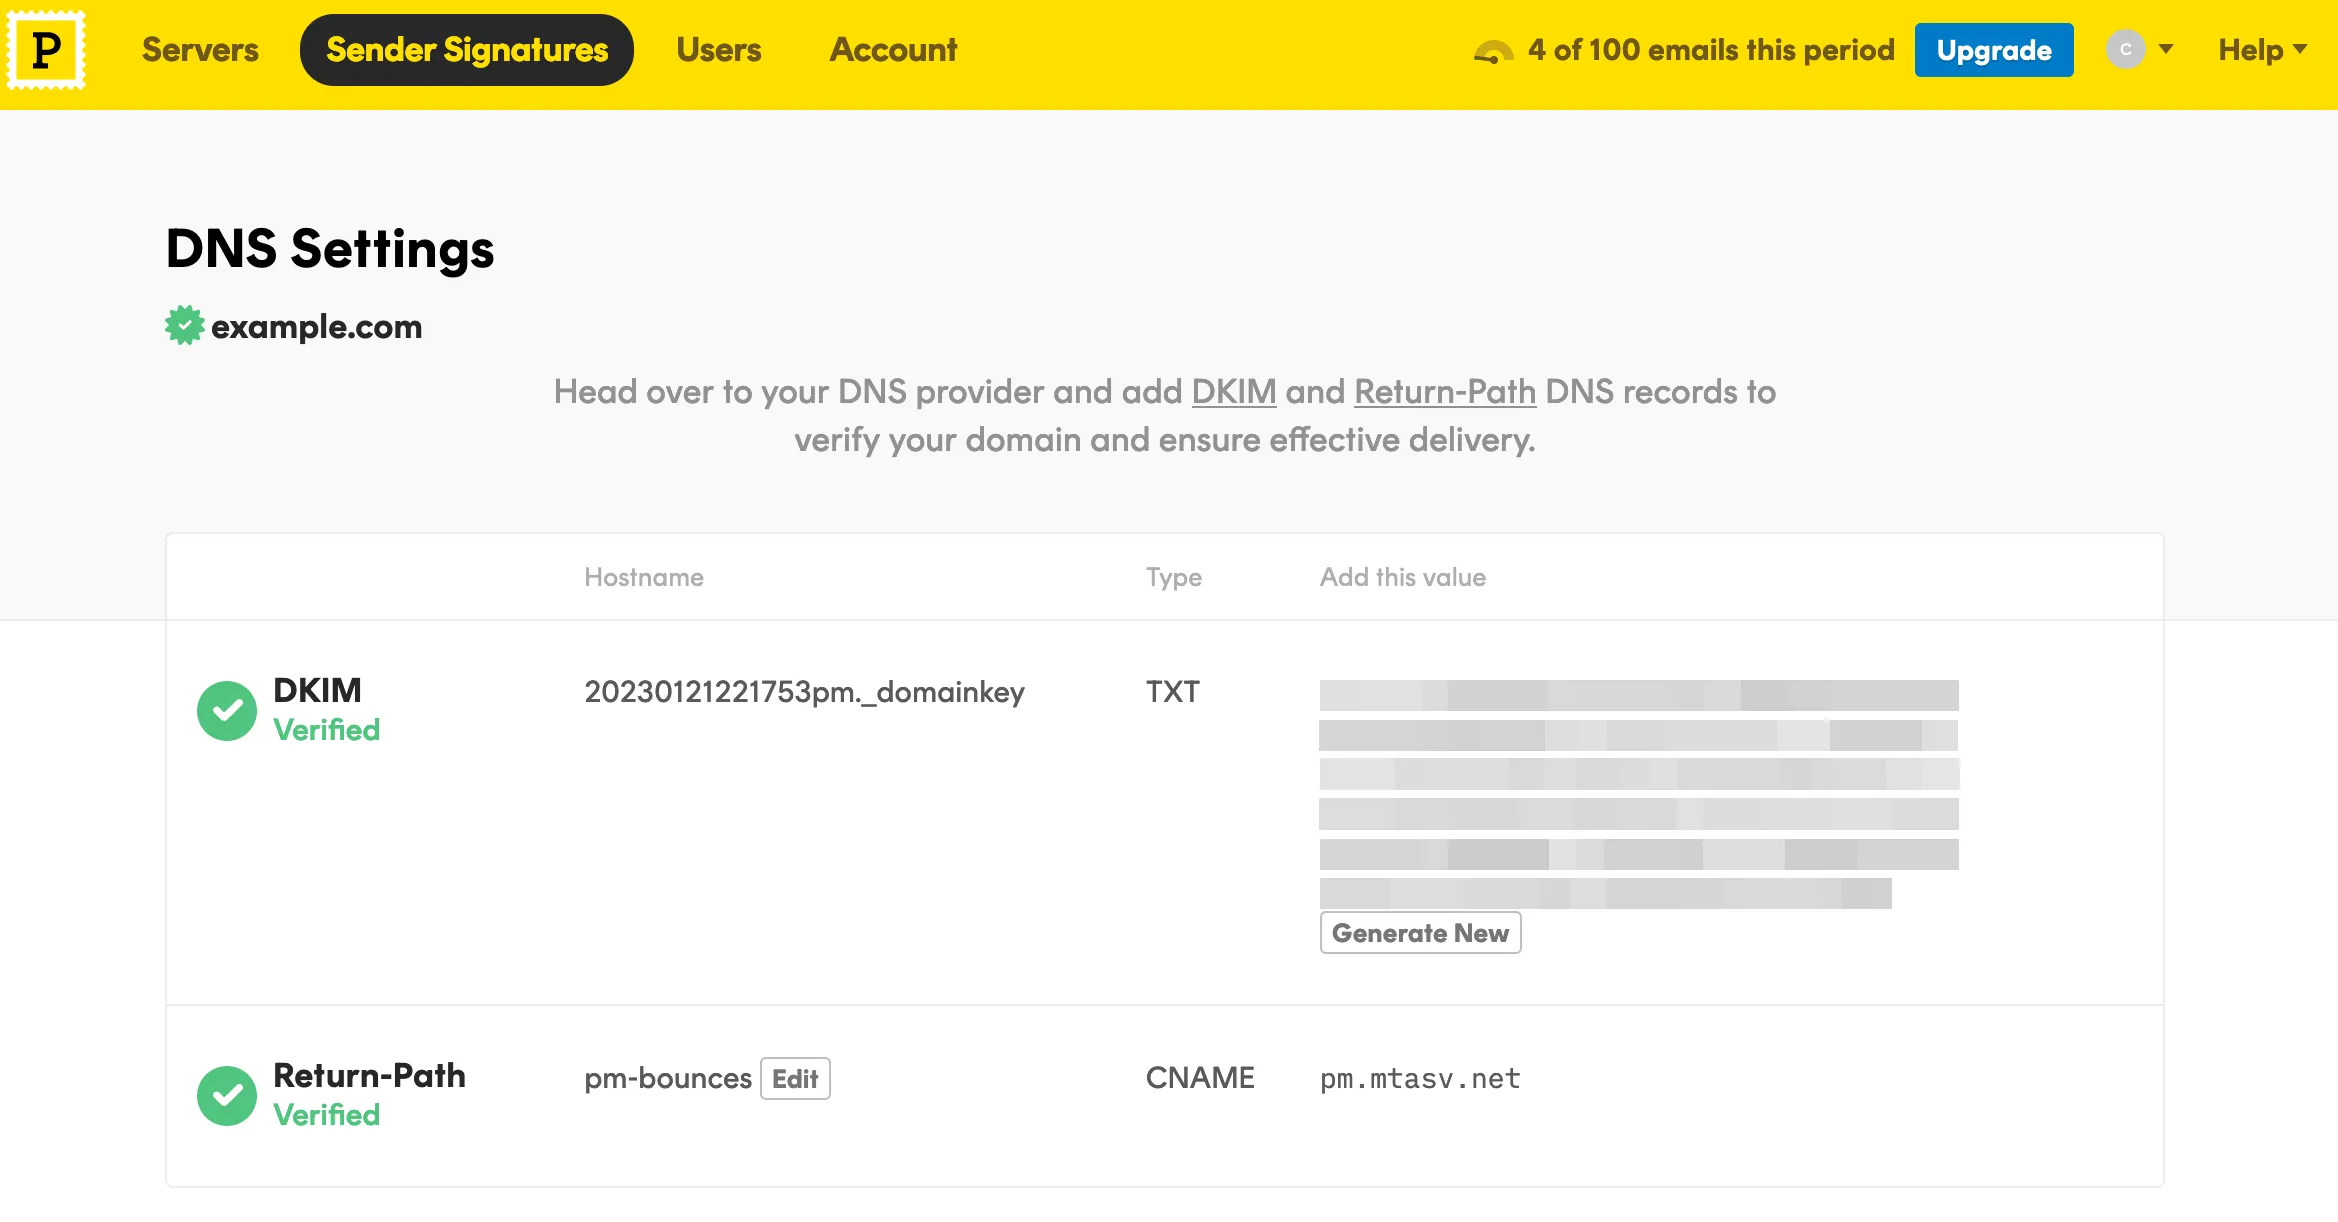
To enable email sending from other addresses on your domain, navigate to Sender Signatures on the Postmark dashboard, Add Domain or Signature > Add Domain, then type in your domain and click on Verify Domain.
Next, you’re presented with a list of DNS records to add to your Cloudflare domain. On your Cloudflare dashboard, select the domain you entered earlier and navigate to DNS > Records. Copy/paste the DNS records (DKIM, and Return-Path) from Postmark to your Cloudflare domain.
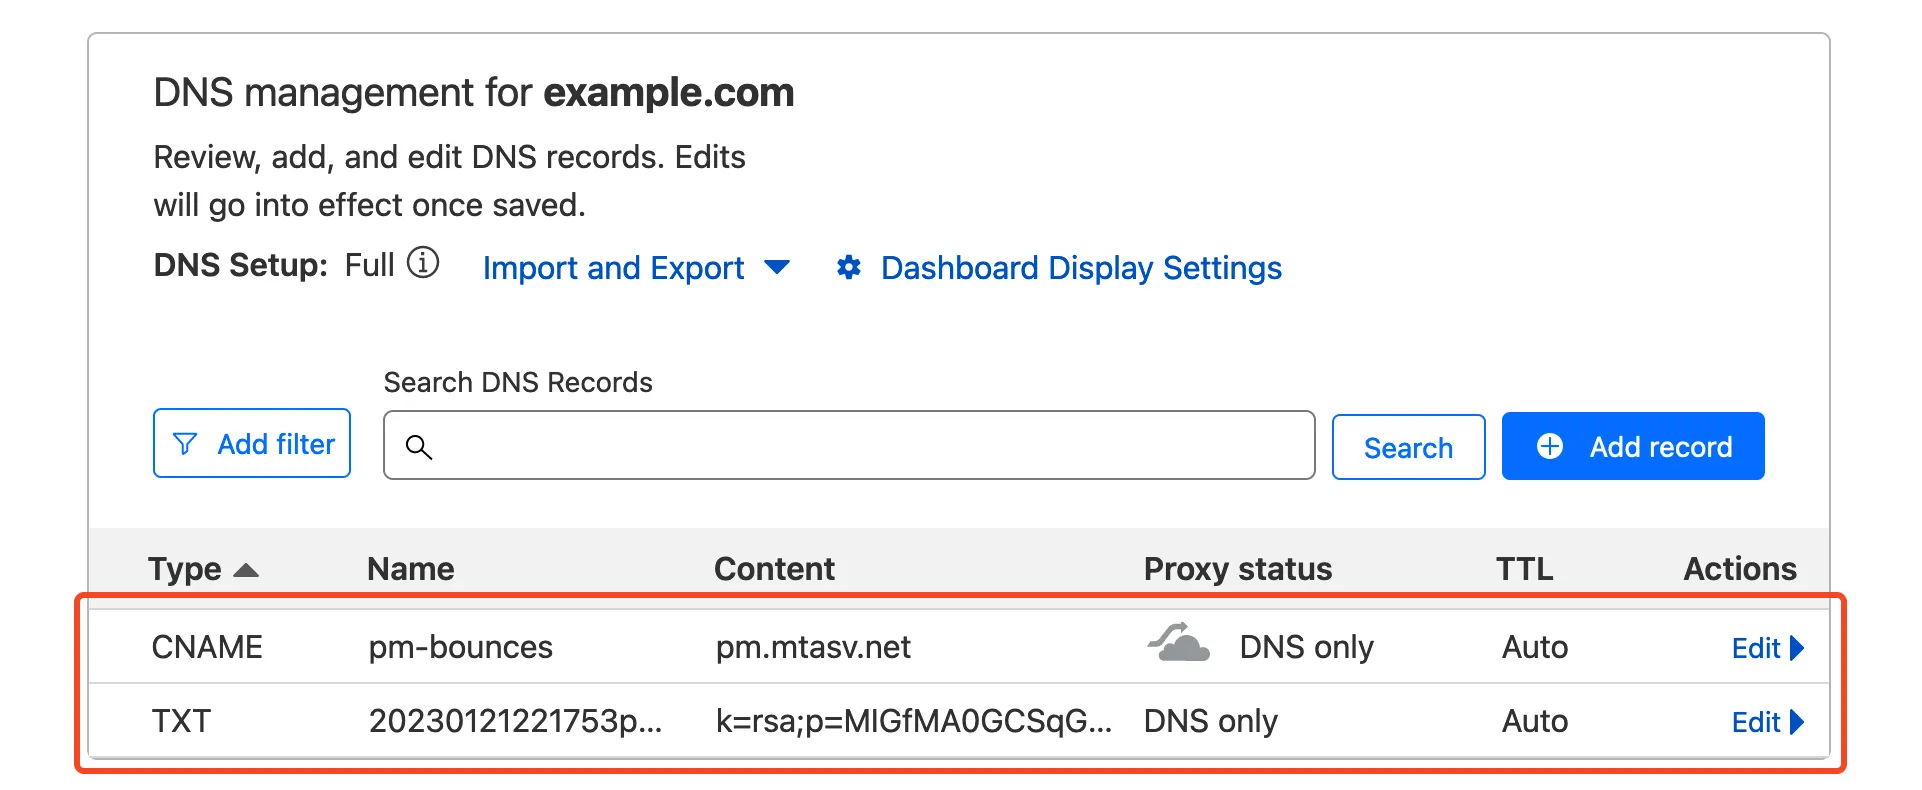
When that’s done, head back to Postmark and click on the Verify buttons. If all records are properly configured, your domain status should be updated to Verified.
To grab your API token, navigate to the Servers tab, then My First Server > API Tokens, then copy your API key to a safe place.
The final step is putting it all together in a Worker. In your Worker, make a post request with fetch to Postmark’s email API and include your token and message body:
export default {
	async fetch(request, env, ctx) {
		return await fetch("https://api.postmarkapp.com/email", {
			method: "POST",
			headers: {
				"Content-Type": "application/json",
				"X-Postmark-Server-Token": "your_postmark_api_token_here",
			},
			body: JSON.stringify({
				From: "hello@example.com",
				To: "someone@example.com",
				Subject: "Hello World",
				HtmlBody: "<p>Hello from Workers</p>",
			}),
		});
	},
};
To test your code locally, run the following command and navigate to http://localhost:8787/ ↗ in a browser:
npm startDeploy your Worker with npm run deploy.
Sensitive information such as API keys and token should always be stored in secrets. All secrets are encrypted to add an extra layer of protection. That said, it’s a good idea to move your API token to a secret and access it from the environment of your Worker.
To add secrets for local development, create a .dev.vars file which works exactly like a .env file:
POSTMARK_API_TOKEN=your_postmark_api_token_hereAlso ensure the secret is added to your deployed worker by running:
npx wrangler secret put POSTMARK_API_TOKENThe added secret can be accessed on via the env parameter passed to your Worker’s fetch event handler:
export default {
	async fetch(request, env, ctx) {
		return await fetch("https://api.postmarkapp.com/email", {
			method: "POST",
			headers: {
				"Content-Type": "application/json",
				"X-Postmark-Server-Token": env.POSTMARK_API_TOKEN,
			},
			body: JSON.stringify({
				From: "hello@example.com",
				To: "someone@example.com",
				Subject: "Hello World",
				HtmlBody: "<p>Hello from Workers</p>",
			}),
		});
	},
};
And finally, deploy this update with npm run deploy.