Centrify (SAML)
Centrify secures access to infrastructure, DevOps, cloud, and other modern enterprise so you can prevent the number one cause of breaches: privileged access abuse.
-
Log in to your Centrify admin portal and select Apps.
-
Select Add Web Apps.
-
Select the Custom tab.
-
Next to the SAML icon, select Add.
-
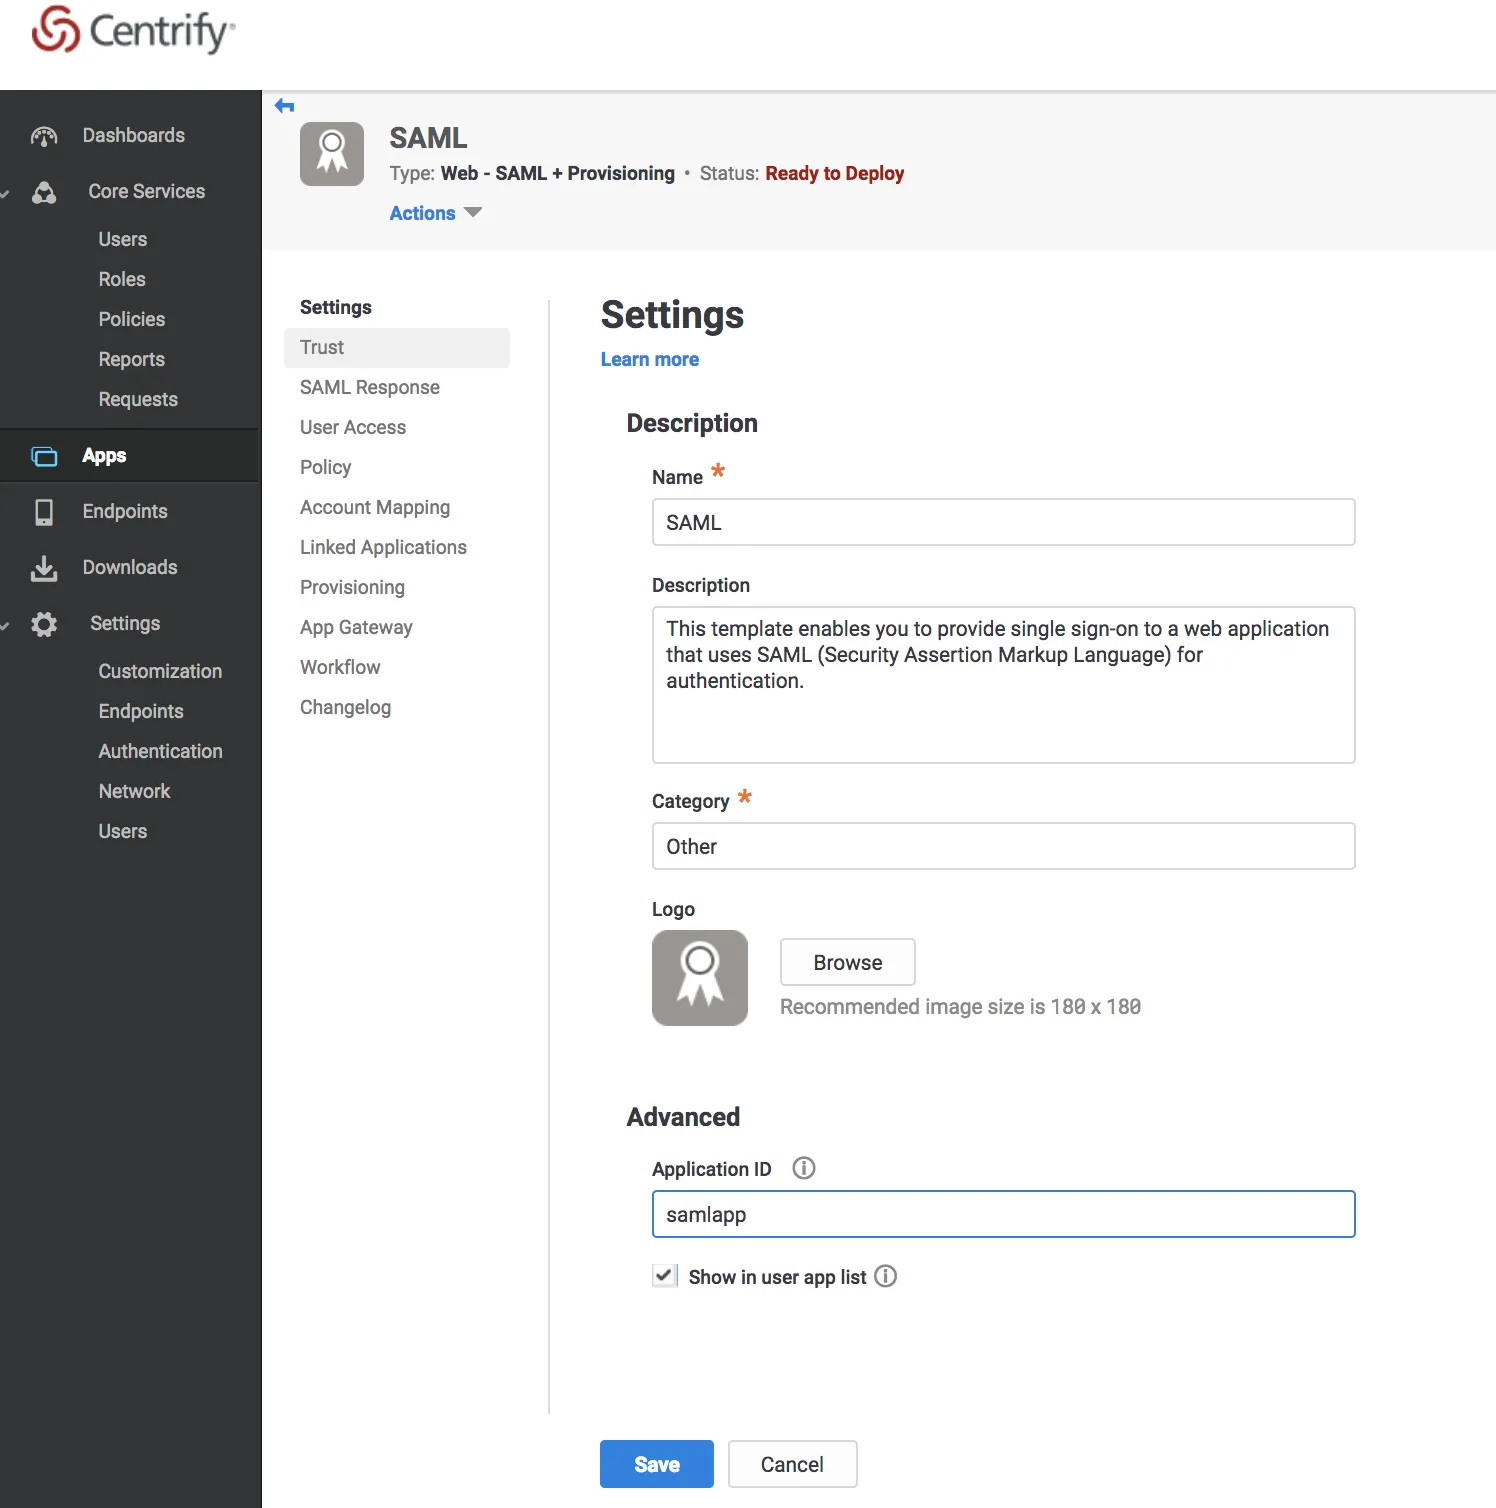
Enter the required information for your application.
-
Select Save.
-
Select Settings in the left pane.
-
In the middle menu pane, select Trust.
-
Choose the Manual Configuration option.
-
In the SP Entity ID and Assertion Consumer Service (ACS) URL fields, enter the following URL:
https://<your-team-name>.cloudflareaccess.com/cdn-cgi/access/callbackYou can find your team name in Zero Trust under Settings > Custom Pages.
-
Select Save.
-
In the middle menu pane, select User Access.
-
Select Add. The Select Role dialog displays.
-
Complete your roles access assignments. The Role rules display on the User Access card.
-
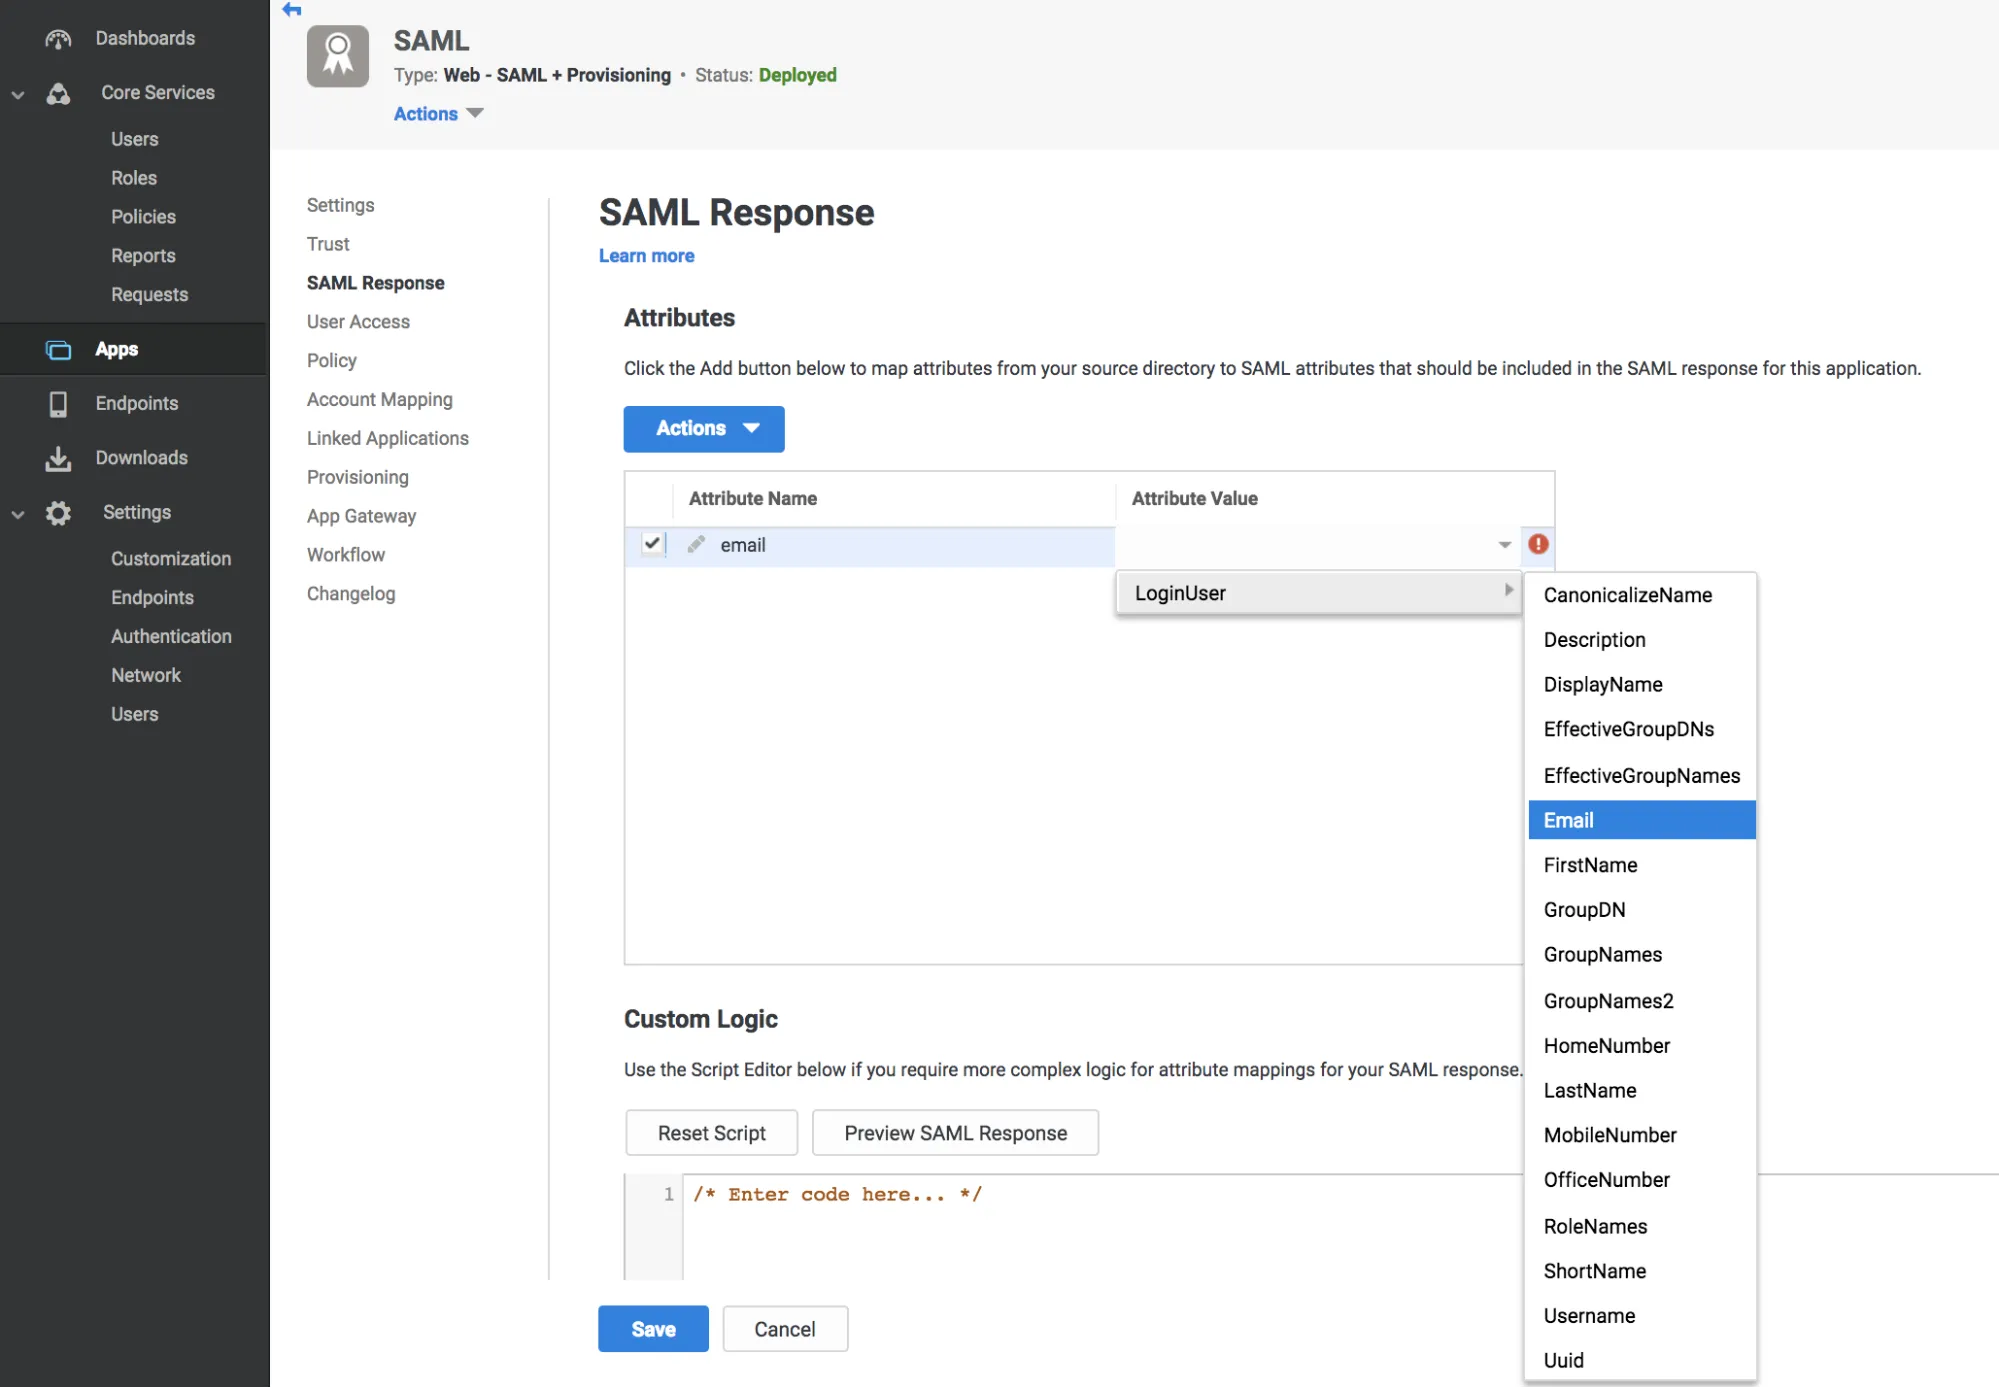
In the User Access card's middle menu pane, select SAML Response.
-
Select Active > Add to create a new Attribute Name, Email.
-
Enter the user email addresses in the Attribute Value field.
-
Select Save.
-
Select Settings again from the left menu pane, and Trust.
-
Select the Manual Configuration option.
-
In Zero Trust ↗, go to Settings > Authentication.
-
Under Login methods, select Add new.
-
Select SAML.
-
Copy and paste the corresponding information from Centrify into the fields.
-
(Optional) To enable SCIM, refer to Synchronize users and groups.
-
(Optional) Under Optional configurations, configure additional SAML options.
-
Select Save.
To test that your connection is working, go to Authentication > Login methods and select Test next to the login method you want to test.
Some IdPs allow administrators to upload metadata files from their SP (service provider).
To get your Cloudflare metadata file:
-
Download your unique SAML metadata file at the following URL:
https://<your-team-name>.cloudflareaccess.com/cdn-cgi/access/saml-metadata -
Save the file in XML format.
-
Upload the XML document to your Centrify account.
{ "config": { "issuer_url": "https://abc123.my.centrify.com/baaa2117-0ec0-4d76-84cc-abccb551a123", "sso_target_url": "https://abc123.my.centrify.com/applogin/appKey/baaa2117-0ec0-4d76-84cc-abccb551a123/customerId/abc123", "attributes": ["email"], "email_attribute_name": "", "sign_request": false, "idp_public_cert": "MIIDpDCCAoygAwIBAgIGAV2ka+55MA0GCSqGSIb3DQEBCwUAMIGSMQswCQYDVQQGEwJVUzETMBEG\nA1UEC.....GF/Q2/MHadws97cZg\nuTnQyuOqPuHbnN83d/2l1NSYKCbHt24o" }, "type": "saml", "name": "centrify saml example"}Was this helpful?
- Resources
- API
- New to Cloudflare?
- Products
- Sponsorships
- Open Source
- Support
- Help Center
- System Status
- Compliance
- GDPR
- Company
- cloudflare.com
- Our team
- Careers
- 2025 Cloudflare, Inc.
- Privacy Policy
- Terms of Use
- Report Security Issues
- Trademark
-
