You can integrate Google authentication with Cloudflare Access without a Google Workspace account. The integration allows any user with a Google account to log in (if the Access policy allows them to reach the resource). Unlike the instructions for Google Workspace, the steps below will not allow you to pull group membership information from a Google Workspace account.
You do not need to be a Google Cloud Platform user to integrate Google as an identity provider with Cloudflare One. You will only need to open the Google Cloud Platform to configure IdP integration settings.
-
Log in to the Google Cloud Platform console ↗. Create a new project, name the project, and select Create.
-
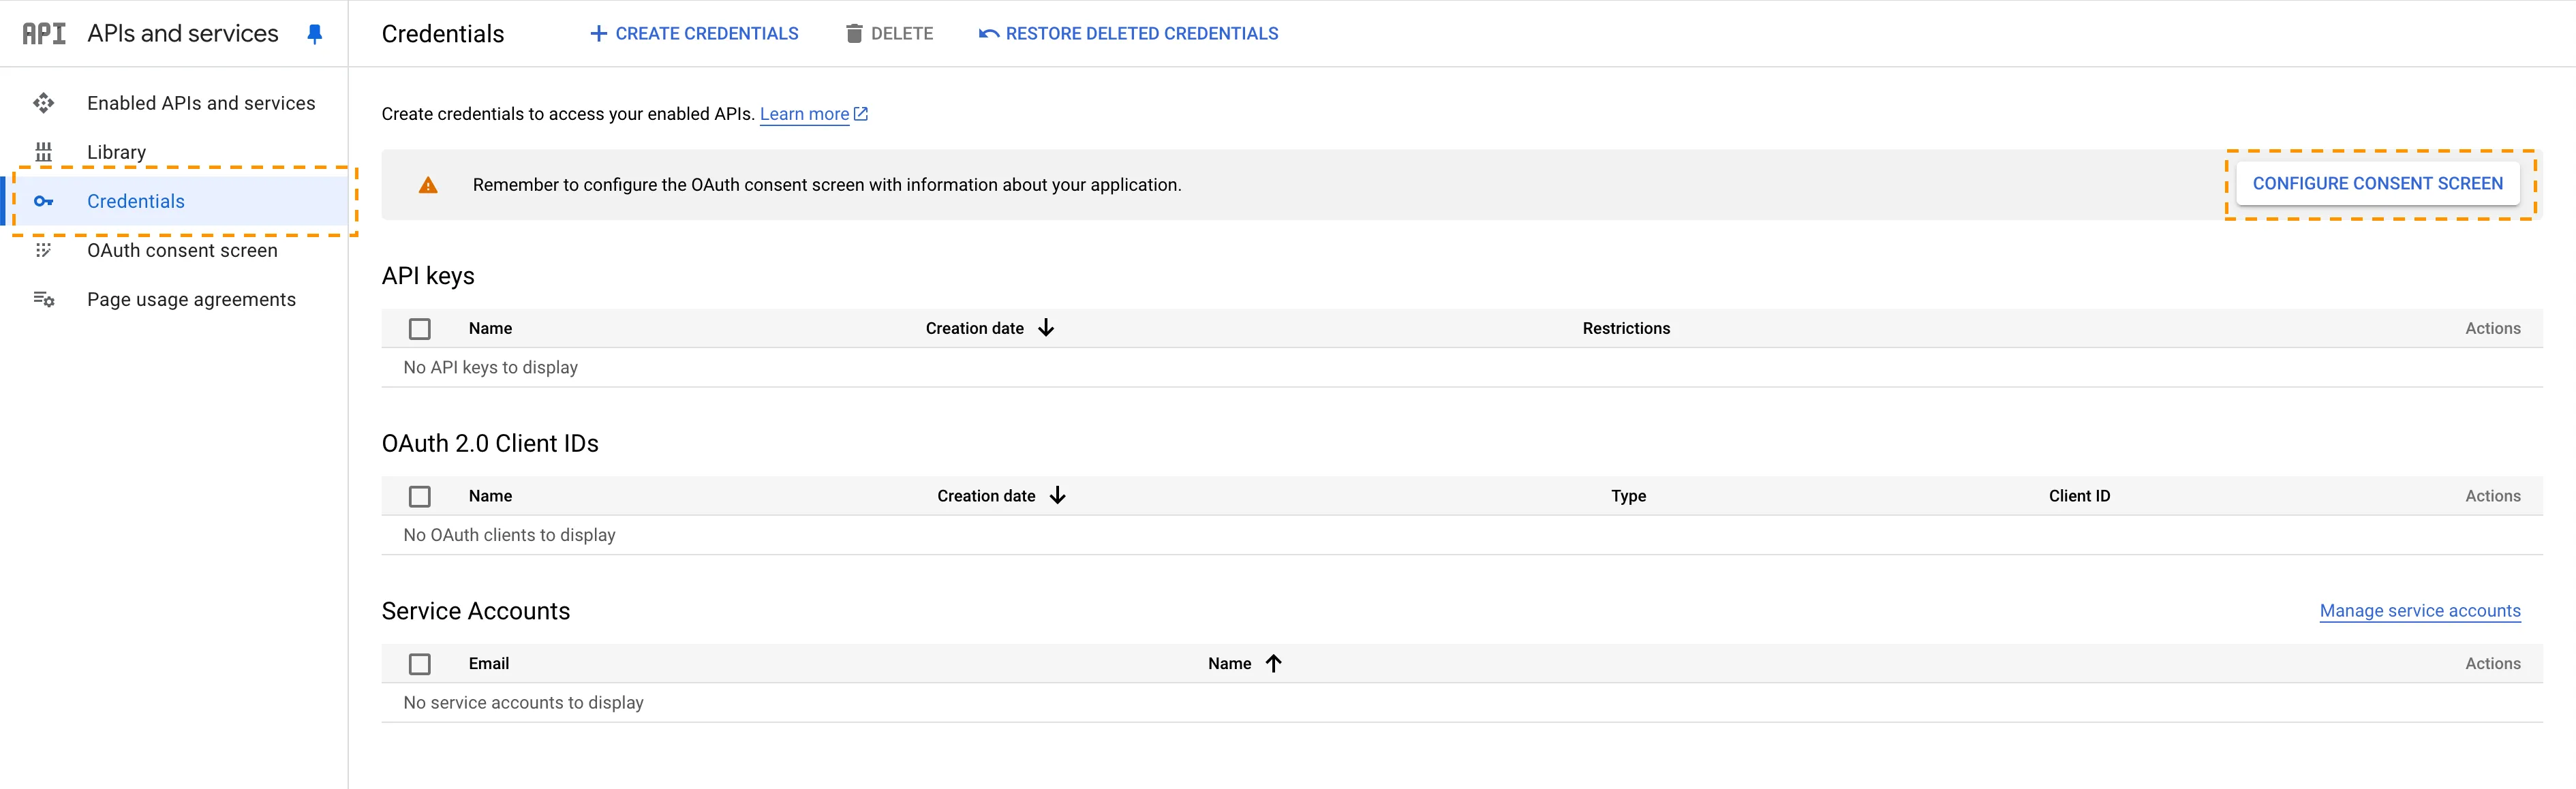
On the project home page, go to APIs & Services and on the sidebar select Credentials.
-
Select Configure Consent Screen.
-
To configure the consent screen:
- Select Get started.
- Enter an App name and a User support email.
- Choose External as the Audience Type. Since this application is not being created in a Google Workspace account, any user with a Gmail address can log in.
- Enter your Contact Information. Google Cloud Platform requires an email in your account.
- Agree to Google's user data policy and select Continue.
- Select Create.
-
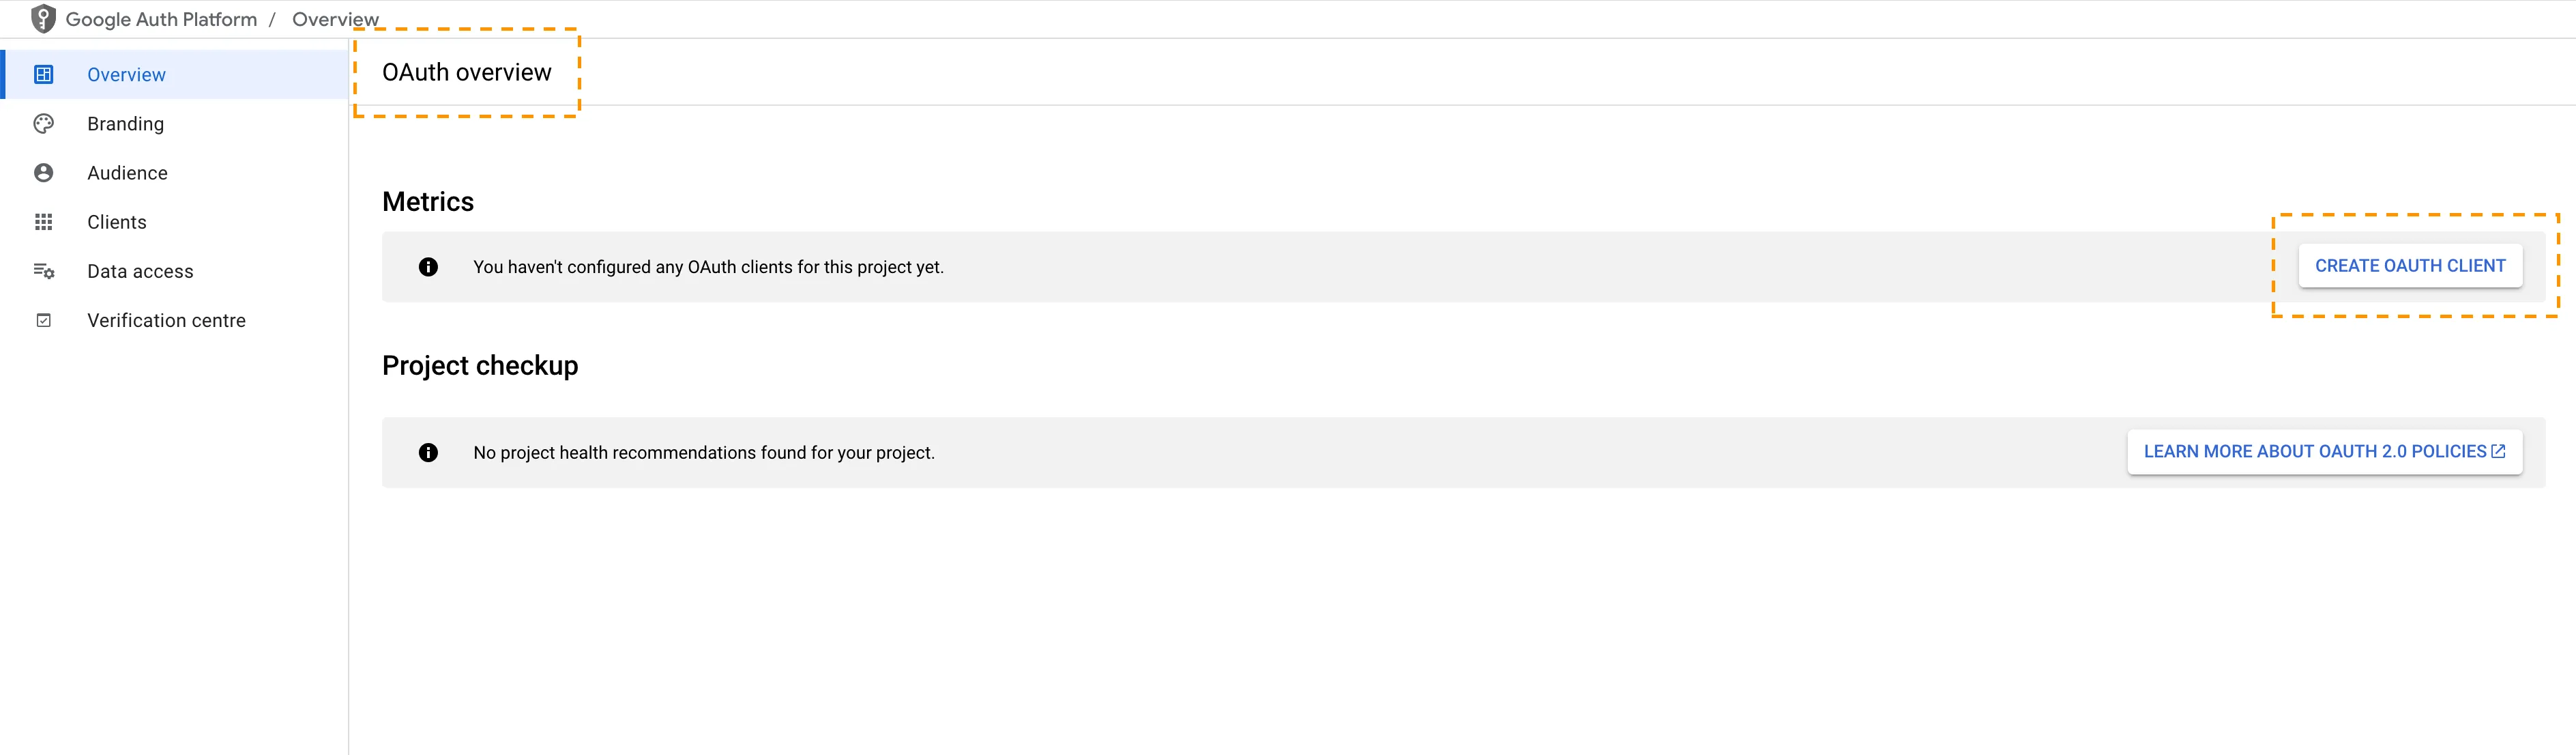
The OAuth overview page will load. On the OAuth overview screen, select Create OAuth client.
-
Choose Web application as the Application type and give your OAuth Client ID a name.
-
Under Authorized JavaScript origins, in the URIs field, enter your team domain:
https://<your-team-name>.cloudflareaccess.comYou can find your team name in Cloudflare One ↗ under Settings > Team name and domain > Team name.
-
Under Authorized redirect URIs, in the URIs field, enter the following URL:
https://<your-team-name>.cloudflareaccess.com/cdn-cgi/access/callback -
After creating the OAuth client, select the OAuth client that you just created. Google will present the OAuth Client ID value and Client secret value. The client secret field functions like a password and should not be shared. Copy both the OAuth Client ID value and Client secret value.
-
In Cloudflare One ↗, go to Integrations > Identity providers.
-
Under Your identity providers, select Add new identity provider. Choose Google on the next page.
-
Input the Client ID (App ID in the Cloudflare dashboard) and Client Secret fields generated previously.
-
(Optional) Enable Proof of Key Exchange (PKCE) ↗. PKCE will be performed on all login attempts.
-
Select Save.
To test that your connection is working, go to Integrations > Identity providers and select Test next to Google.
{ "config": { "client_id": "<your client id>", "client_secret": "<your client secret>" }, "type": "google", "name": "my example idp"}If you deleted the OAuth client (or the OAuth client expired) in Google, you will receive a Error 401: deleted_client authorization error.
To fix this issue, complete steps 6 through 12 in the Google guide and steps 9 through 15 in the Google Workspace guide.