SMB
The Server Message Block (SMB) protocol allows users to read, write, and access shared resources on a network. Due to security risks, firewalls and ISPs usually block public connections to an SMB file share. With Cloudflare Tunnel, you can provide secure and simple SMB access to users outside of your network.
Cloudflare Zero Trust offers two solutions for connecting to SMB servers:
- Private subnet routing with the Cloudflare One Client to Tunnel
- Public hostname routing with
cloudflared access
While SMB was developed for Microsoft Windows, Samba provides SMB connectivity from UNIX-like and BSD systems. A Samba server can be set up using this guide ↗ on an Ubuntu machine.
You can use Cloudflare Tunnel to create a secure, outbound-only connection from your server to Cloudflare's global network. This requires running the cloudflared daemon on the server. Users reach the service by installing the Cloudflare One Client on their device and enrolling in your Zero Trust organization. Remote devices will be able to connect as if they were on your private network. By default, all devices enrolled in your organization can access the service unless you build policies to allow or block specific users.
-
In the Cloudflare dashboard, go to Networking > Tunnels.
Go to Tunnels -
Create a new tunnel or edit an existing
cloudflaredtunnel.
-
In the Cloudflare dashboard, go to Networking > Routes.
Go to Routes -
Select Create route > Tunnel CIDR. Select the tunnel you just created, enter the private IP or CIDR address of your server, and select Create route.
-
(Optional) Set up Zero Trust policies to fine-tune access to your server.
To connect your devices to Cloudflare:
- Deploy the Cloudflare One Client on your devices in Traffic and DNS mode or generate a proxy endpoint and deploy a PAC file.
- Create device enrollment rules to determine which devices can enroll to your Zero Trust organization.
By default, WARP excludes traffic bound for RFC 1918 space ↗, which are IP addresses typically used in private networks and not reachable from the Internet. In order for the Cloudflare One Client to send traffic to your private network, you must configure Split Tunnels so that the IP/CIDR of your private network routes through the Cloudflare One Client.
-
First, check whether your Split Tunnels mode is set to Exclude or Include mode.
-
Edit your Split Tunnel routes depending on the mode:
If you are using Exclude mode:
a. Delete the route containing your private network's IP/CIDR range. For example, if your network uses the default AWS range of
172.31.0.0/16, delete172.16.0.0/12.b. Re-add IP/CIDR ranges that are not explicitly used by your private network. For the AWS example above, you would add new entries for
172.16.0.0/13,172.24.0.0/14,172.28.0.0/15, and172.30.0.0/16. This ensures that only traffic to172.31.0.0/16routes through the Cloudflare One Client.You can use the following calculator to determine which IP addresses to re-add:
Calculator instructions
- In Base CIDR, enter the RFC 1918 range that you deleted from Split Tunnels.
- In Subtracted CIDRs, enter the IP/CIDR range used by your private network.
- Re-add the calculator results to your Split Tunnel Exclude mode list.
By tightening the private IP range included in the Cloudflare One Client, you reduce the risk of breaking a user's access to local resources.
If you are using Include mode:
- Add the required Zero Trust domains or IP addresses to your Split Tunnel include list.
- Add a route to include your private network's IP/CIDR range.
-
In the Finder menu, select Go > Connect to Server.
-
Enter
smb://<smb-server-ip-address>/sambashare.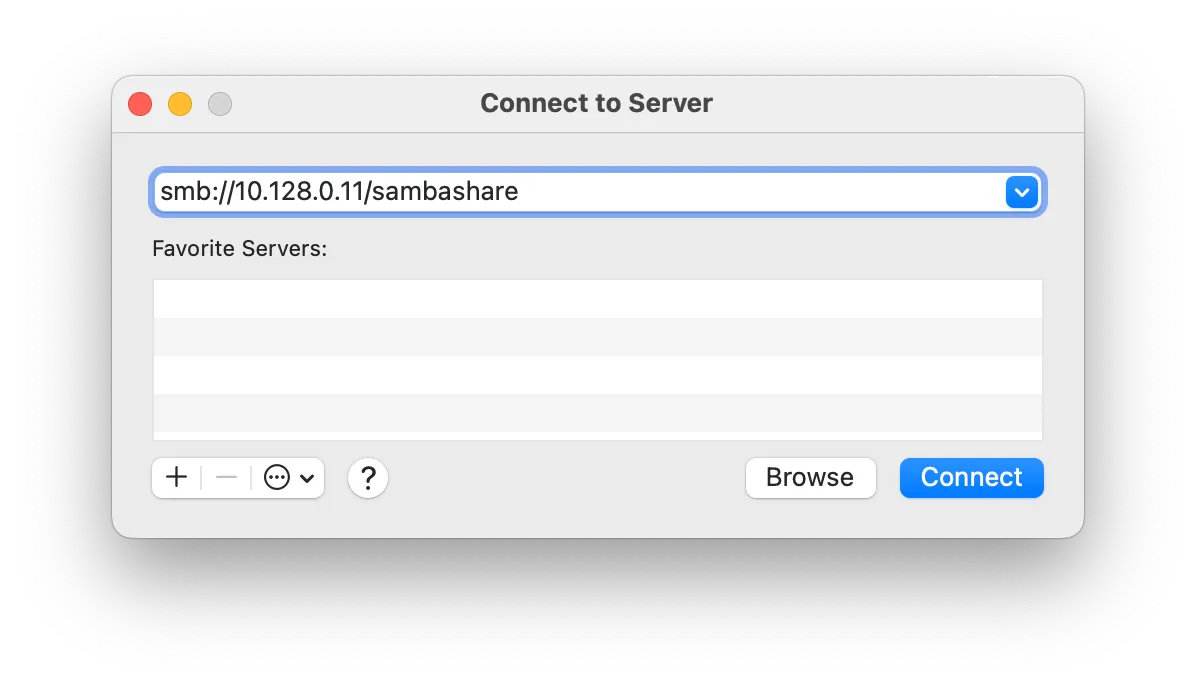
-
Sign in with the username and password created while setting up the server.
- Open File Explorer and right-click Network > Map Network Drive.
- For Folder, enter
\\<server-private-ip>\sambashare. - Select Connect using different credentials.
- Select Finish.
- Sign in with the username and password created while setting up the server.
Cloudflare Tunnel can also route applications through a public hostname, which allows users to connect to the application without the Cloudflare One Client. This method requires having cloudflared installed on both the server machine and on the client machine, as well as an active zone on Cloudflare. The traffic is proxied over this connection, and the user logs in to the server with their Cloudflare Access credentials.
The public hostname method can be implemented in conjunction with routing over the Cloudflare One Client so that there are multiple ways to connect to the server. You can reuse the same tunnel for both the private network and public hostname routes.
-
Create a Cloudflare Tunnel by following our dashboard setup guide.
-
In the Cloudflare dashboard, go to Networking > Tunnels and select your tunnel.
Go to Tunnels -
On the Routes tab, select Add route, then select Published application.
-
Choose a domain from the drop-down menu and specify any subdomain (for example,
smb.example.com). -
For Service, select SMB and enter the SMB listening port (for example,
localhost:445). SMB drives listen on port139or445by default. -
Select Add route.
By default, anyone on the Internet can connect to the server using the hostname of the published application. To allow or block specific users, create a self-hosted application in Cloudflare Access.
-
Install
cloudflaredon the client machine. -
Run the following command to open an SMB listening port. You can specify any available port on the client machine.
Terminal window cloudflared access tcp --hostname smb.example.com --url localhost:8445This command can be wrapped as a desktop shortcut so that end users do not need to use the command line.
-
Open your SMB client and configure the client to point to
smb://localhost:8445/sambashare. Do not input the hostname. -
Sign in with the username and password created while setting up the server.
If you are using a Windows machine and cannot specify the port for SMB, you might need to disable the local server. The local server on a client machine uses the same default port 445 for CIFS/SMB. By listening on that port, the local server can block the cloudflare access connection.
To disable the local server on a Windows machine:
- Select Win+R to open the Run window.
- Type
services.mscand select Enter. - Locate the local server process, likely called
Server. - Stop the service and set Startup type to Disabled.
- Repeat steps 3 and 4 for
TCP/IP NetBIOS Helper.