Work with custom rulesets in the dashboard
To create and deploy a custom ruleset at the account level:
-
In the Cloudflare dashboard, go to the WAF page.
Go to WAF -
Go to the Custom rulesets tab.
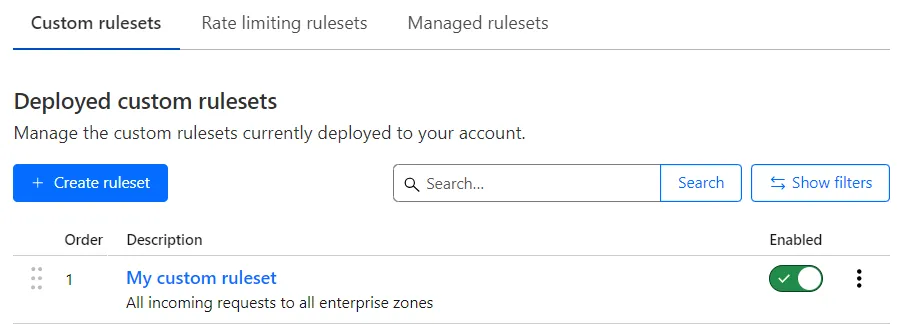
-
To create a new empty ruleset, select Create ruleset. To duplicate an existing ruleset, select the three dots next to it > Duplicate.
-
In the page that displays, enter a name and (optionally) a description for the custom ruleset.
-
Under Scope, define when the custom ruleset should run.
- Select All incoming requests to apply the custom ruleset to all incoming requests for all your zones on an Enterprise plan.
- Select Custom filter expression to define a custom expression that defines when to execute the custom ruleset. Use the Field drop-down list to choose an HTTP property. For each request, the value of the property you choose for Field is compared to the value you specify for Value using the operator selected in Operator. Alternatively, select Edit expression to define your expression using the Expression Editor.
-
To create a new rule, select Add rule.
-
Enter a descriptive name for the rule in Rule name.
-
Under When incoming requests match, use the Field drop-down list to choose an HTTP property. For each request, the value of the property you choose for Field is compared to the value you specify for Value using the operator selected in Operator. Alternatively, select Edit expression to define your expression using the Expression Editor.
-
Select the rule action from the Choose action drop-down list. For example, selecting Block tells Cloudflare to refuse requests that match the conditions you specified.
-
(Optional) If you selected the Block action, you can configure a custom response.
-
Select Deploy.
-
Add other rules to the custom ruleset, if needed. You can also duplicate an existing rule in the custom ruleset.
-
Select Create.
-
In the Cloudflare dashboard, go to the WAF page.
Go to WAF -
Go to the Custom rulesets tab.
-
To edit a custom ruleset, select the three dots next to it > Edit.
-
Make any desired changes to the ruleset by selecting Edit next to the items you want to change.
-
When you are done, select Back to rulesets list.
-
In the Cloudflare dashboard, go to the WAF page.
Go to WAF -
Go to the Custom rulesets tab.
-
To delete a custom ruleset, select the three dots next to it > Delete.
-
To confirm the delete operation, select Delete.
When you select the Block action in a rule you can optionally define a custom response.
The custom response has three settings:
-
With response type: Choose a content type or the default WAF block response from the list. The available custom response types are the following:
Dashboard value API value Custom HTML "text/html"Custom Text "text/plain"Custom JSON "application/json"Custom XML "text/xml" -
With response code: Choose an HTTP status code for the response, in the range 400-499. The default response code is 403.
-
Response body: The body of the response. Configure a valid body according to the response type you selected. The maximum field size is 2 KB.