Migrating from Vercel to Pages
In this tutorial, you will learn how to deploy your Vercel application to Cloudflare Pages.
You should already have an existing project deployed on Vercel that you would like to host on Cloudflare Pages. Features such as Vercel's serverless functions are currently not supported in Cloudflare Pages.
To move your application to Cloudflare Pages, you will need to find your build command and build directory. Cloudflare Pages will use this information to build your application and deploy it.
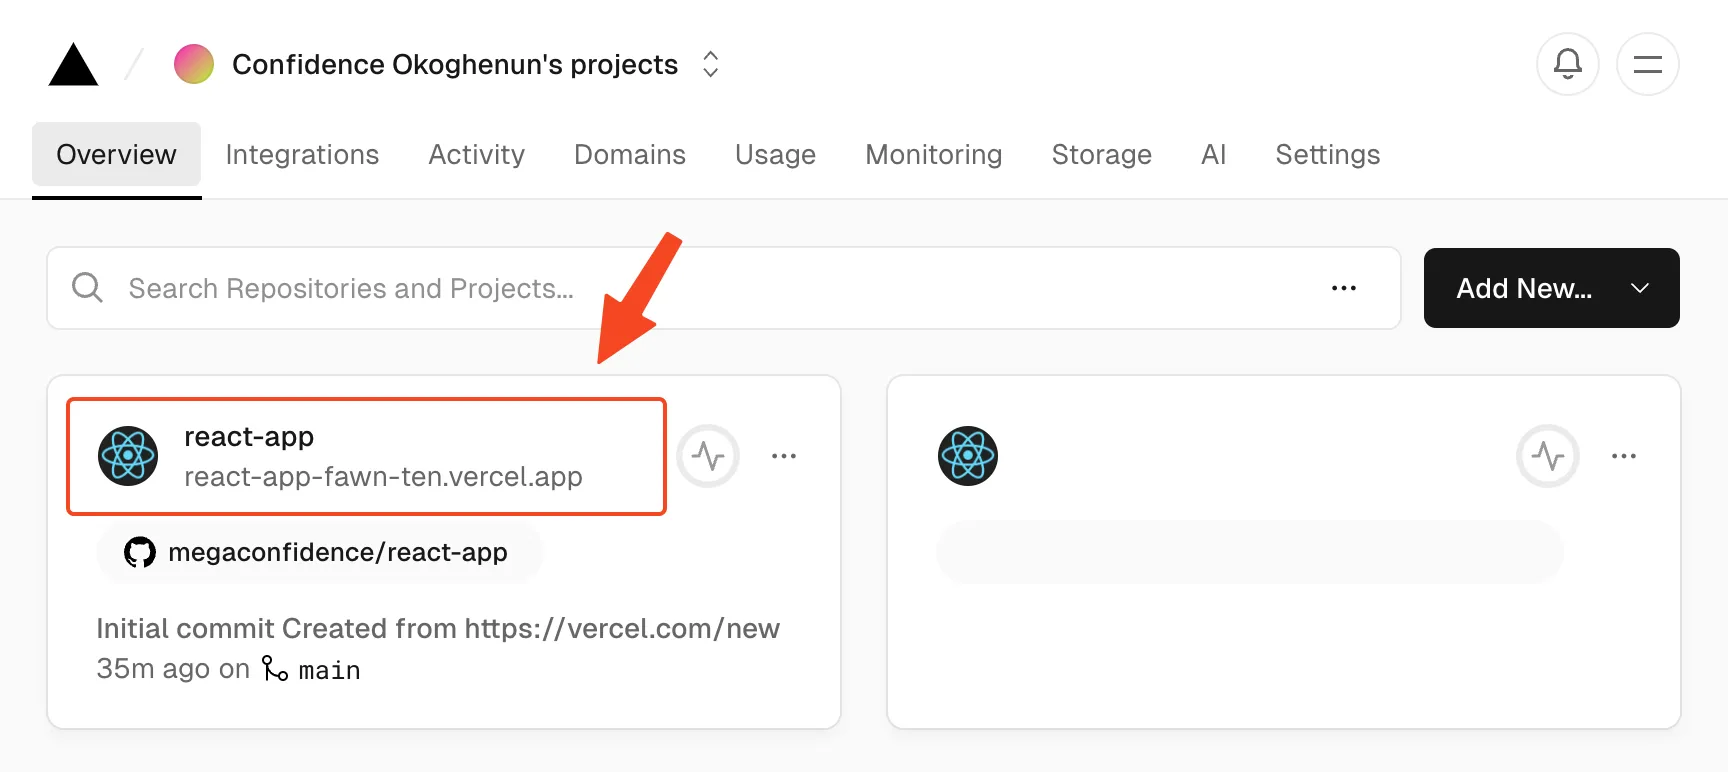
In your Vercel Dashboard, find the project that you want to deploy. It should be configured to deploy from a GitHub repository.
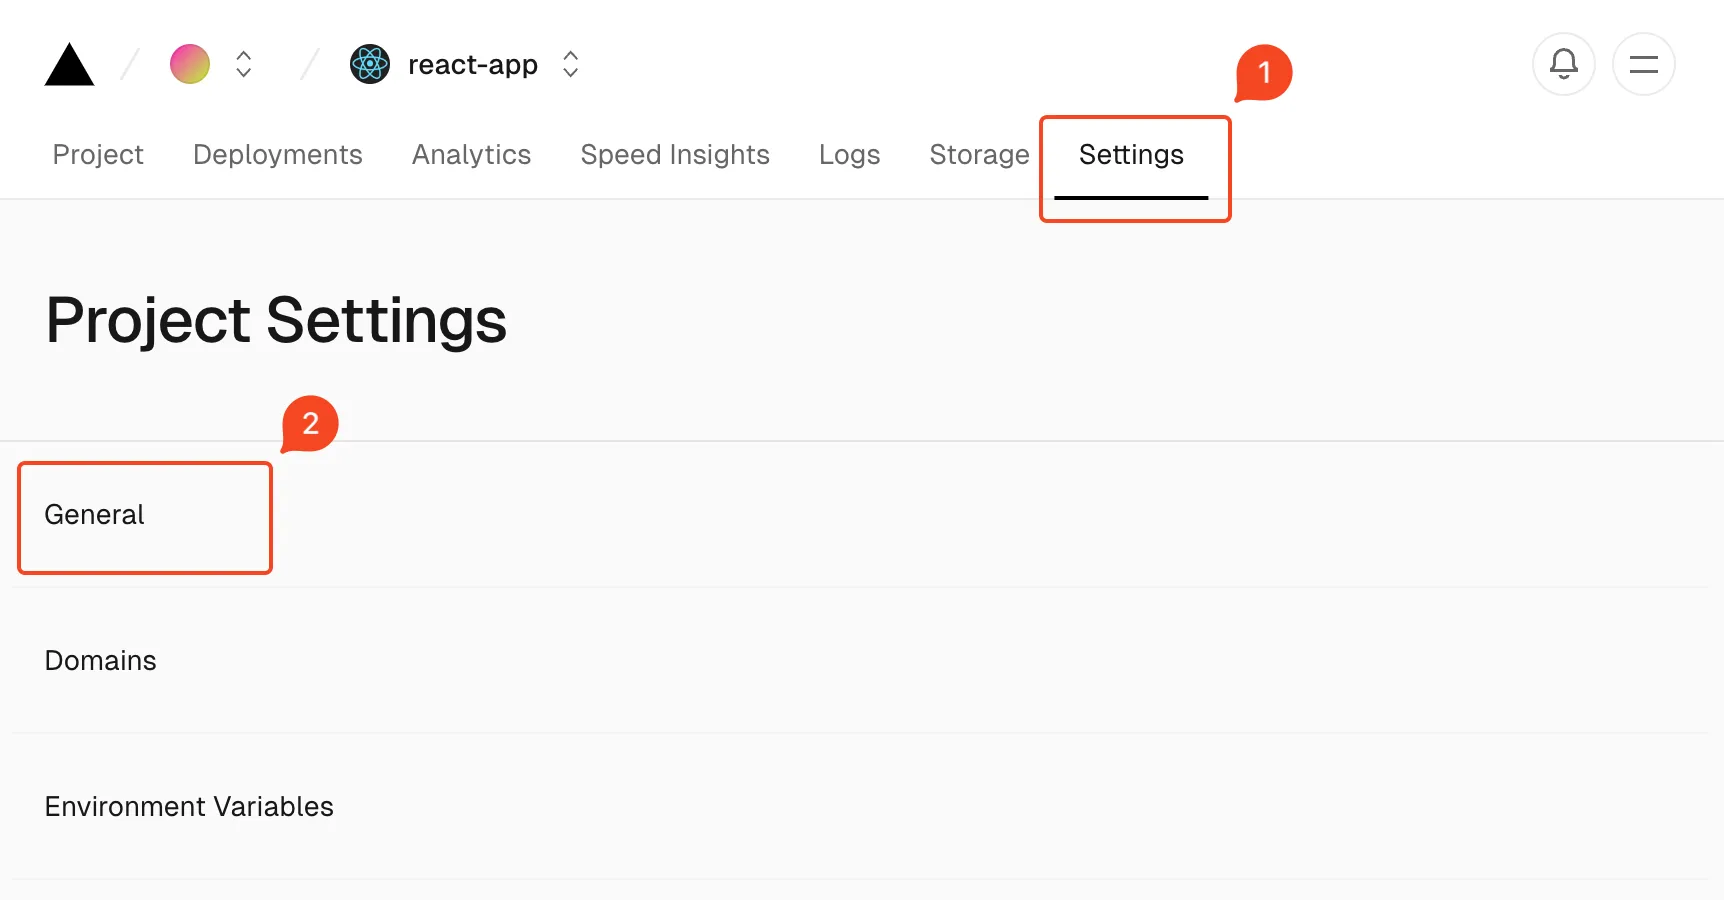
Inside of your site dashboard, select Settings, then General.
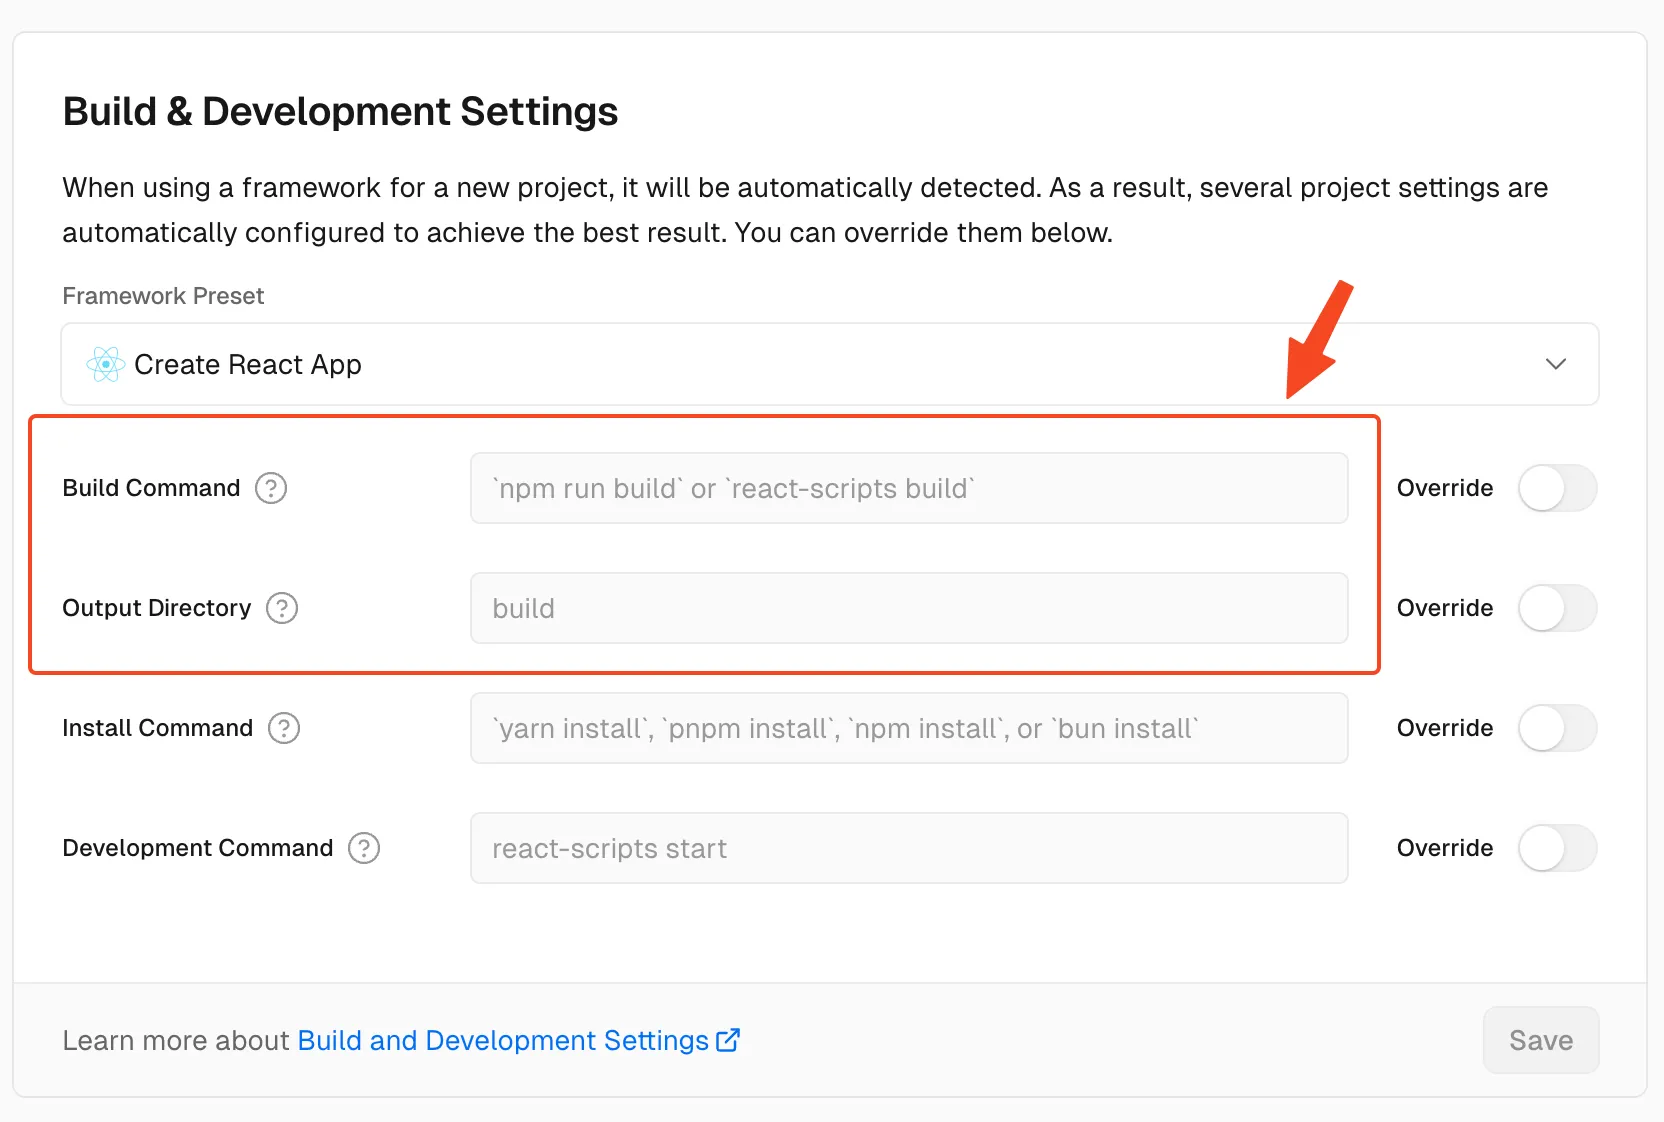
Find the Build & Development settings panel, which will have the Build Command and Output Directory fields. If you are using a framework, these values may not be filled in, but will show the defaults used by the framework. Save these for deploying to Cloudflare Pages. In the below image, the Build Command is npm run build, and the Output Directory is build.
After you have found your build directory and build command, you can move your project to Cloudflare Pages.
The Get started guide will instruct you how to add your GitHub project to Cloudflare Pages.
Next, connect a custom domain to your Pages project. This domain should be the same one as your currently deployed Vercel application.
In most cases, you will want to add your domain to Cloudflare.
This does involve changing your domain nameservers, but simplifies your Pages setup and allows you to use an apex domain for your project (like example.com).
If you want to take a different approach, read more about custom domains.
To add a custom domain:
-
In the Cloudflare dashboard, go to the Workers & Pages page.
Go to Workers & Pages -
Select your Pages project > Custom domains.
-
Select Set up a domain.
-
Provide the domain that you would like to serve your Cloudflare Pages site on and select Continue.
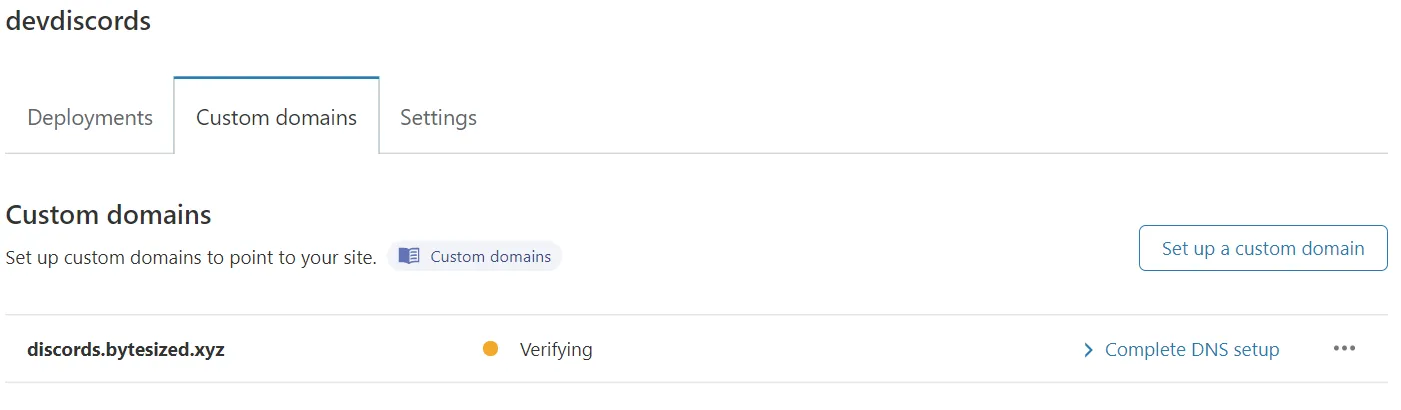
The next steps vary based on if you added your domain to Cloudflare:
- Added to Cloudflare: Cloudflare will set everything up for you automatically and your domain will move to an
Activestatus. - Not added to Cloudflare: You need to update some DNS records at your DNS provider to finish your setup.
Once your custom domain is set up and sending requests to Cloudflare Pages, you can safely delete your Vercel application.
Cloudflare does not provide IP addresses for your Pages project because we do not require A or AAAA records to link your domain to your project. Instead, Cloudflare uses CNAME records.
For more details, refer to Custom domains.