Hexo
Hexo ↗ is a tool for generating static websites, powered by Node.js. Hexo's benefits include speed, simplicity, and flexibility, allowing it to render Markdown files into static web pages via Node.js.
In this guide, you will create a new Hexo application and deploy it using Cloudflare Pages. You will use the hexo CLI to create a new Hexo site.
First, install the Hexo CLI with npm or yarn by running either of the following commands in your terminal:
npm install hexo-cli -g# oryarn global add hexo-cliOn macOS and Linux, you can install with brew ↗:
brew install hexoAll of the framework guides assume you already have a fundamental understanding of Git ↗. If you are new to Git, refer to this summarized Git handbook ↗ on how to set up Git on your local machine.
If you clone with SSH, you must generate SSH keys ↗ on each computer you use to push or pull from GitHub.
Refer to the GitHub documentation ↗ and Git documentation ↗ for more information.
With Hexo CLI installed, create a new project by running the hexo init command in your terminal:
hexo init my-hexo-sitecd my-hexo-siteHexo sites use themes to customize the appearance of statically built HTML sites. Hexo has a default theme automatically installed, which you can find on Hexo's Themes page ↗.
Create a new post to give your Hexo site some initial content. Run the hexo new command in your terminal to generate a new post:
hexo new "hello hexo"Inside of hello-hexo.md, use Markdown to write the content of the article. You can customize the tags, categories or other variables in the article. Refer to the Front Matter section ↗ of the Hexo documentation ↗ for more information.
Create a new GitHub repository by visiting repo.new ↗. After creating a new repository, go to your newly created project directory to prepare and push your local application to GitHub by running the following commands in your terminal:
git initgit remote add origin https://github.com/<your-gh-username>/<repository-name>git add .git commit -m "Initial commit"git branch -M maingit push -u origin mainTo deploy your site to Pages:
-
In the Cloudflare dashboard, go to the Workers & Pages page.
Go to Workers & Pages -
Select Create application.
-
Select the Pages tab.
-
Select Import an existing Git repository.
-
Select the new GitHub repository that you created and then select Begin setup.
-
In the Set up builds and deployments section, provide the following information:
| Configuration option | Value |
|---|---|
| Production branch | main |
| Build command | npm run build |
| Build directory | public |
After completing configuration, click the Save and Deploy button. You should see Cloudflare Pages installing hexo and your project dependencies, and building your site, before deploying it.
After deploying your site, you will receive a unique subdomain for your project on *.pages.dev.
Every time you commit new code to your Hexo site, Cloudflare Pages will automatically rebuild your project and deploy it. You will also get access to preview deployments on new pull requests, so you can preview how changes look to your site before deploying them to production.
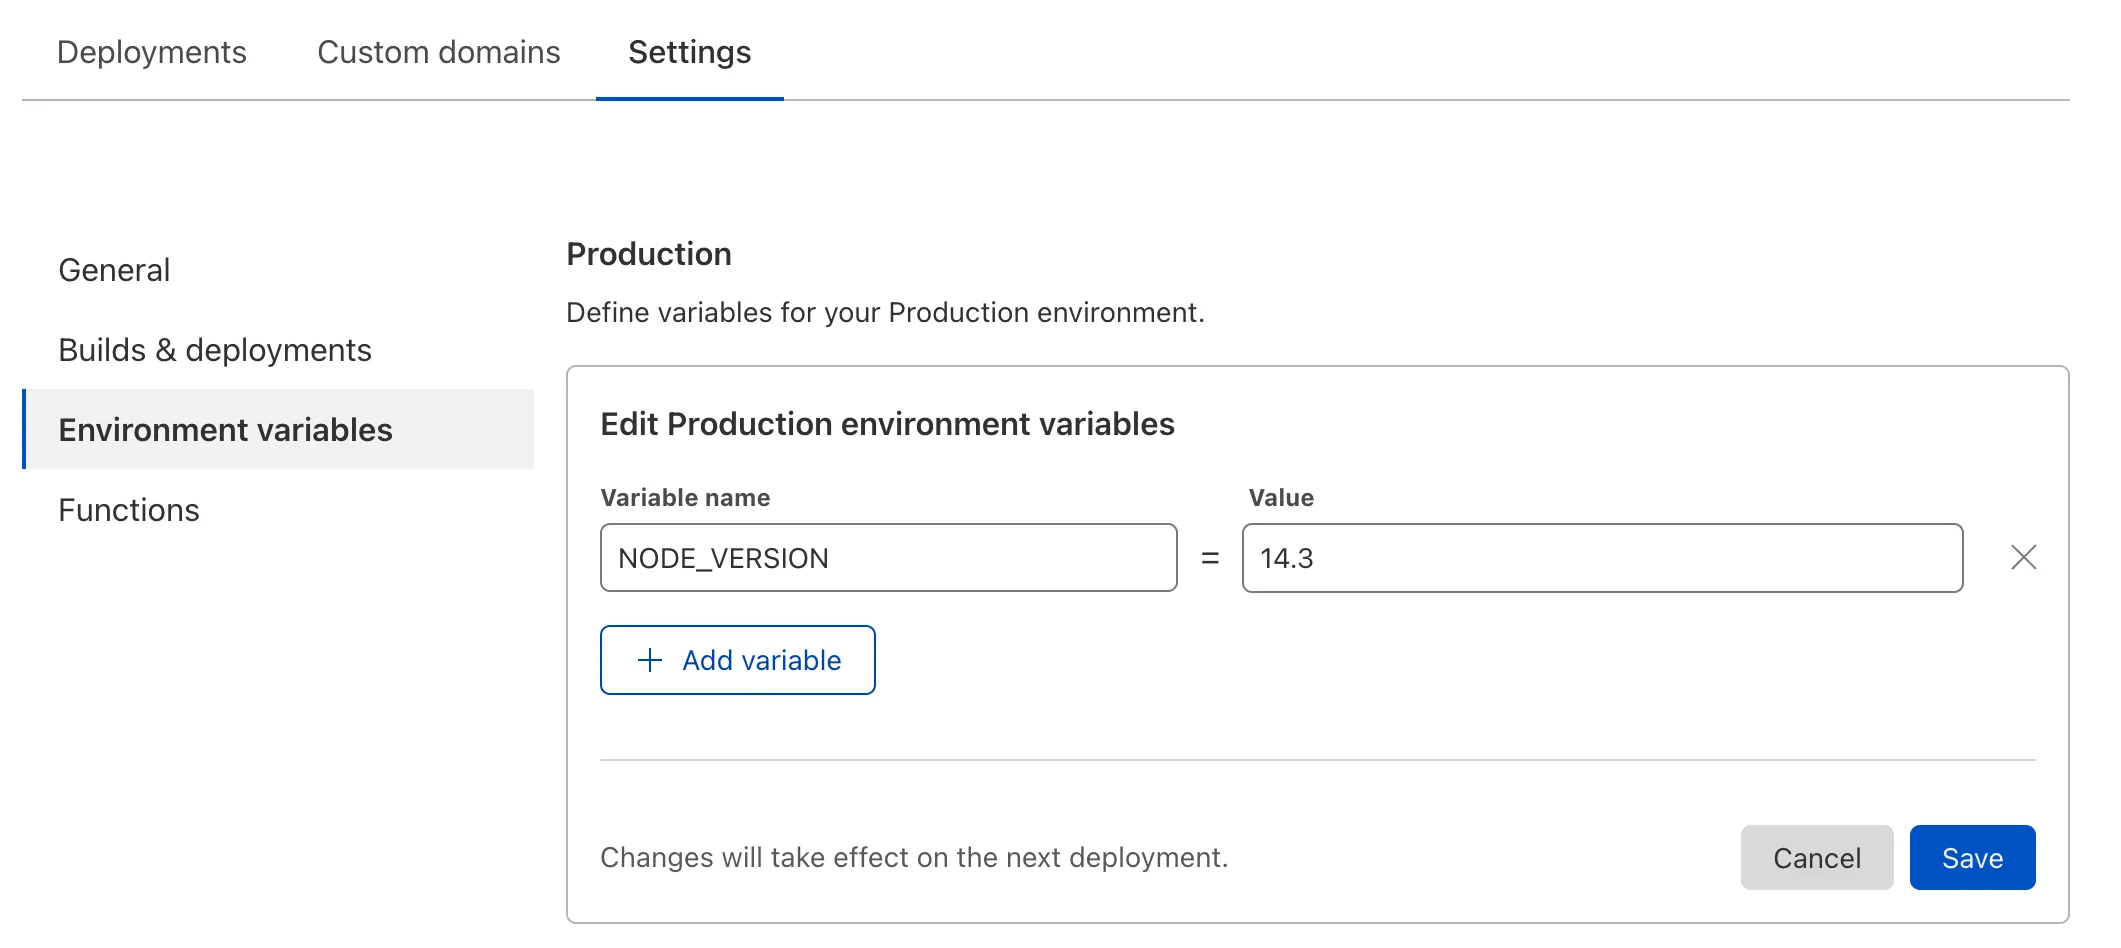
Some Hexo themes or plugins have additional requirements for different Node.js versions. To use a specific Node.js version for Hexo:
- Go to your Pages project.
- Go to Settings > Environment variables.
- Set the environment variable
NODE_VERSIONand a value of your required Node.js version (for example,14.3).
By completing this guide, you have successfully deployed your Hexo site to Cloudflare Pages. To get started with other frameworks, refer to the list of Framework guides.