Migrating from Netlify to Pages
In this tutorial, you will learn how to migrate your Netlify application to Cloudflare Pages.
To move your application to Cloudflare Pages, find your build command and build directory. Cloudflare Pages will use this information to build and deploy your application.
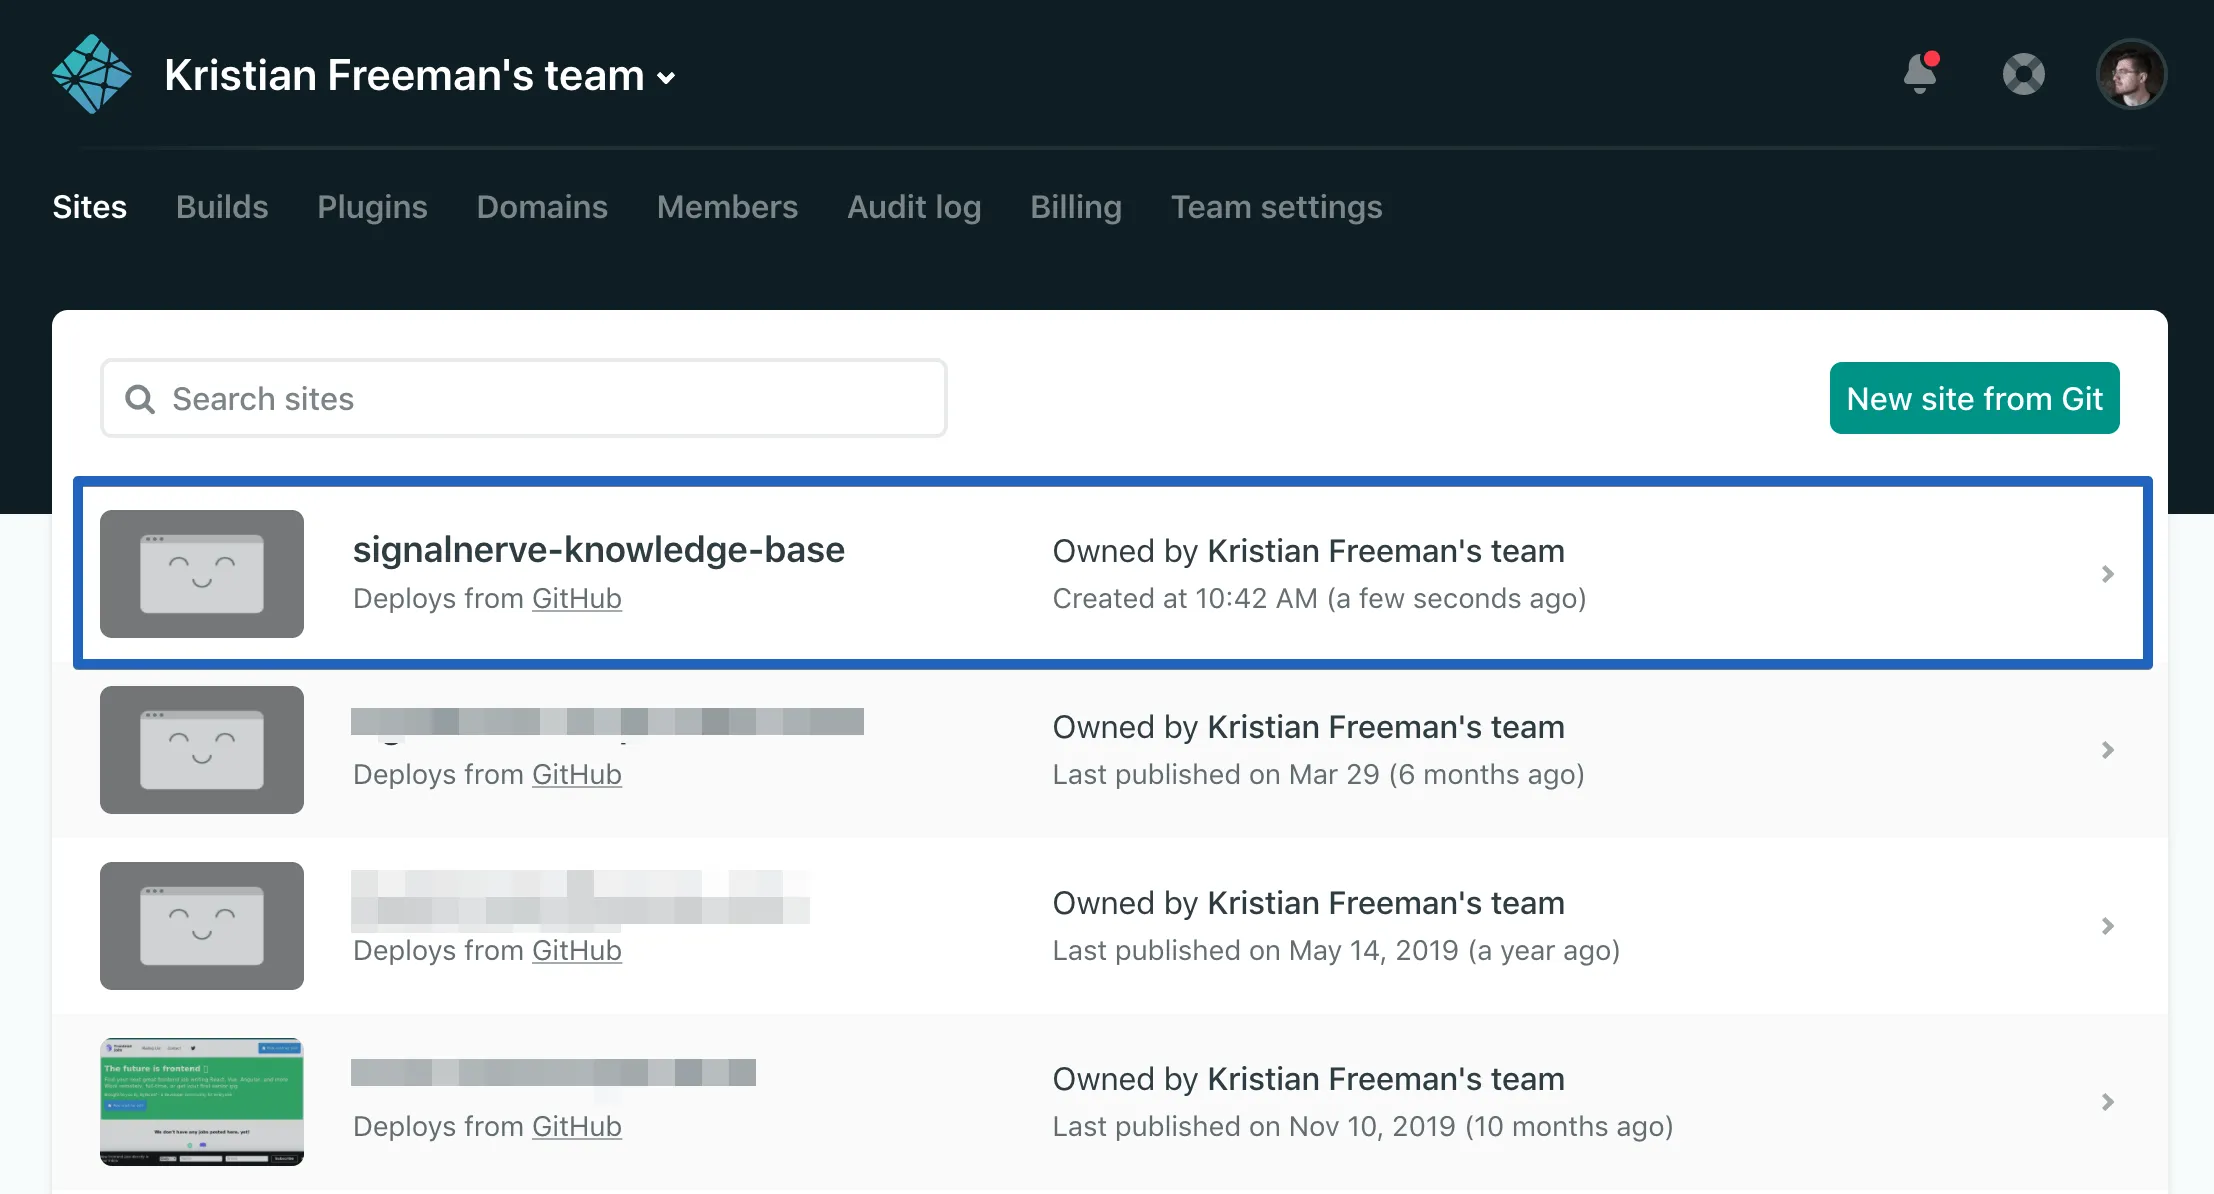
In your Netlify Dashboard, find the project that you want to deploy. It should be configured to deploy from a GitHub repository.
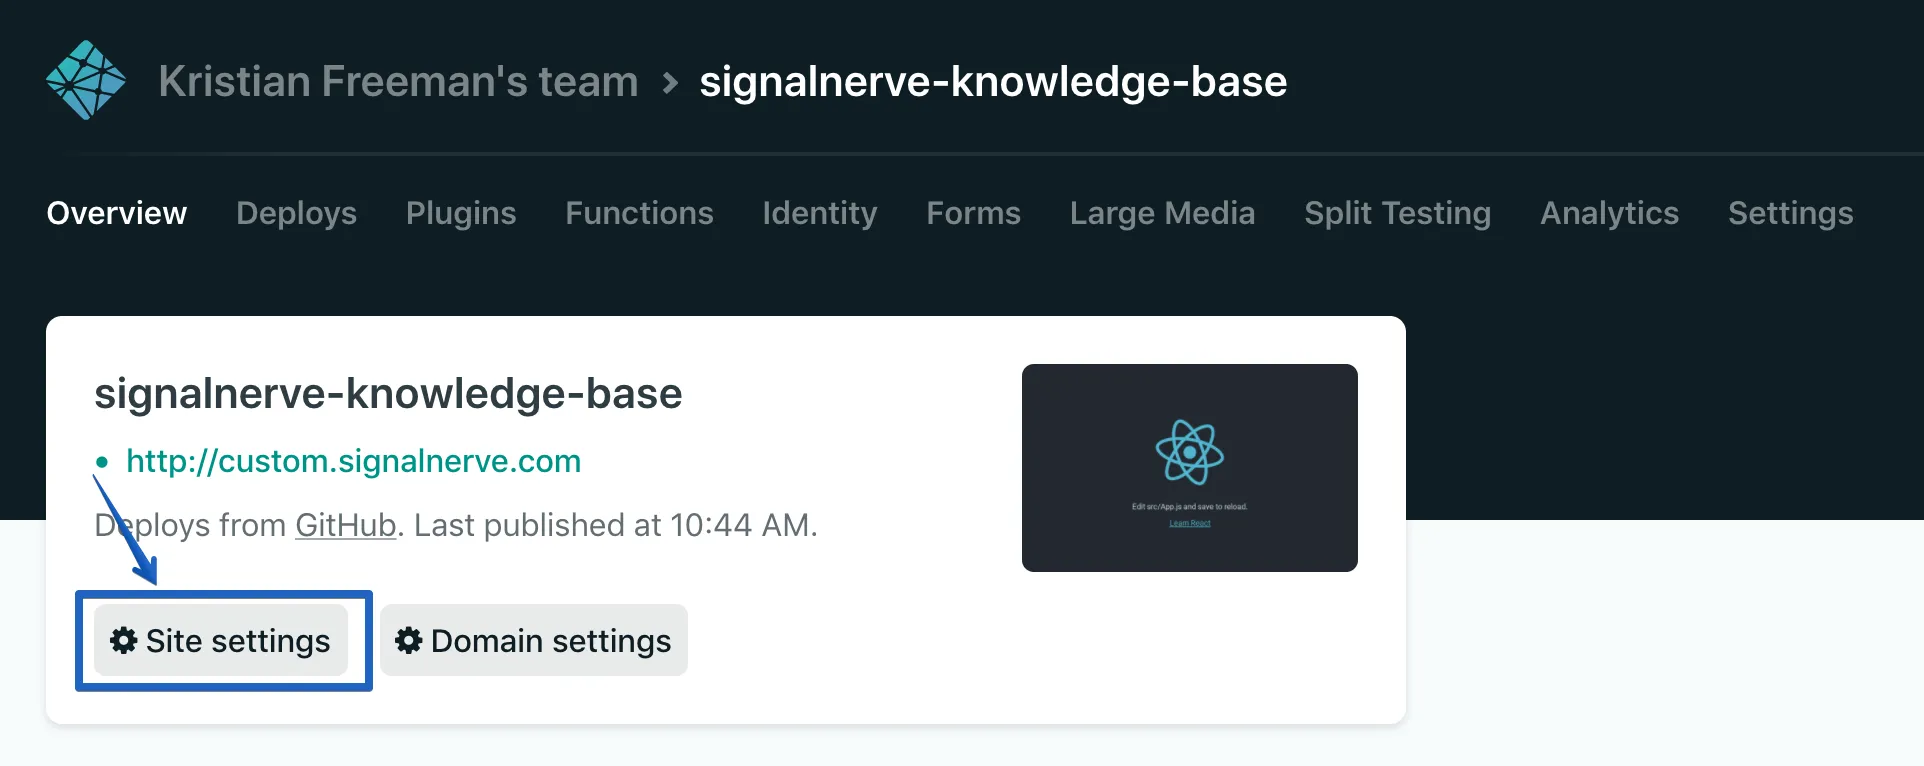
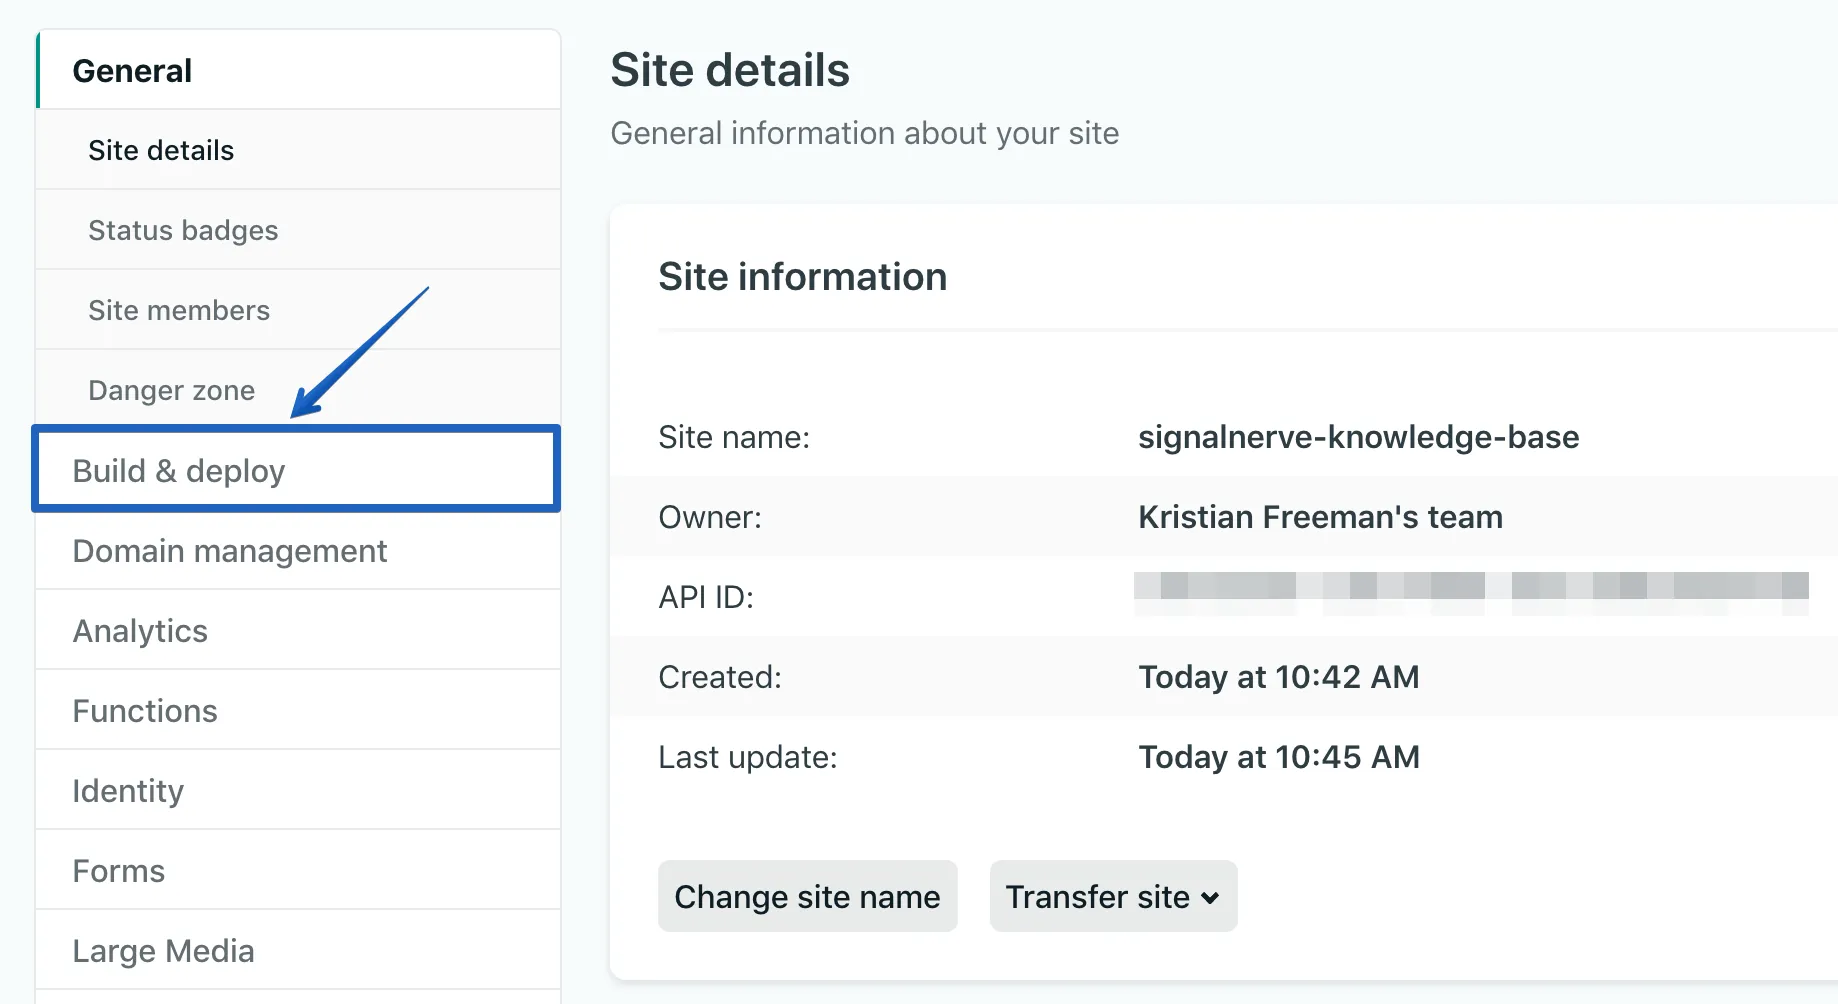
Inside of your site dashboard, select Site Settings, and then Build & Deploy.
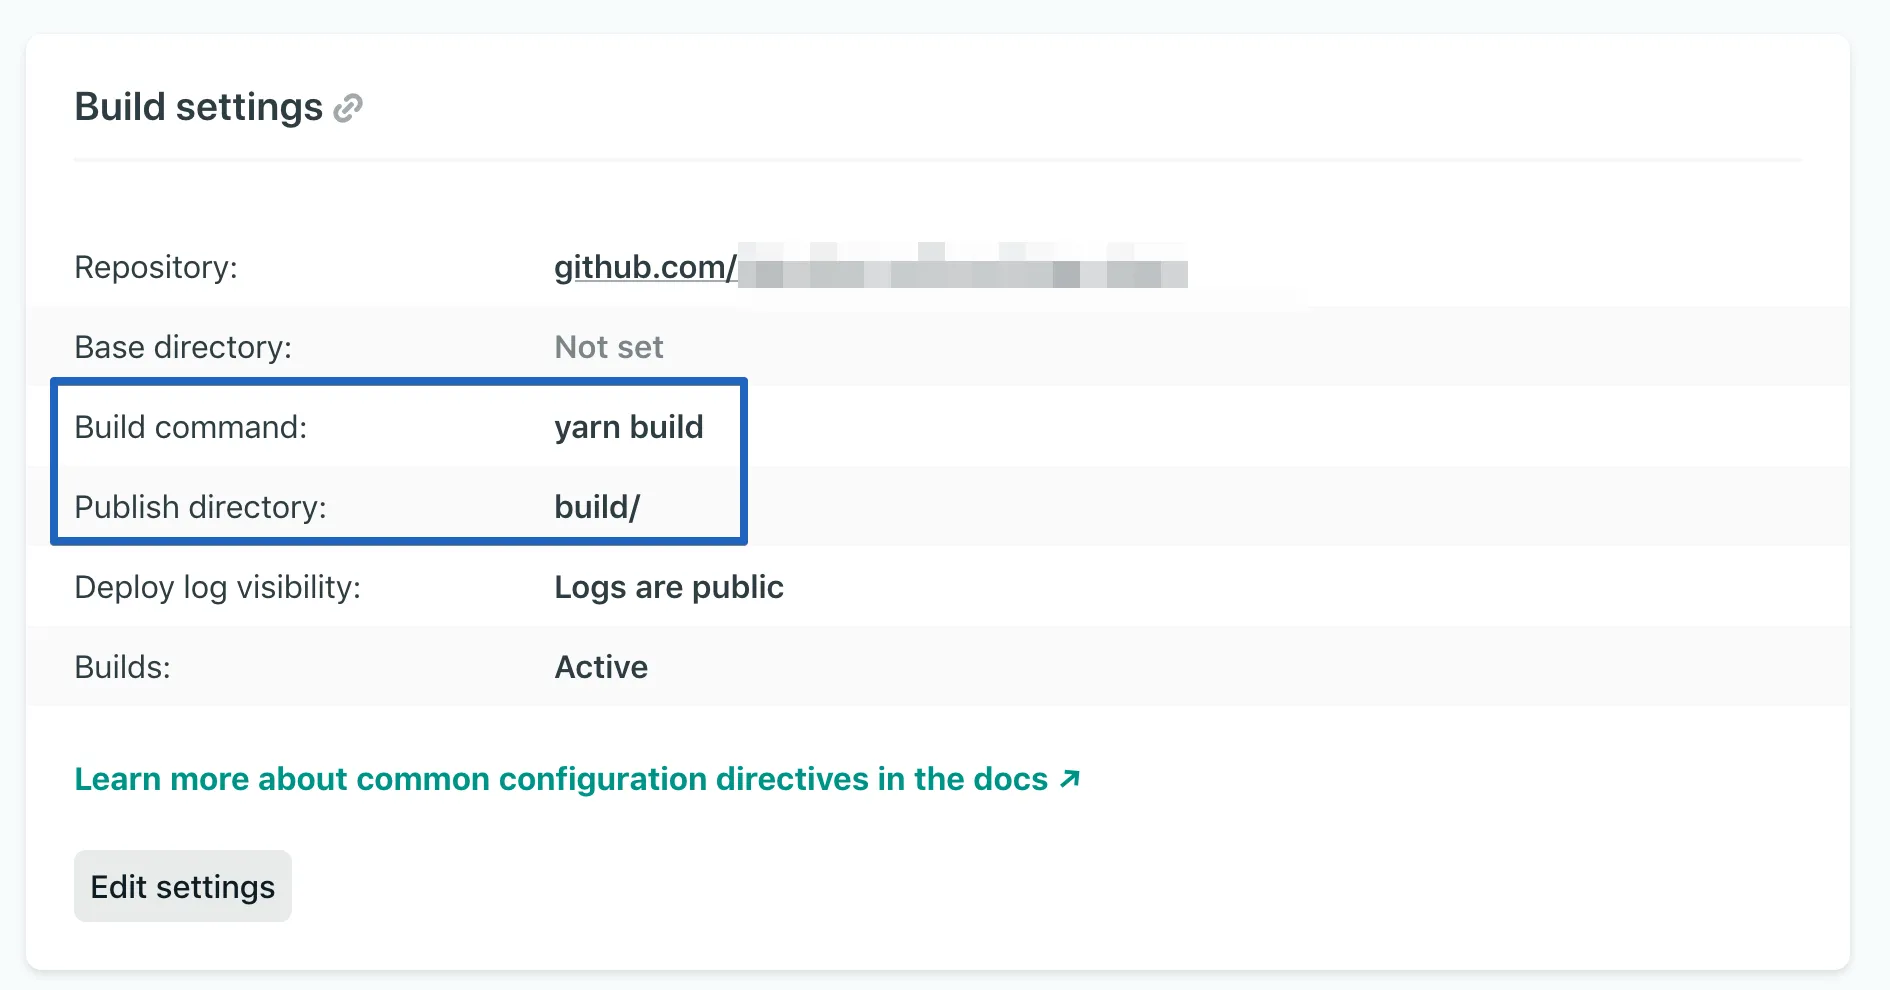
In the Build & Deploy tab, find the Build settings panel, which will have the Build command and Publish directory fields. Save these for deploying to Cloudflare Pages. In the below image, Build command is yarn build, and Publish directory is build/.
If your site includes a _redirects file in your publish directory, you can use the same file in Cloudflare Pages and your redirects will execute successfully. If your redirects are in your netlify.toml file, you will need to add them to the _redirects folder. Cloudflare Pages currently offers limited supports for advanced redirects. In the case where you have over 2000 static and/or 100 dynamic redirects rules, it is recommended to use Bulk Redirects.
Your header files can also be moved into a _headers folder in your publish directory. It is important to note that custom headers defined in the _headers file are not currently applied to responses from functions, even if the function route matches the URL pattern. To learn more about how to handle headers, refer to Headers.
In your form component, remove the data-netlify = "true" attribute or the Netlify attribute from the <form> tag. You can now put your form logic as a Pages Function and collect the entries to a database or an Airtable. Refer to the handling form submissions with Pages Functions tutorial for more information.
Netlify functions and Pages Functions share the same filesystem convention using a functions directory in the base of your project to handle your serverless functions. However, the syntax and how the functions are deployed differs. Pages Functions run on Cloudflare Workers, which by default operate on the Cloudflare global network, and do not require any additional code or configuration for deployment.
Cloudflare Pages Functions also provides middleware that can handle any logic you need to run before and/or after your function route handler.
Netlify functions export an async event handler that accepts an event and a context as arguments. In the case of Pages Functions, you will have to export a single onRequest function that accepts a context object. The context object contains all the information for the request such as request, env, params, and returns a new Response. Learn more about writing your first function
Hello World with Netlify functions:
exports.handler = async function (event, context) { return { statusCode: 200, body: JSON.stringify({ message: "Hello World" }), };};Hello World with Pages Functions:
export async function onRequestPost(request) { return new Response(`Hello world`);}Your netlify.toml file might have other configurations that are supported by Pages, such as, preview deployment, specifying publish directory, and plugins. You can delete the file after migrating your configurations.
You can migrate your access management to Cloudflare Zero Trust which allows you to manage user authentication for your applications, event logging and requests.
Once you have found your build directory and build command, you can move your project to Cloudflare Pages.
The Get started guide will instruct you how to add your GitHub project to Cloudflare Pages.
If you choose to use a custom domain for your Pages, you can set it to the same custom domain as your currently deployed Netlify application. To assign a custom domain to your Pages project, refer to Custom Domains.
In the Cloudflare dashboard, go to the DNS Records page.
Go to RecordsReview that you have updated the CNAME record for your domain from Netlify to Cloudflare Pages. With your DNS record updated, requests will go to your Pages application.
In DNS, your record's Content should be your <SUBDOMAIN>.pages.dev subdomain.
With the above steps completed, you have successfully migrated your Netlify project to Cloudflare Pages.