PhishNet for Office 365
PhishNet is an add-in button that helps users to submit directly to Cloud Email Security (formerly Area 1) phish samples missed by Cloud Email Security’s detection. PhishNet avoids the previous process, where users had to report phish to their email admins, which then had to manually download and forward the sample to Cloud Email Security.
Prerequisites
To set up PhishNet with Office 365, you will need:
- An Cloud Email Security account with admin access.
- Admin access to Microsoft.com.
Set up PhishNet for Office 365
Log in to admin.microsoft.com with your admin account.
Select the three-line button to open the menu.
Go to Settings > Integrated Apps.
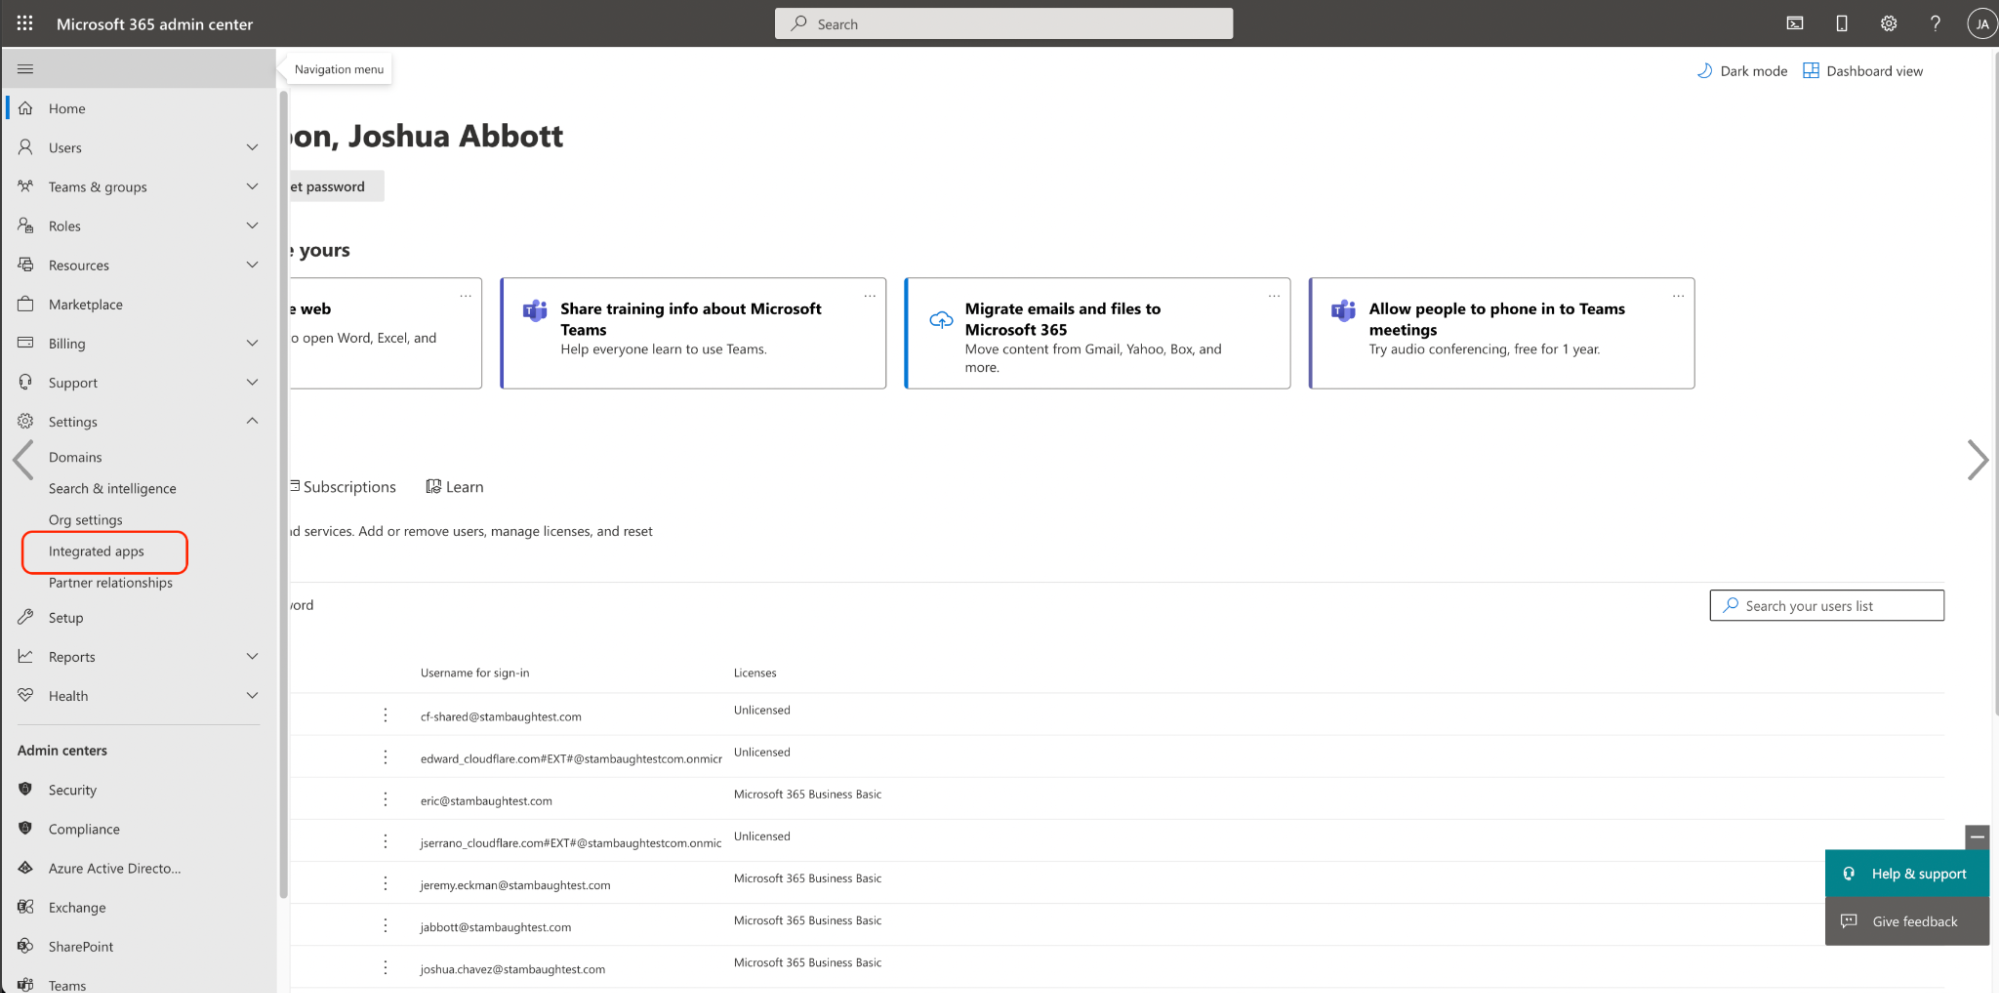
Select Upload custom apps.

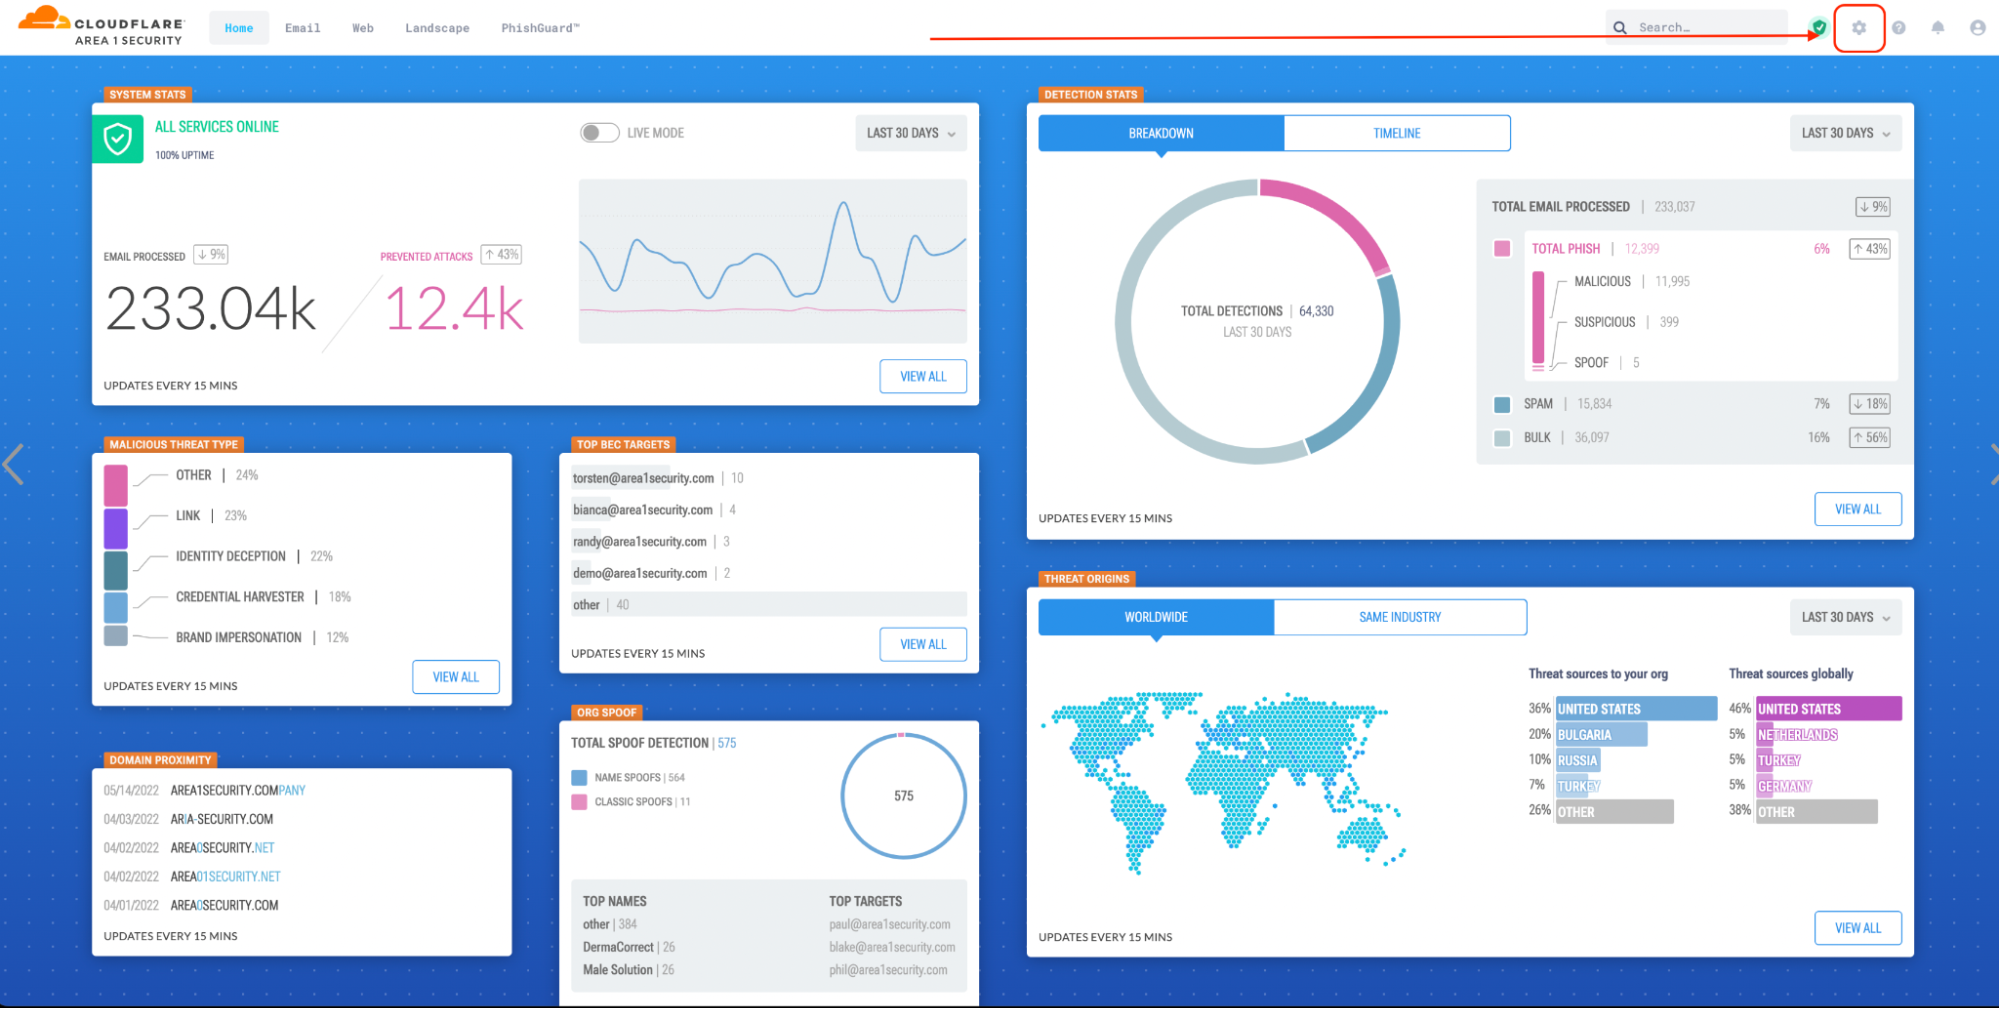
On a new browser tab, log in to Cloud Email Security (formerly Area 1) with an admin account.
Select Settings (gear icon).
Go to Email Configuration > Phish Submissions > PhishNet O365.
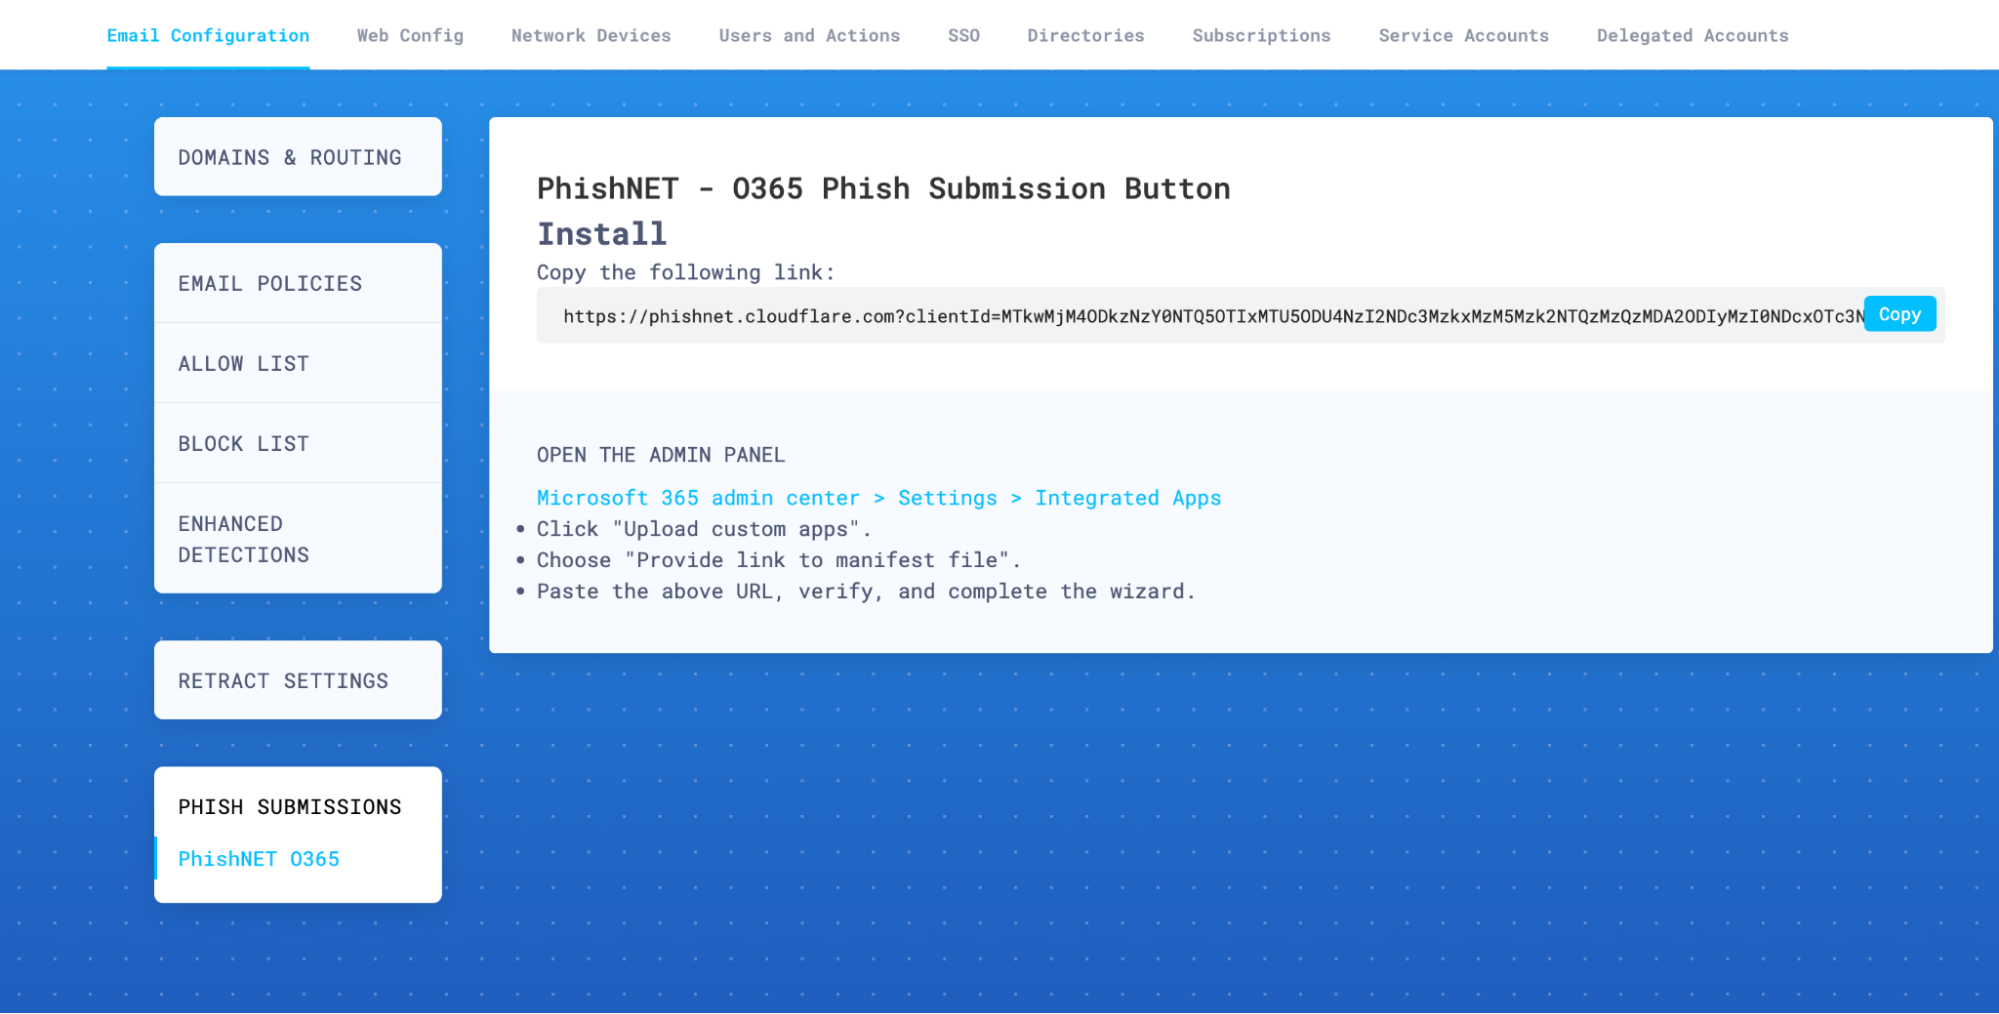
Select Copy to copy the URL. This URL will let you install PhishNet in Office 365.
Go back to the Microsoft admin browser tab.
From Upload Apps to deploy, select Provide link to manifest file, and paste the URL you copied from your Cloud Email Security dashboard.
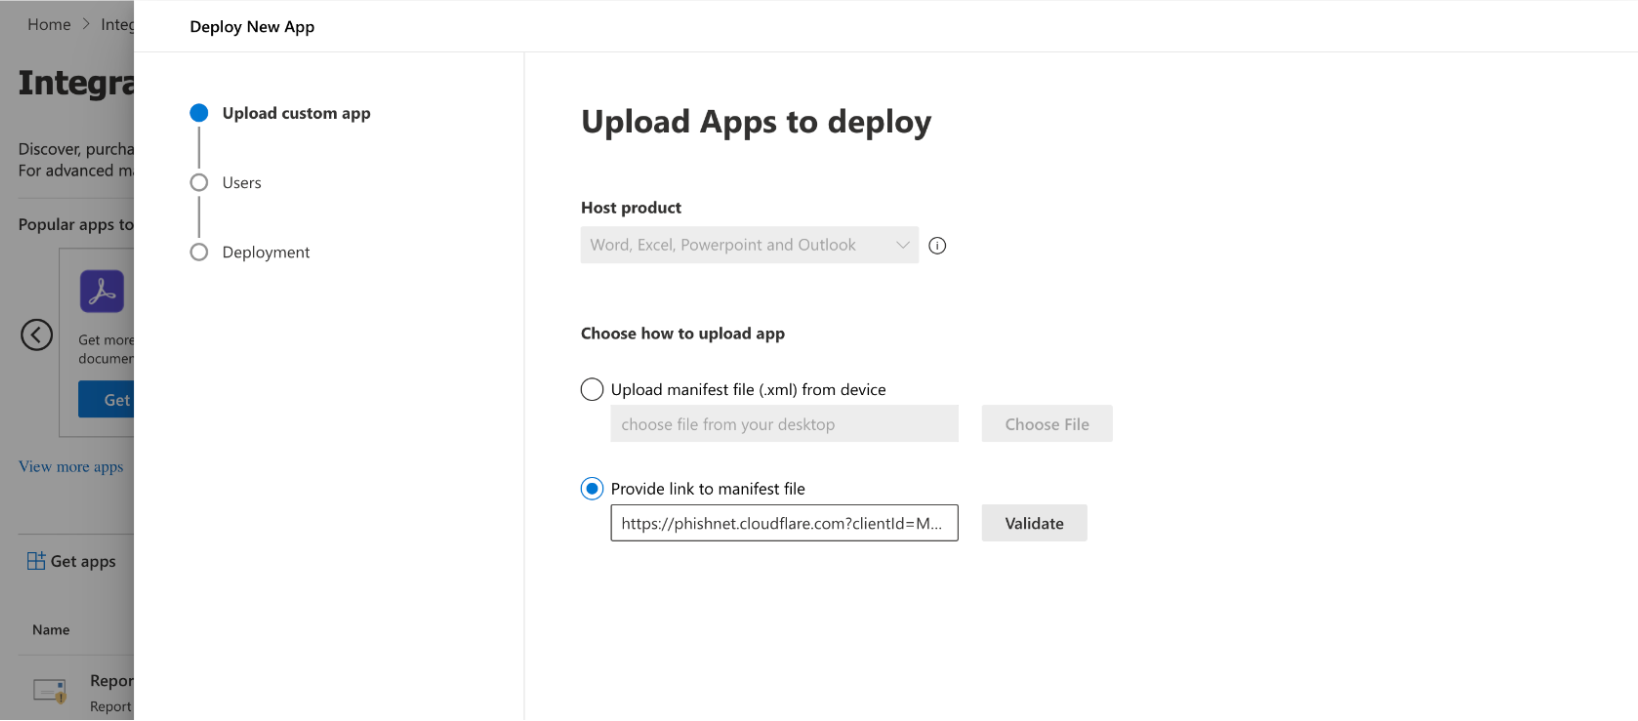
Select Validate. Wait for a success message to appear below the input. Then, select Next.
Under Assign users, select Entire Organization, and then select Next.
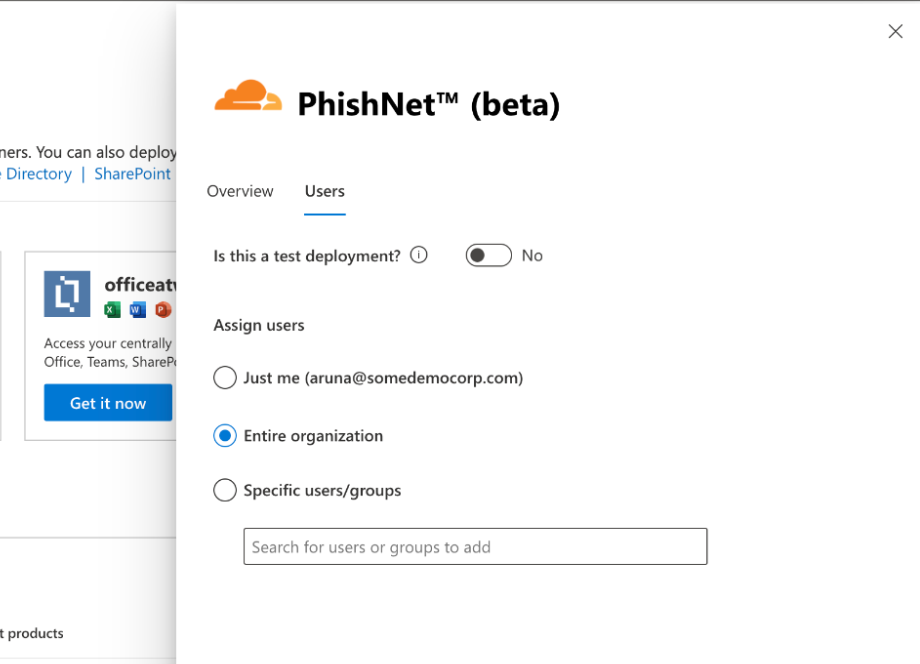
In App Permissions and Capabilities, make sure PhishNet has the correct permissions:
Outlook: ReadWriteMailbox, SendReceiveData. Then, select Next.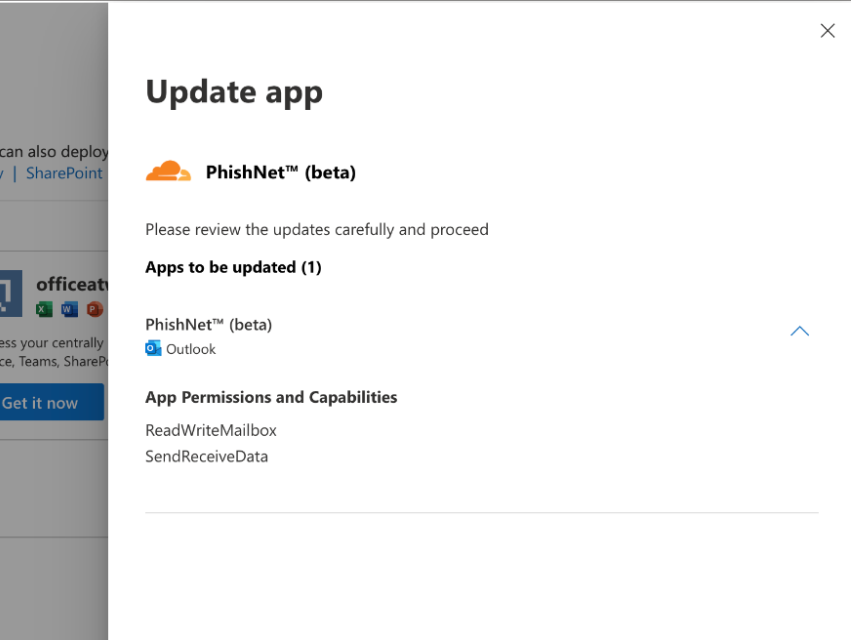
In the next screen, make sure that in Assigned Users you have Entire organization. Then, select Finish Deployment.
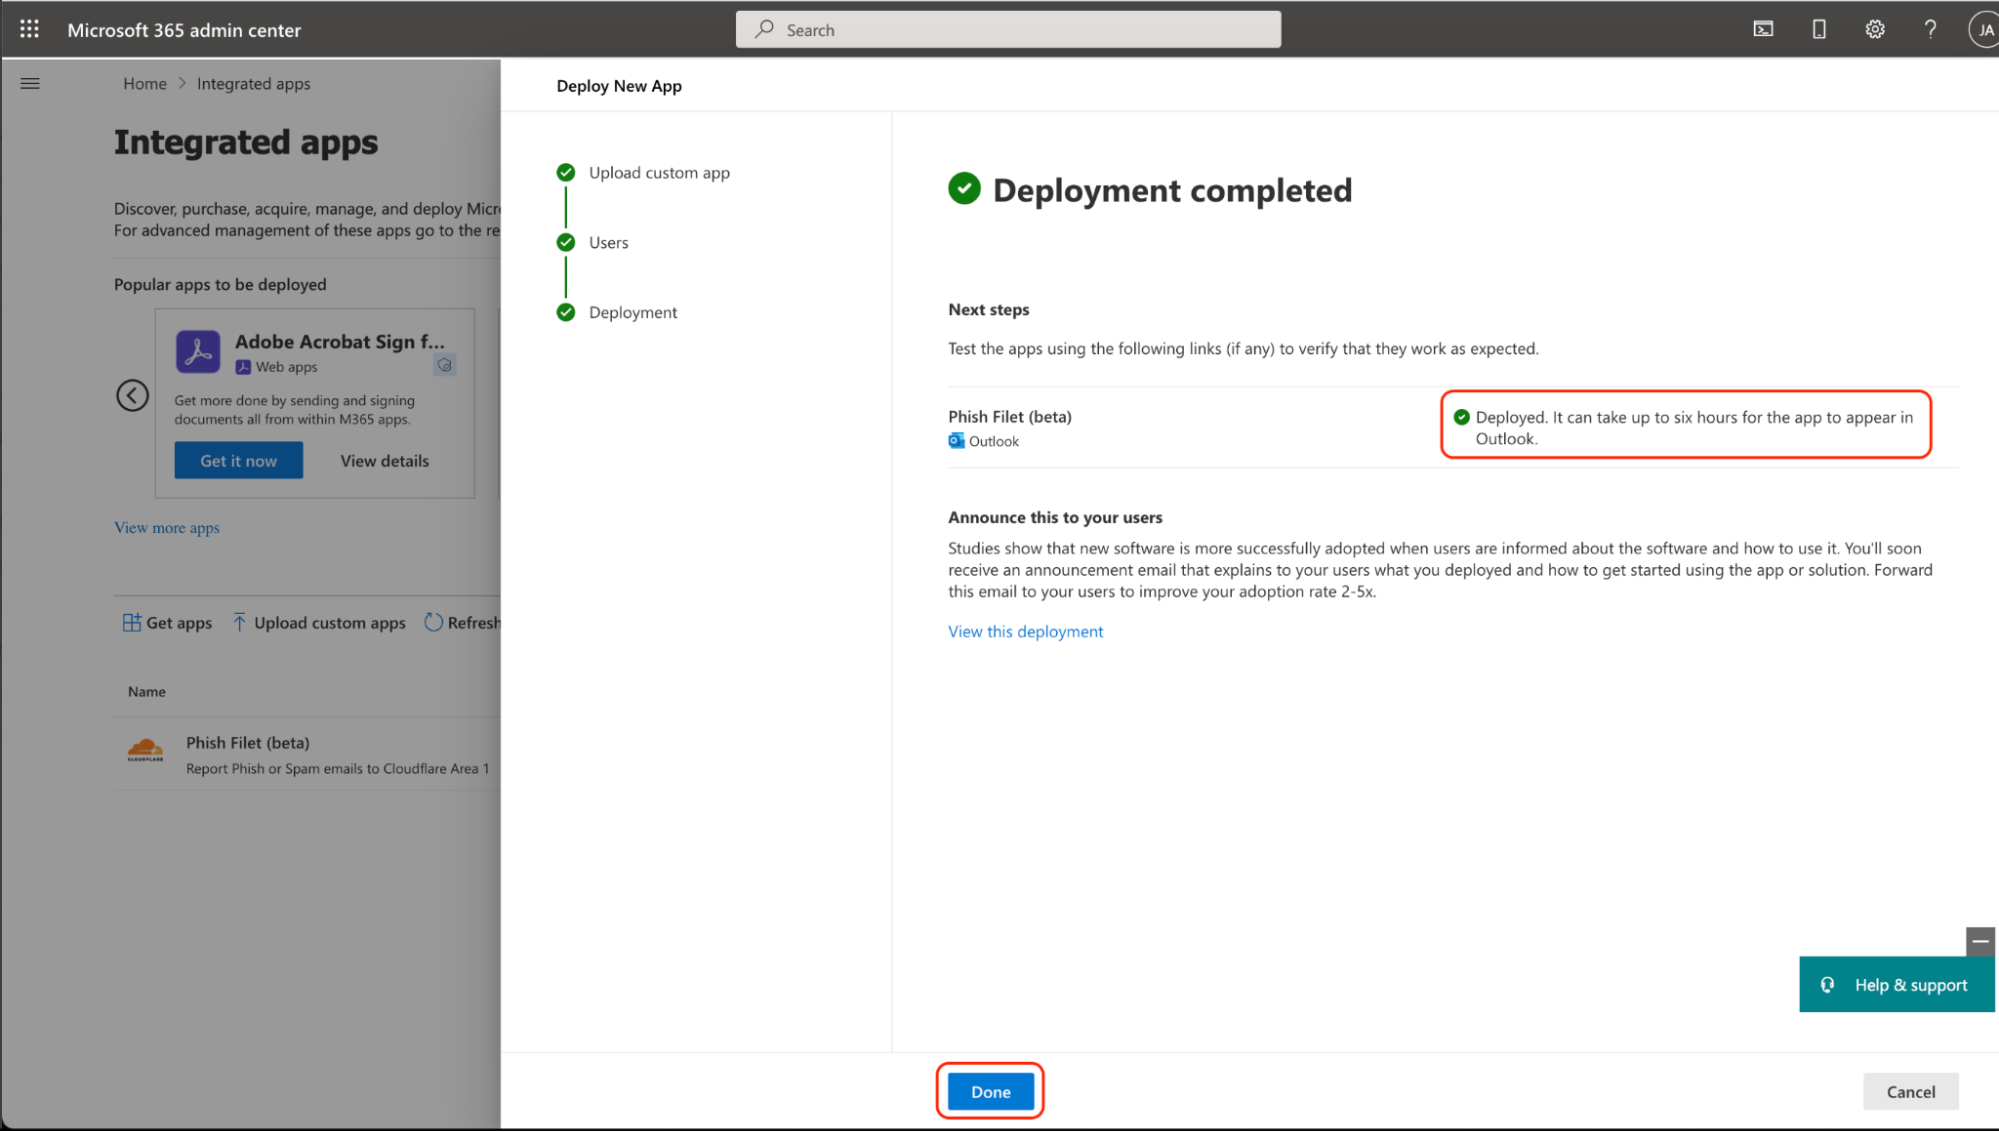
Once deployment is complete, you should see a message confirming it. Note that it can take up to six hours for PhishNet to appear in Office 365 (or six hours to update if previously installed.) Select Done.
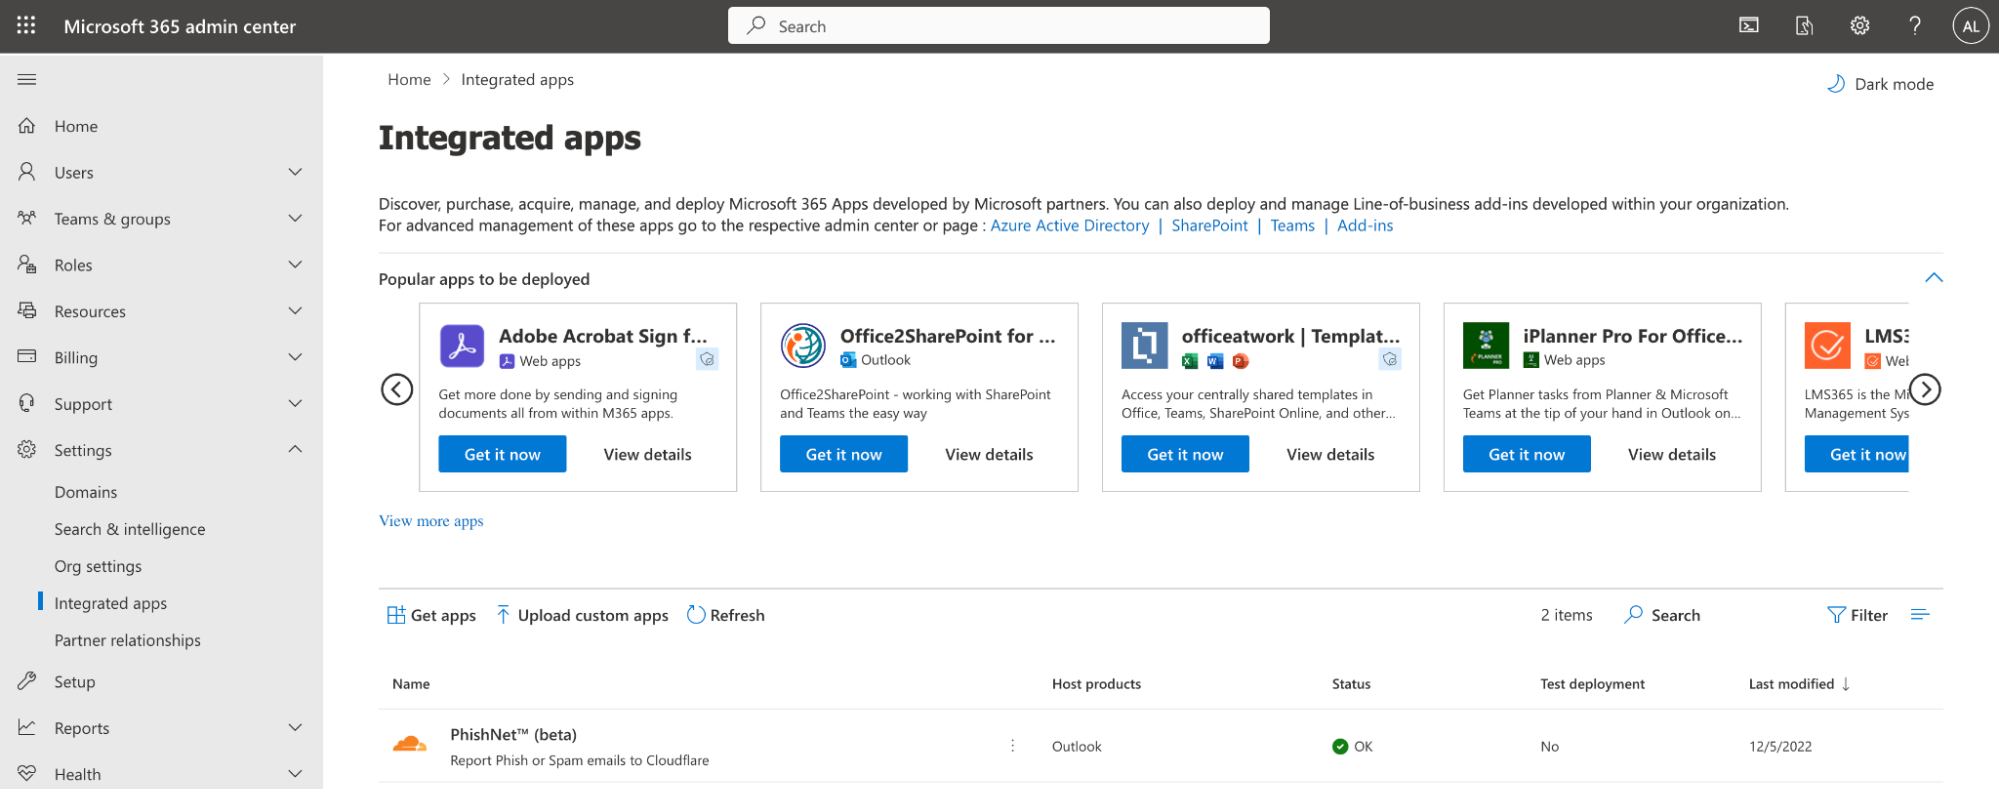
You have now installed PhishNet for Office 365. After the process is complete, PhishNet will show up on the Integrated Apps screen.
Submit phish with PhishNet
Open the message you would like to flag as either spam or phish.
Select the PhishNet logo in the task pane, near the other action buttons - such as reply and forward.
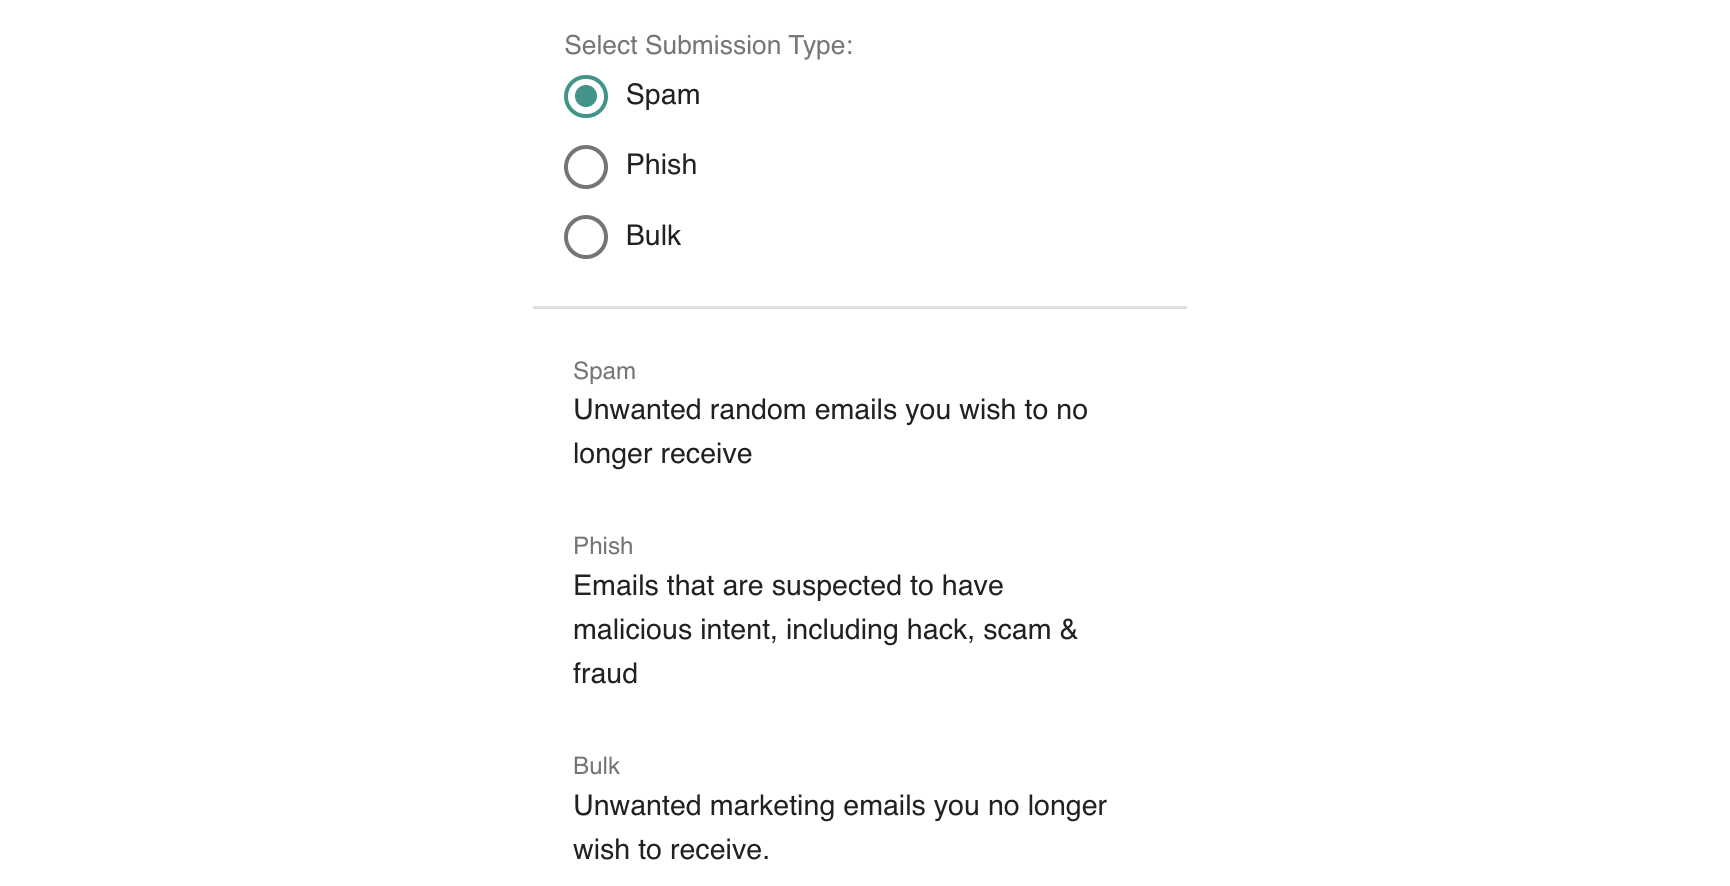
Under Select Submission Type, select the type of your submission - Spam or Phish.
Select Submit Report.
Once the email has been successfully submitted to Cloudflare Cloud Email Security for review, PhishNet will show you a Submission Complete message.