Cloudflare recommends API tokens as the preferred authentication method with Cloudflare APIs. This article walks through creating API tokens for authentication to the GraphQL Analytics API.
For more details on API tokens and the full range of supported options, refer to Creating API tokens.
To create an API token for authentication to the GraphQL Analytics API, use this workflow:
- Access the Create API Token page
- Configure a custom API token
- Review and create your API token
- Copy and test your API token
-
In the Cloudflare dashboard, go to the Account API tokens page.
Go to Account API tokens ↗ -
Select Create Token.
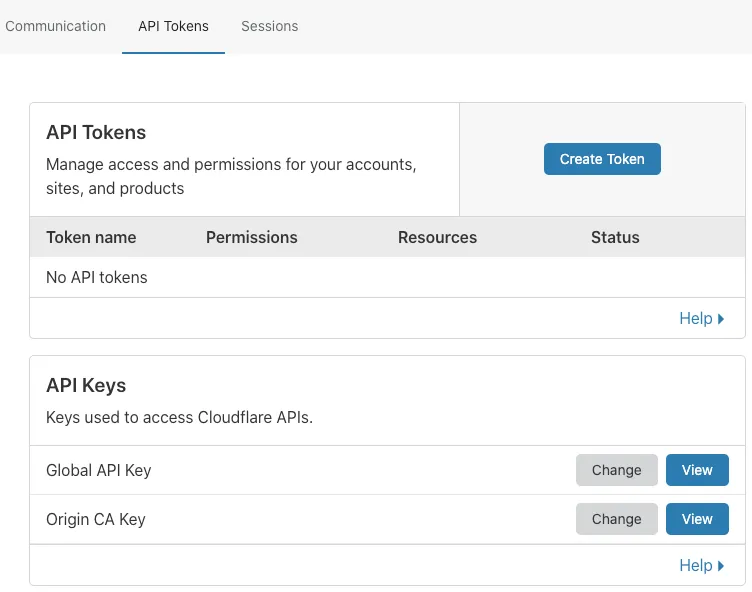
The Create API Token page displays.
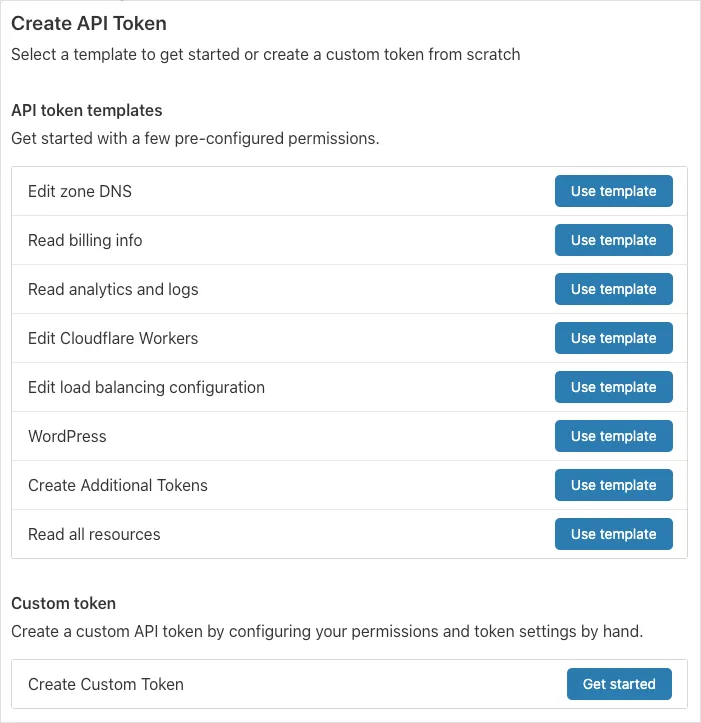
The next section of this walkthrough shows you how to configure a custom token for access to the GraphQL Analytics API.
To configure a custom token, follow these steps:
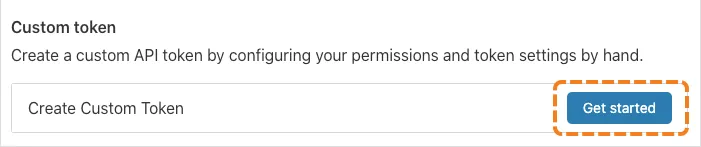
- Select Get started in the Custom token section of the Create API Token page:
The Create Custom Token page displays:
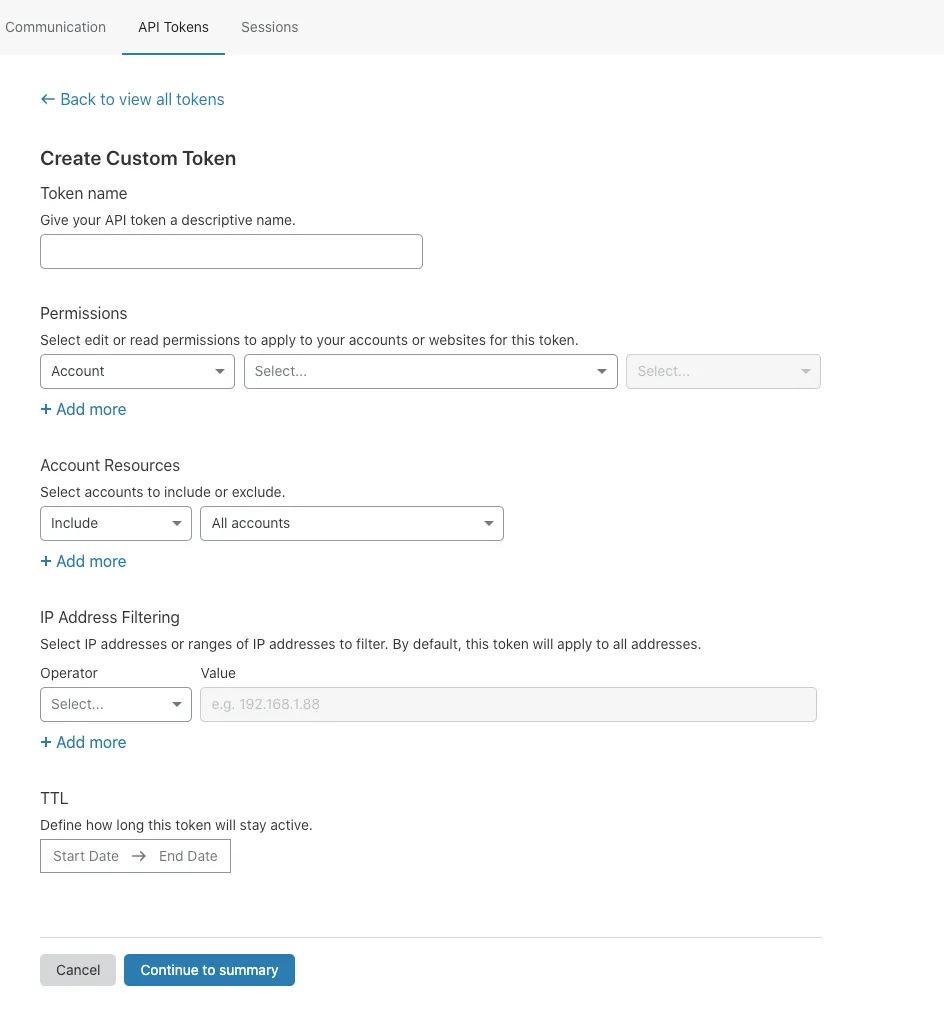
-
Enter a descriptive name for your token in the Token name text input field.
-
To configure access to the GraphQL Analytics API, use the Permissions drop-down lists.
-
To set permissions for the GraphQL Analytics API, select Account in the first drop-down list, Account Analytics from the second drop-down list, and Read from the third.
This example scopes account-level permissions for read access to the Analytics API:

- To configure the specific zones to which the token grants access, use the Zone Resources drop-down lists. In this example, the token is set to grant access to all zones:

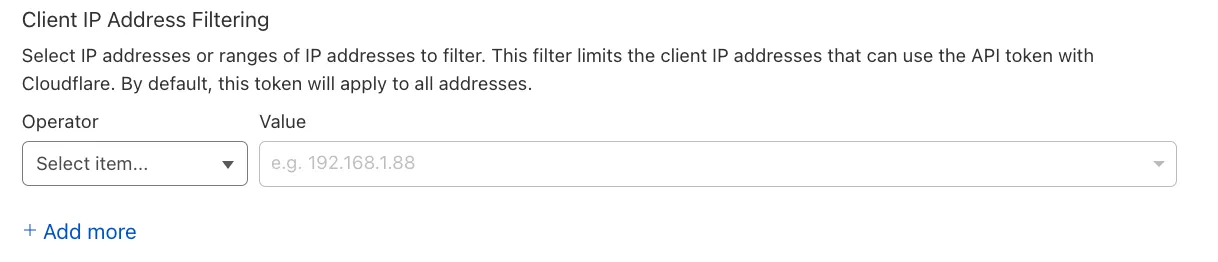
- To restrict the API token to specific IP addresses, use the Client IP Address Filtering controls.
- To define how long the token is valid, select the TTL (time-to-live) start/end date.

- Select Continue to summary.
The next section of this walkthrough covers how to review and test your API token.
Once you select Continue to summary, the API Token Summary page displays.
Use the API Token Summary to confirm that you have scoped the API Token to the desired permissions and resources before creating it.
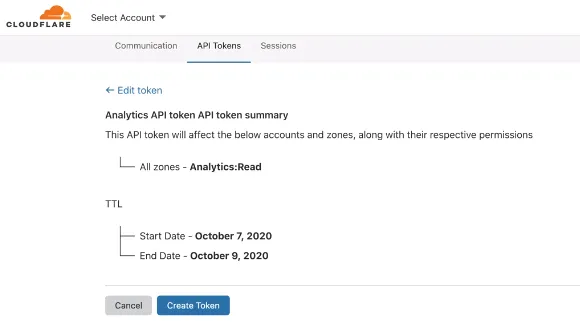
Once you have validated your API token configuration, select Create Token.
When you create a new token, a confirmation page displays that includes your token and a custom curl command.
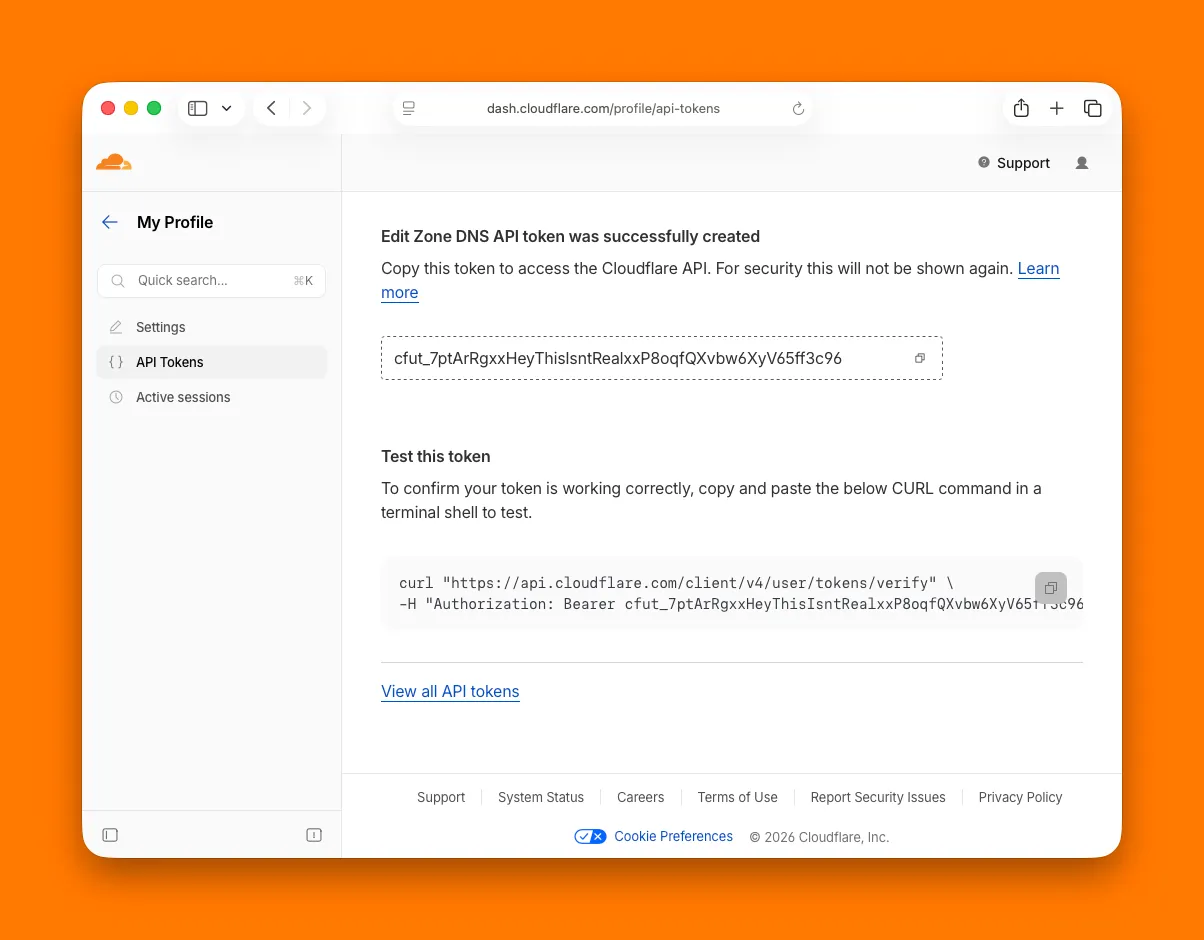
To copy the token to your device's clipboard, select the Copy button.
To test your token, copy the curl command and paste it into a terminal.
When you have finished, select View all API tokens.