Serve uploaded images
To serve images uploaded to Cloudflare Images, you must have:
- Your Images account hash
- Image ID
- Variant or flexible variant name
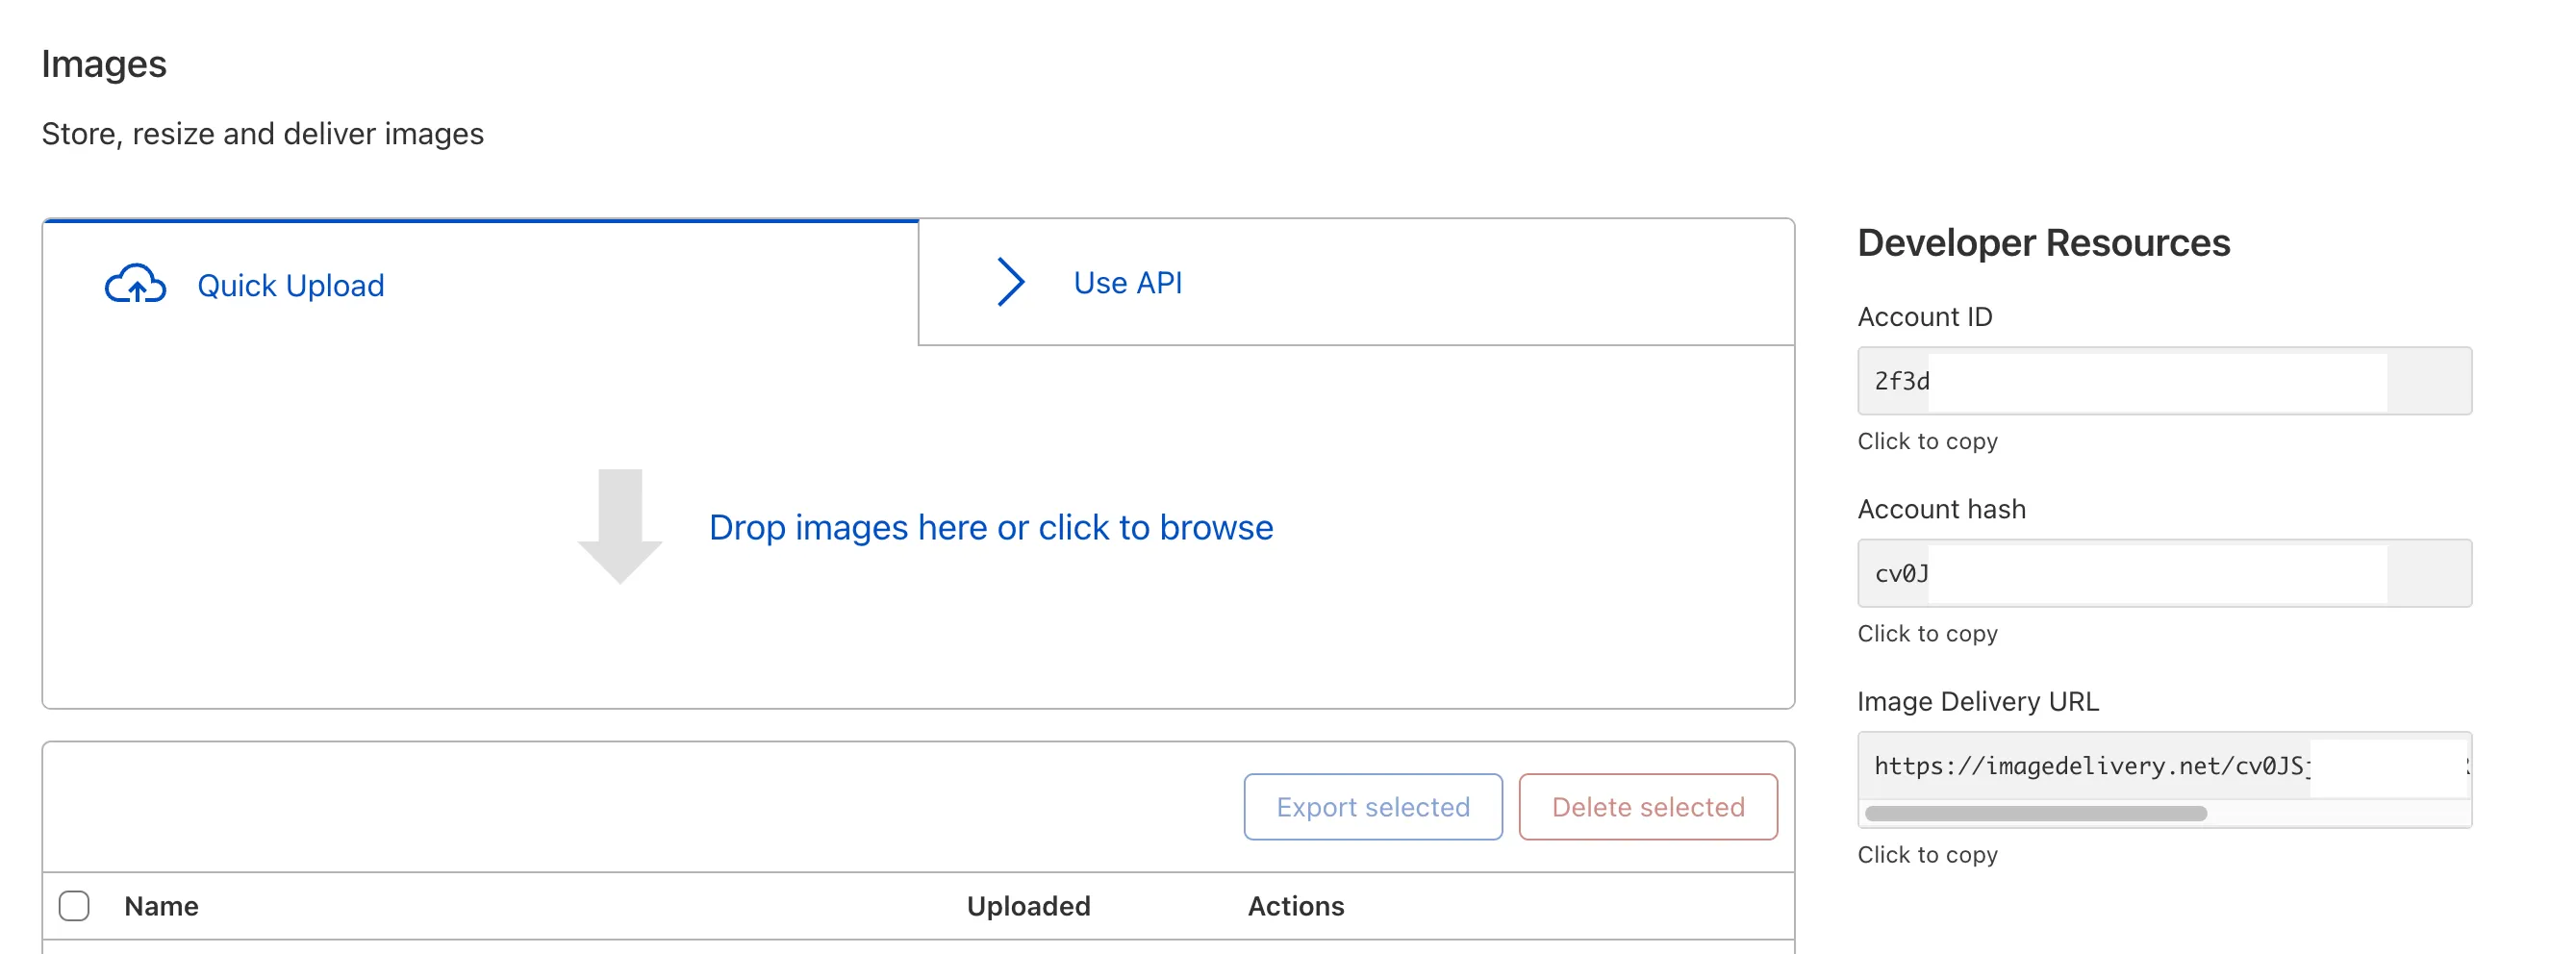
Assuming you have at least one image uploaded to Images, you will find the basic URL format from the Images dashboard under Developer Resources.
A typical image delivery URL looks similar to the example below.
https://imagedelivery.net/<ACCOUNT_HASH>/<IMAGE_ID>/<VARIANT_NAME>
In the example, you need to replace <ACCOUNT_HASH> with your Images account hash, along with the <IMAGE_ID> and <VARIANT_NAME>, to begin serving images.
You can select Preview next to the image you want to serve to preview the image with an Image URL you can copy. The link will have a fully formed Images URL and will look similar to the example below.
In this example:
ZWd9g1K7eljCn_KDTu_MWAis the Images account hash.083eb7b2-5392-4565-b69e-aff66acddd00is the image ID. You can also use Custom IDs instead of the generated ID.publicis the variant name.
When a user requests an image, Cloudflare Images chooses the optimal format, which is determined by client headers and the image type.
Cloudflare Images automatically transcodes uploaded PNG, JPEG and GIF files to the more efficient AVIF and WebP formats. This happens whenever the customer browser supports them. If the browser does not support AVIF, Cloudflare Images will fall back to WebP. If there is no support for WebP, then Cloudflare Images will serve compressed files in the original format.
Uploaded SVG files are served as sanitized SVGs.