
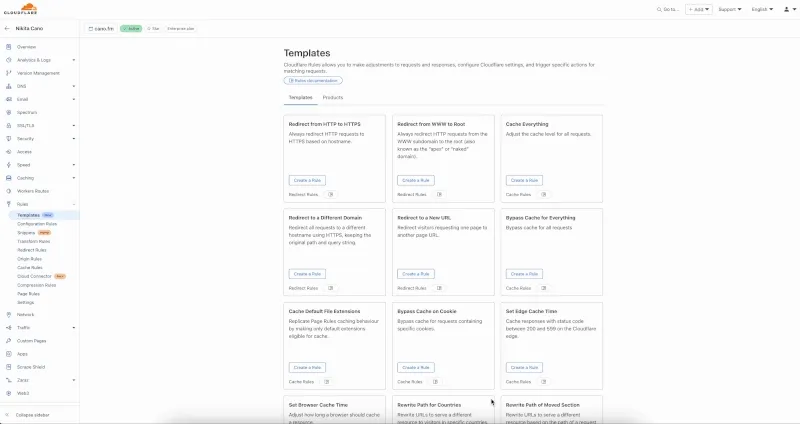
You can now create optimized cache rules instantly with one-click templates, eliminating the complexity of manual rule configuration.
- Navigate to Rules > Templates in your Cloudflare dashboard.
- Select a template for your use case.
- Click to apply the template with sensible defaults.
- Customize as needed for your specific requirements.
- Cache everything: Adjust the cache level for all requests.
- Bypass cache for everything: Bypass cache for all requests.
- Cache default file extensions: Replicate Page Rules caching behavior by making only default extensions eligible for cache.
- Bypass cache on cookie: Bypass cache for requests containing specific cookies.
- Set edge cache time: Cache responses with status code between 200 and 599 on the Cloudflare edge.
- Set browser cache time: Adjust how long a browser should cache a resource.
To get started, go to Rules > Templates ↗ in the dashboard. For more information, refer to the Cache Rules documentation.
Now, you can create common rule configurations in just one click using Rules Templates.
What you can do:
- Pick a pre-built rule – Choose from a library of templates.
- One-click setup – Deploy best practices instantly.
- Customize as needed – Adjust templates to fit your setup.
Template cards are now also available directly in the rule builder for each product.
Need more ideas? Check out the Examples gallery in our documentation.
You can now achieve higher cache hit ratios with Generic Global Tiered Cache. Regional content hashing routes content consistently to the same upper-tier data centers, eliminating redundant caching and reducing origin load.
Regional content hashing groups data centers by region and uses consistent hashing to route content to designated upper-tier caches:
- Same content always routes to the same upper-tier data center within a region.
- Eliminates redundant copies across multiple upper-tier caches.
- Increases the likelihood of cache HITs for the same content.
A popular image requested from multiple edge locations in a region:
- Before: Cached at 3-4 different upper-tier data centers
- After: Cached at 1 designated upper-tier data center
- Result: 3-4x fewer cache MISSes, reducing origin load and improving performance
To get started, enable Generic Global Tiered Cache on your zone.
Beyond the controls in Zero Trust, you can now exchange user risk scores with Okta to inform SSO-level policies.
First, configure Cloudflare One to send user risk scores to Okta.
- Set up the Okta SSO integration.
- In Cloudflare One ↗, go to Integrations > Identity providers.
- In Your identity providers, locate your Okta integration and select Edit.
- Turn on Send risk score to Okta.
- Select Save.
- Upon saving, Cloudflare One will display the well-known URL for your organization. Copy the value.
Next, configure Okta to receive your risk scores.
- On your Okta admin dashboard, go to Security > Device Integrations.
- Go to Receive shared signals, then select Create stream.
- Name your integration. In Set up integration with, choose Well-known URL.
- In Well-known URL, enter the well-known URL value provided by Cloudflare One.
- Select Create.
Welcome to your new home for product updates on Cloudflare One.
Our new changelog lets you read about changes in much more depth, offering in-depth examples, images, code samples, and even gifs.
If you are looking for older product updates, refer to the following locations.
You can now easily enable Real User Monitoring (RUM) monitoring for your hostnames, while safely dropping requests from visitors in the European Union to comply with GDPR and CCPA.
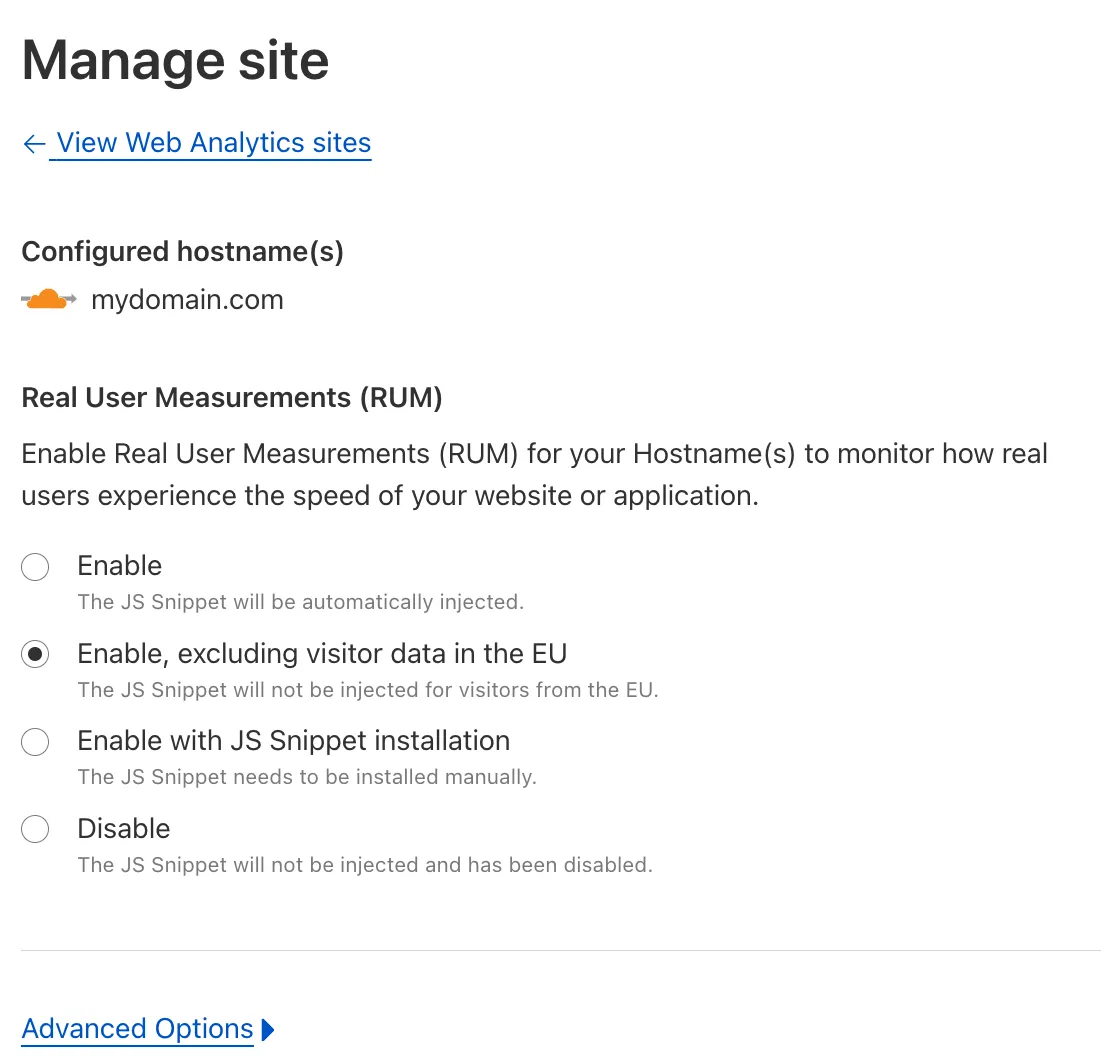
Our Web Analytics product has always been centered on giving you insights into your users' experience that you need to provide the best quality experience, without sacrificing user privacy in the process.
To help with that aim, you can now selectively enable RUM monitoring for your hostname and exclude EU visitor data in a single click. If you opt for this option, we will drop all metrics collected by our EU data centeres automatically.
You can learn more about what metrics are reported by Web Analytics and how it is collected in the Web Analytics documentation. You can enable Web Analytics on any hostname by going to the Web Analytics ↗ section of the dashboard, selecting "Manage Site" for the hostname you want to monitor, and choosing the appropriate enablement option.