Azure
This guide covers how to connect an Azure Virtual Machine to Cloudflare using cloudflared and publish a web application through a Cloudflare Tunnel.
-
In the Azure portal, go to Virtual Machines > Create > Azure virtual machine.
-
Select a Resource group or create a new one.

-
Enter a name for the VM and select a region. For Image, select Ubuntu Server 24.04 LTS. For Size, select an appropriate size (for example, Standard_B1s).
-
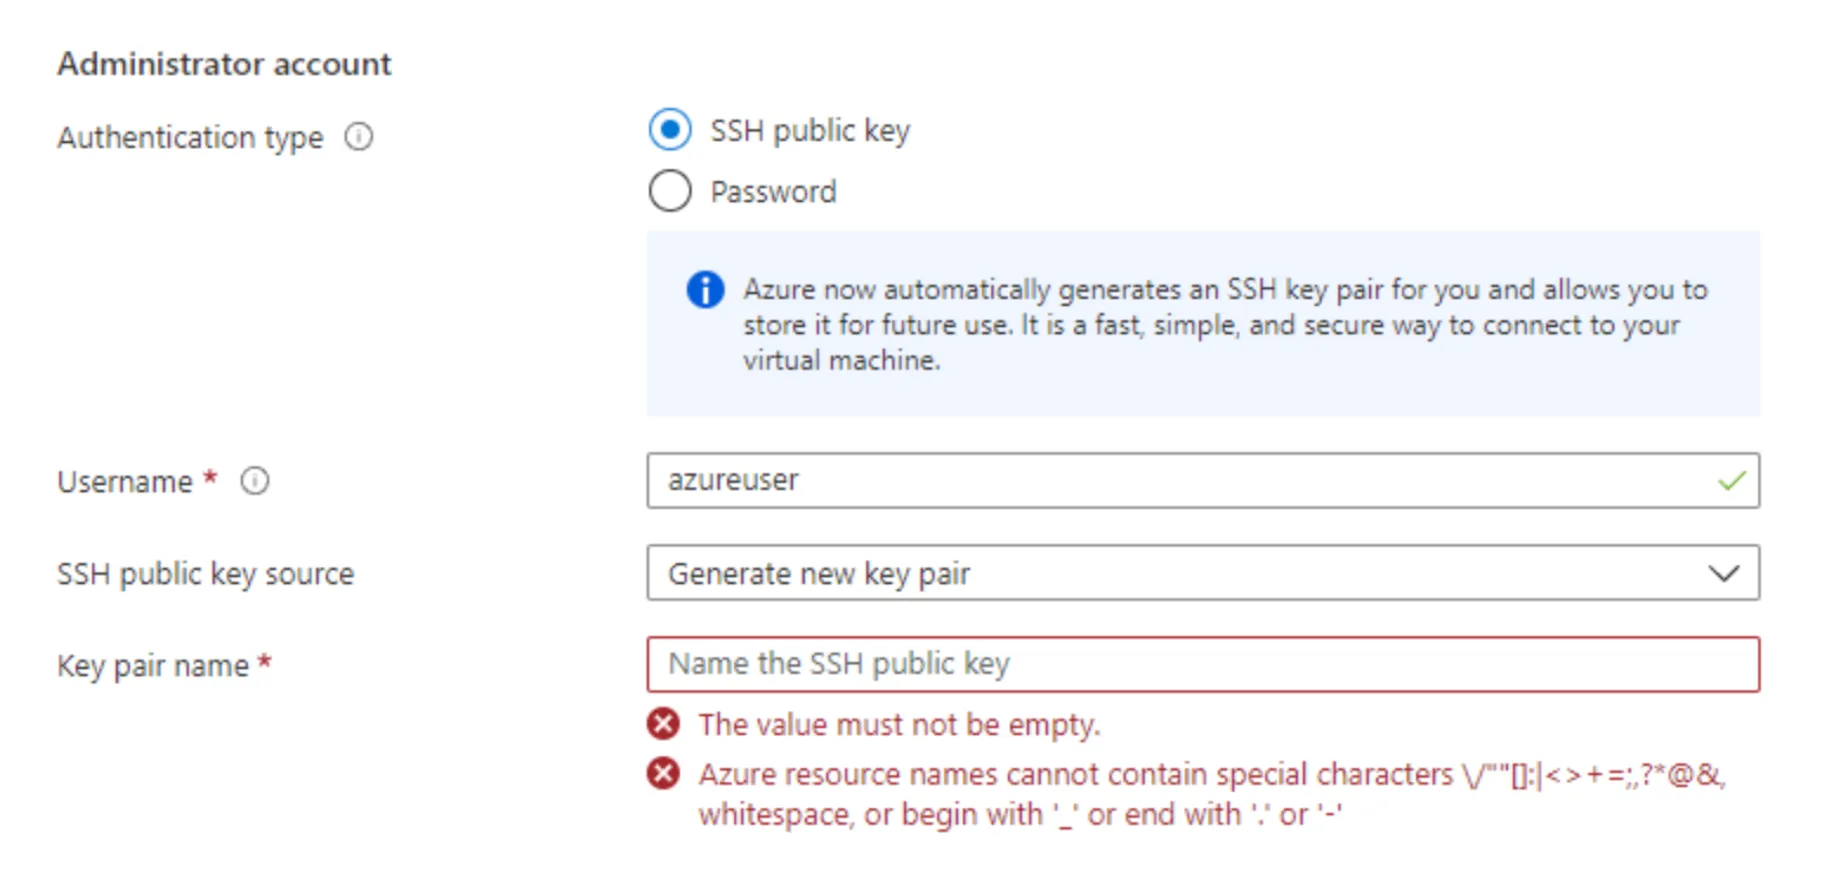
Under Administrator account, select SSH public key and enter your key pair.
-
Under Inbound port rules, allow SSH (
22). For testing purposes, also allow HTTP (80) and HTTPS (443).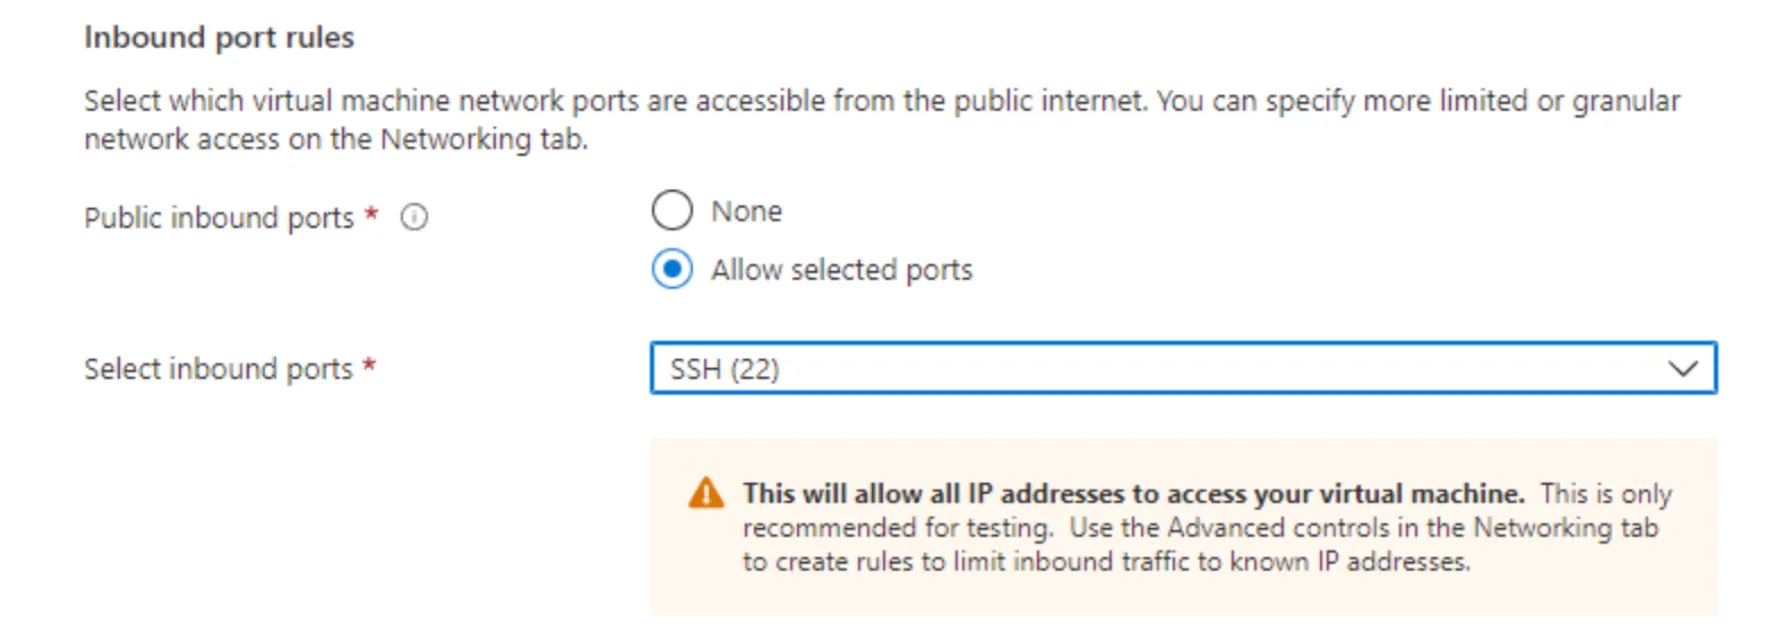
-
Select Review + create, then Create.
-
Once the VM is running, copy its Public IP address from the VM overview page.
-
SSH into the instance:
Terminal window ssh -i "your-key.pem" azureuser@<PUBLIC_IP> -
Run
sudo suto gain full admin rights to the VM. -
For testing purposes, you can deploy a basic Apache web server on port
80:Terminal window apt updateapt -y install apache2cat <<EOF > /var/www/html/index.html<html><body><h1>Hello Cloudflare!</h1><p>This page was created for a Cloudflare demo.</p></body></html>EOF -
To verify that the Apache server is running, open a browser and go to
http://<PUBLIC_IP>(make sure to connect overhttp, nothttps). You should see the Hello Cloudflare! test page.
- In the Cloudflare dashboard ↗, go to Networking > Tunnels.
- Select Create Tunnel and enter a name (for example,
azure-tunnel). - Select Create Tunnel.
- Under Setup Environment, select Debian 64-bit.
- Copy the install commands and run them on your Azure VM.
- Once the tunnel connects, select Continue.
- Under Routes, select Add route > Published application.
- Enter a hostname (for example,
hellocloudflare.<your-domain>.com). - Under Service, enter
http://localhost:80. - Select Add route.
To test, open a browser and go to the hostname you configured. You should see the Hello Cloudflare! test page.
To secure your Azure VM, you can configure your Network Security Group (NSG) ↗ to deny all inbound traffic and allow only outbound traffic to the Cloudflare Tunnel IP addresses. All NSG rules are evaluated by priority; traffic that does not match an allow rule is blocked by the default deny rules. Therefore, you can delete all custom inbound rules and leave only the relevant outbound rules.
After configuring your NSG rules, verify that you can still access the service through Cloudflare Tunnel via its public hostname. The service should no longer be accessible from outside Cloudflare Tunnel — for example, direct access to the VM's public IP should no longer work.