MCP is a standardized protocol that allows AI assistants to connect to external
systems and tools. Instead of being limited to their training data, assistants can
access real-time information and perform actions through MCP servers.
Core Components
Transport: Streamable HTTP for real-time bidirectional communication
Tools: Functions that AI assistants can call
Resources: Data sources (files, databases, APIs)
Prompts: Reusable prompt templates
How It Works
Your MCP server runs on Cloudflare Workers and exposes tools via HTTP endpoints. AI
assistants connect to your server and can call these tools to perform tasks like:
Set up a functional MCP server using Cloudflare Workers. Understand basic MCP server structure and test MCP tools using the inspector interface.
🎯 Learning Objectives
Set up a functional MCP server with Cloudflare Workers
Understand MCP server basic structure and architecture
Test MCP tools using the official inspector interface
Troubleshoot common connection and setup issues
🛠️Understanding MCP (Model Context Protocol)
MCP is an open standard that enables AI assistants to connect to external tools and data sources. Think of it as a universal interface that lets AI systems perform actions beyond their training - like reading files, calling APIs, or managing databases.
Server-Client Architecture: Your MCP server exposes tools that AI clients can discover and use
Standardized Communication: Uses Streamable HTTP for real-time bidirectional communication
Tool Discovery: AI assistants can list available tools and their parameters automatically
Global Deployment: Run on Cloudflare Workers for worldwide, low-latency access
Step 1
Create Your MCP Server
What we're building
A Cloudflare Workers-based MCP server that AI assistants can connect to and use.
Why this matters
Cloudflare Workers provide global deployment with minimal latency, making your MCP tools available worldwide.
# Create new MCP server from templatenpm create cloudflare@latest -- my-mcp-server --template=cloudflare/ai/demos/remote-mcp-authless# Navigate to your projectcd my-mcp-server# Install dependencies and start development servernpm installnpm run dev
Expected Outputtext
⛅️ wrangler 4.64.0
───────────────────
Your Worker has access to the following bindings:
Binding Resource Mode
env.MCP_OBJECT (MyMCP) Durable Object local
╭──────────────────────────────────────────────────────────────────────╮
│ [b] open a browser [d] open devtools [c] clear console [x] to exit │
╰──────────────────────────────────────────────────────────────────────╯
⎔ Starting local server…
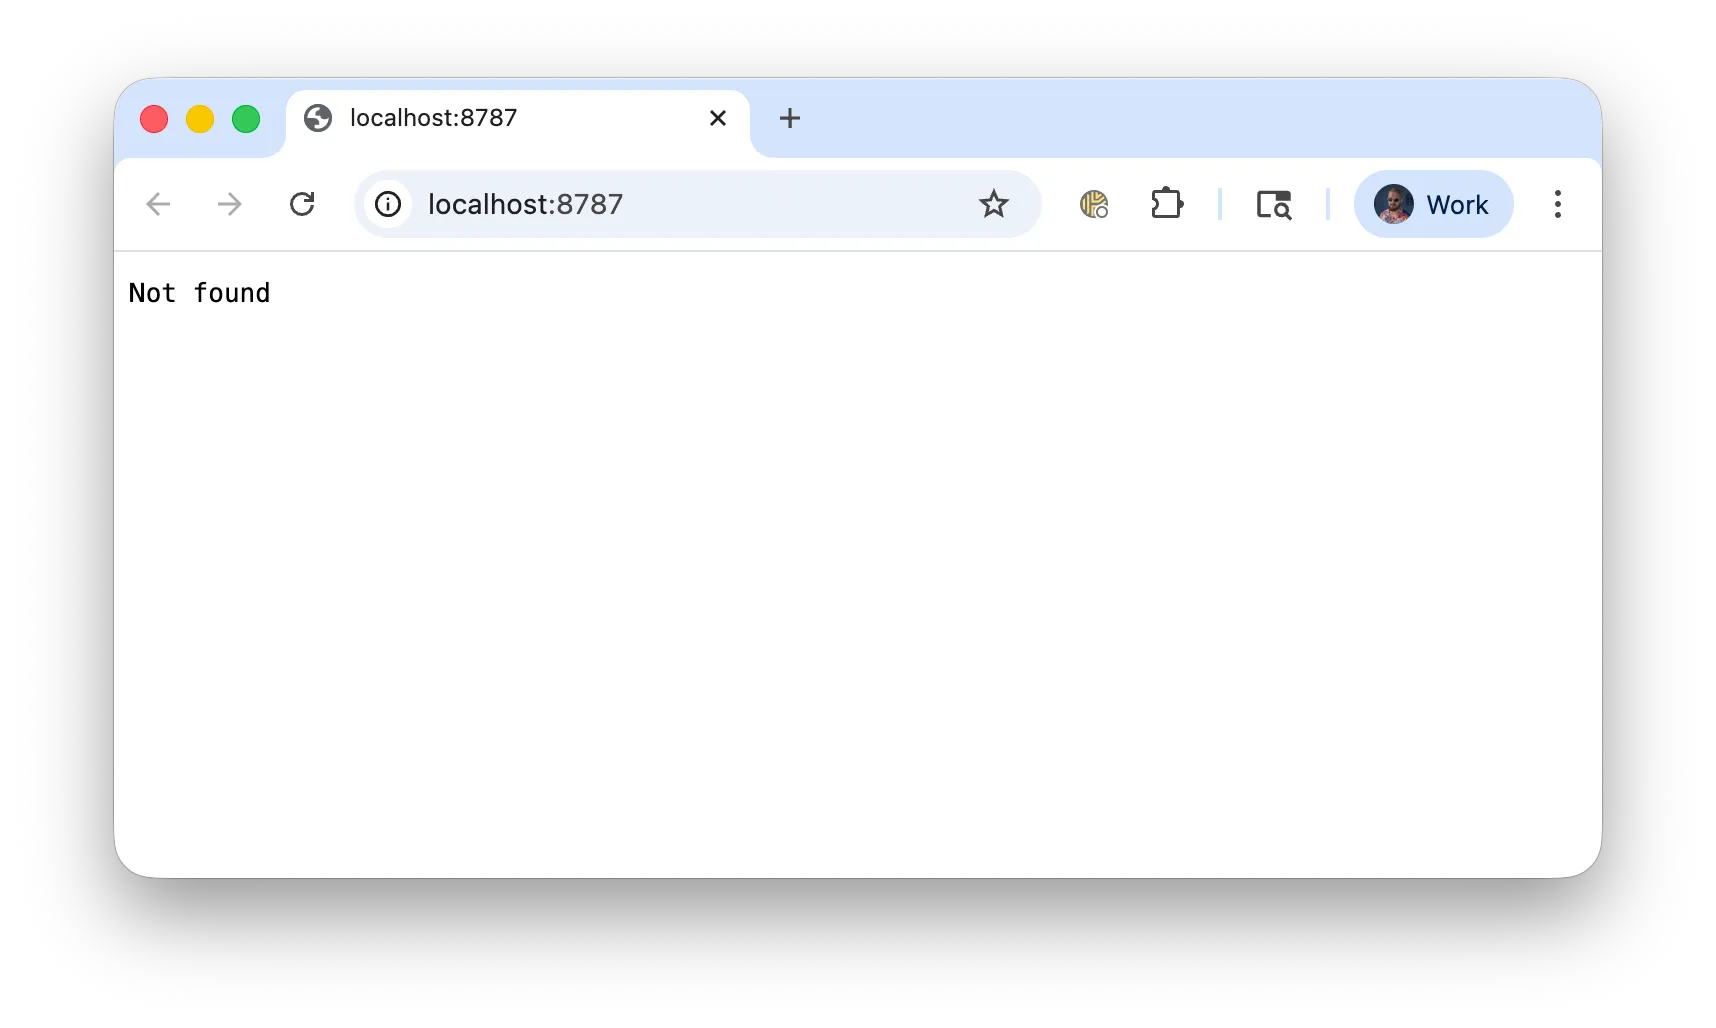
[wrangler:info] Ready on http://localhost:8787
📝What Just Happened?
Your MCP server is running, even if it displays “Not Found”.
You’ve created a fully functional MCP server that includes:
Tool definitions: Pre-built tools like “add” for mathematical operations
MCP endpoint: The /mcp route that AI assistants connect to
Error handling: Robust error responses for debugging
CORS support: Proper headers for cross-origin requests
Troubleshooting
npm not found: Install Node.js v20+ from nodejs.org
Template not found: Update npm: npm install -g npm@latest
Port 8787 busy: Stop other services or use npm run dev -- --port 8788
Build errors: Delete node_modules and run npm install again
Inspector won’t connect: Verify your MCP server is running on http://localhost:8787 and the endpoint is /mcp
No tools visible: Check server logs for errors. The template should provide basic tools by default.
Step 2: Test with MCP Inspector
What we're building
A connection between the MCP Inspector and your server to verify functionality and test tools.
Why this matters
The inspector is the easiest way to verify your MCP server is working and explore available tools.
# In a new terminal window (keep your server running)npx @modelcontextprotocol/inspector
Inspector Connection Process:
The inspector starts at http://localhost:6274/?MCP_PROXY_AUTH_TOKEN=[your_token]
Open this URL in your browser (the inspector will do this automatically)
Make sure “Streamable HTTP” is the Transport Type
Enter http://localhost:8787/mcp as the URL
Click “Connect” to establish the connection
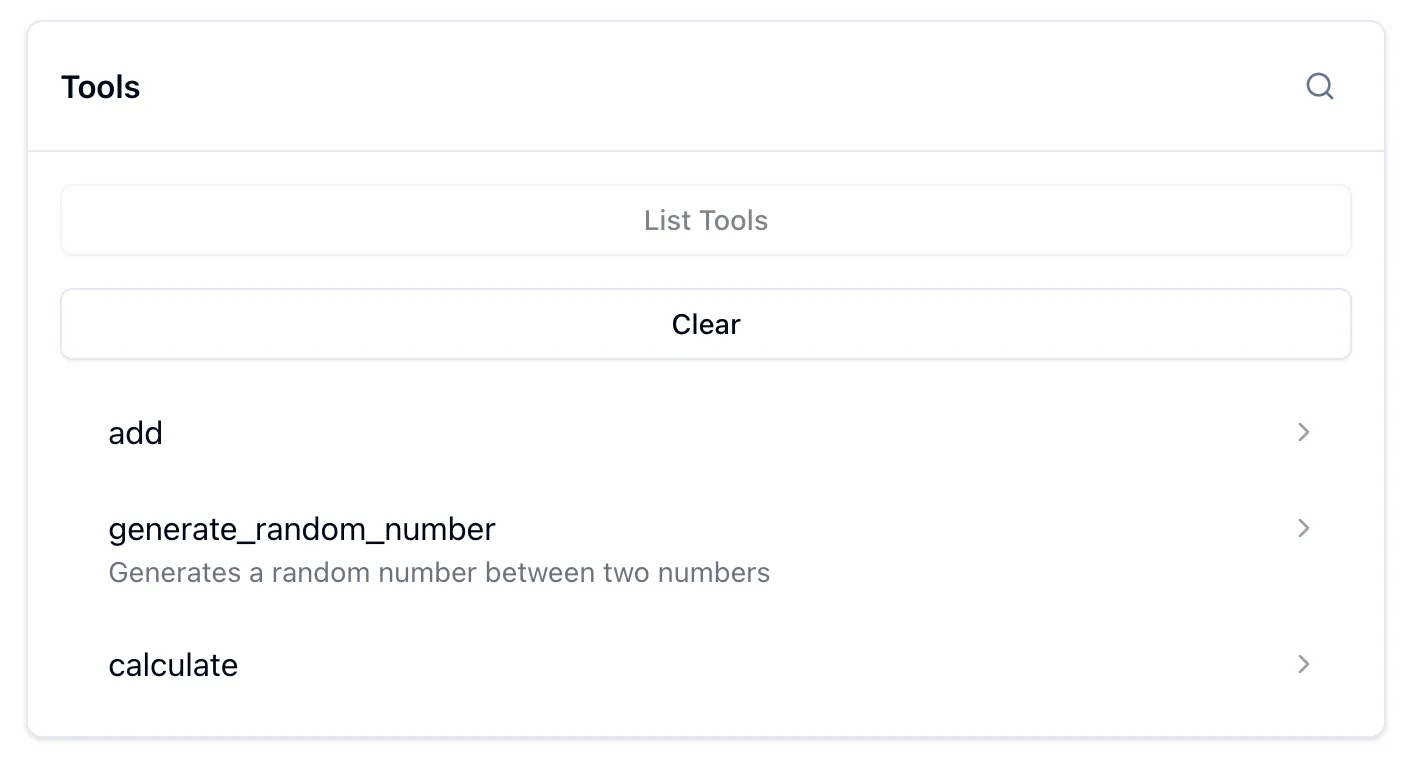
Make sure you’re on the “Tools” tab
Click “List Tools”
Click the “add” tool and run it with 2 numbers
📝What You Should See
Once connected, the inspector will show:
Server Info: Basic metadata about your MCP server
Available Tools: List of tools with their descriptions and parameters
Tool Testing: Interface to call tools with custom parameters
Response Data: JSON responses from your tool executions
You now have a functional MCP server that AI assistants can connect to and use!
STEP 02
Adding Custom Tools
Create custom MCP tools with defined parameter schemas. Implement a random number generator tool.
🎯 Learning Objectives
Understand MCP tool schema definition
Implement custom tools with input validation
Test custom tools using the MCP Inspector
Handle tool execution errors gracefully
🛠️Understanding MCP Tool schema
MCP tools have a three-part structure: name, schema, and handler. The schema uses Zod for parameter validation and type safety.
Tool Name: Unique identifier for the tool
Schema: Zod object defining input parameters
Handler: Async function that processes the request
Response Format: Structured content array for AI consumption
Step 1: Add a Random Number Generator Tool
What we're building
A custom random number generator tool with Zod parameter validation.
Why this matters
Custom tools extend what AI assistants can do — and every MCP tool follows the same name, schema, handler pattern.
Add the following tool to your src/index.ts inside the init() method, after the existing tools:
// inside of async init() { ... }this.server.tool( "generate_random_number", "Generates a random number between two numbers", { min: z.number(), max: z.number() }, async ({ min, max }) => ({ content: [ { type: "text", text: String(Math.floor(Math.random() * (max - min + 1)) + min), }, ], }),);
Click the refresh button next to “Available Tools” in the MCP Inspector, and you should see the new “generate_random_number” tool. Try calling it!
🛠️Understanding the Code
This tool demonstrates MCP’s three-part structure:
Handler: Async function that processes and returns content
Response: MCP-compliant content array structure
Step 2: Test Your New Tool
Save the file — your dev server picks up changes automatically. Head back to the MCP Inspector, click the refresh button next to “Available Tools” to reload, and you should see “generate_random_number” in the list. Test it with {"min": 1, "max": 100}.
Troubleshooting
Tool not appearing: Make sure you saved the file and the dev server reloaded. Check the terminal for errors.
Invalid parameters: Ensure you’re using min and max (not a and b).
Inspector disconnected: Reconnect using the same steps from Step 1 — Transport Type: “Streamable HTTP”, URL: http://localhost:8787/mcp.
STEP 03
External API Integration
Integrate external APIs into MCP tools. Enhance the random number tool with the drand randomness beacon for true randomness.
🎯 Learning Objectives
Make HTTP requests from MCP tools
Handle external API responses and errors
Implement fallback mechanisms for reliability
Process external data for AI consumption
🌐External API Integration
MCP tools can fetch data from external APIs to provide real-time information. Learn about true randomness vs pseudo-randomness and implement fallback mechanisms.
True Randomness: The drand beacon provides cryptographically secure randomness
Data Transformation: Process external API responses appropriately
Reliability: Graceful degradation when external services fail
Step 1: Enhance with the drand Randomness API
What we're building
An enhanced random number tool that fetches cryptographically secure randomness from an external API, with a graceful fallback.
Why this matters
External API integration is what makes MCP tools truly powerful — your tools can access any data or service on the internet.
Replace your existing generate_random_number tool in src/index.ts with this enhanced version:
this.server.tool( "generate_random_number", "Generate a truly random number between two numbers", { min: z.number(), max: z.number() }, async ({ min, max }) => { try { // Fetch true randomness from the drand beacon endpoint const response = await fetch( "https://drand.cloudflare.com/public/latest", ); const data = (await response.json()) as { round: number; signature: string; previous_signature: string; randomness: string; }; // Process randomness const randomHex = data.randomness; const startIndex = Math.floor(Math.random() * (randomHex.length - 8)); const randomValue = parseInt( randomHex.slice(startIndex, startIndex + 8), 16, ); // Scale to requested range const scaledRandom = (Math.abs(randomValue) % (max - min + 1)) + min; return { content: [ { type: "text", text: String(scaledRandom), }, ], }; } catch (error) { // Fallback to Math.random if API fails return { content: [ { type: "text", text: String(Math.floor(Math.random() * (max - min + 1)) + min), }, ], }; } },);
🌐Understanding External API Integration
This enhanced tool demonstrates several key concepts:
drand API: The drand beacon provides cryptographic randomness
Data Processing: Converts hex randomness to usable numbers
Error Handling: try/catch ensures reliability
Graceful Fallback: Uses Math.random() if API unavailable
Step 2: Test the Enhanced Tool
Save the file and head back to the MCP Inspector. Click the refresh button next to “Available Tools” to reload, then test generate_random_number a few times with {"min": 1, "max": 100}. The results now come from the drand randomness beacon instead of Math.random().
💡Test the Fallback
Want to verify the fallback works? Disconnect your internet and call the tool
again — it should still return a number using Math.random() as a backup.
STEP 04
Deploy to Cloudflare Workers
Deploy your MCP server to Cloudflare Workers for global availability and test it with AI Playground.
🎯 Learning Objectives
Deploy MCP servers to Cloudflare Workers
Configure production environment settings
Test deployed servers with AI Playground
Monitor and debug production deployments
🛠️Global Deployment with Workers
Cloudflare Workers deploy your MCP server to a global network of edge locations, providing low-latency access worldwide.
Global Network: Deploy to 330+ cities worldwide
Edge Computing: Run close to users for minimal latency
Serverless: Automatic scaling with zero cold starts
Built-in Security: DDoS protection and secure by default
Step 1: Deploy Your MCP Server
What we're building
A globally deployed MCP server running on the edge network for low-latency access worldwide.
Why this matters
Production deployment makes your MCP server accessible to AI assistants and provides real-world testing capabilities.
# Login to Cloudflare (if not already done)$ npx wrangler login# Deploy to Workers$ npm run deploy
Once deployed (usually 30-60 seconds), copy the deployment URL from the output. Your MCP endpoint will be at https://my-mcp-server.[your-account].workers.dev/mcp.
Step 2: Test with AI Playground
Now for the fun part — connecting your deployed MCP server to an actual AI assistant.
A KV namespace bound to your MCP server, giving your tools persistent, globally distributed storage.
Why this matters
KV storage enables stateful applications where data persists between AI conversations and user sessions.
# Create a new KV namespace for our MCP server and choose the options belownpx wrangler kv namespace create "TODO_STORE" ⛅️ wrangler 4.64.0───────────────────Resource location: remote🌀 Creating namespace with title "TODO_STORE"✨ Success!To access your new KV Namespace in your Worker, add the following snippet to your configuration file:{ "kv_namespaces": [ { "binding": "TODO_STORE", "id": "abc1234567890defghij" } ]}✔ Would you like Wrangler to add it on your behalf? … yes✔ What binding name would you like to use? … TODO_STORE✔ For local dev, do you want to connect to the remote resource instead of a local resource? … no
Answer yes to let wrangler add the binding, use TODO_STORE as the binding name, and no for remote local dev.
🚀Generate Types
After the namespace is created, run npm run cf-typegen to update your
TypeScript types. Without this, this.env.TODO_STORE will show type errors.
Step 2: Add a Storage Tool
Add a simple store_value tool to verify KV is working. Make sure your MyMCP class has the <Env> generic so this.env works:
export class MyMCP extends McpAgent<Env> {
  server = new McpServer({
    name: "My MCP Server",
    version: "1.0.0",
  });

  async init() {
    this.server.tool(
        "store_value",
        "Store a simple key-value pair in Cloudflare KV",
        {
            key: z.string().describe("Key to store the value under"),
            value: z.string().describe("Value to store")
        },
        async ({ key, value }) => {
            try {
                await this.env.TODO_STORE.put(key, value);

                return {
                    content: [{
                        type: "text",
                        text: "Value stored successfully"
                    }]
                };
            } catch (error: any) {
                throw new Error(`Failed to store value: ${error}`);
            }
        }
    );
Save the file, click the refresh button next to “Available Tools” in the MCP Inspector, and test with {"key": "test", "value": "hello world"}.
🚀Local vs Deployed Storage
When running locally with npm run dev, KV operations use a local simulator —
values are stored in memory and won’t persist across restarts or be visible on
Cloudflare’s network. Once you deploy with npm run deploy, values are
persisted on Cloudflare’s global KV store and survive across sessions.
📝Understanding KV Operations
This tool demonstrates:
put() Operation: Stores data in KV with a key
Error Handling: Catches and reports storage failures
Binding Access: Uses this.env.TODO_STORE from your wrangler.jsonc configuration
STEP 06
Building a Persistent Todo App
Create a complete CRUD todo application using KV storage. Build tools for adding, listing, completing, and deleting tasks.
🎯 Learning Objectives
Implement full CRUD operations with KV storage
Design data structures for complex applications
Handle concurrent operations and data consistency
Build user-friendly AI-accessible applications
📝Todo Application Architecture
A todo application demonstrates key concepts in building stateful MCP applications with persistent storage.
Data Modeling: Structured data with timestamps and metadata
Unique IDs: Generate unique identifiers for tasks
Filtering: List completed vs pending tasks
🚀Remove the default 'add' and 'calculate' tools
MCP Tools should be named specifically. If you have tools with confusing names, for example:
“add”
“add_todo”
“append”
The LLM is more likely to get confused and call the tool with wrong parameters.
Step 1: Add Todo Management Tools
What we're building
Complete CRUD functionality for a todo application with add_new_todo, list_all_todos, and complete_todo tools.
Why this matters
Demonstrates how AI assistants can create and manage persistent, stateful applications users can interact with over time.
this.server.tool( "add_new_todo", "Add a new task to your todo list", { task: z.string().describe("Task description") }, async ({ task }) => { await this.env.TODO_STORE.put( `${task}`, JSON.stringify({ completed: false, createdAt: new Date().toISOString(), }), ); return { content: [{ type: "text", text: `Added task: ${task}` }] }; },);this.server.tool( "list_all_todos", "List all tasks in your todo list", {}, async () => { const list = await this.env.TODO_STORE.list(); const tasks = []; for (const key of list.keys) { const value = await this.env.TODO_STORE.get(key.name); if (value) { let taskData; try { taskData = JSON.parse(value); } catch (e) { continue; } tasks.push(`${taskData.completed ? "✅" : "📋"} ${key.name}`); } } if (tasks.length === 0) { return { content: [ { type: "text", text: "No tasks found. Add some tasks first!" }, ], }; } return { content: [ { type: "text", text: `Todo List:\n${tasks.join("\n")}`, }, ], }; },);this.server.tool( "complete_todo", "Mark a task as completed", { task: z.string().describe("Task to mark as completed") }, async ({ task }) => { const value = await this.env.TODO_STORE.get(task); if (!value) { return { content: [{ type: "text", text: `Task "${task}" not found` }] }; } let taskData; try { taskData = JSON.parse(value); } catch (e) { return { content: [{ type: "text", text: `Invalid task ${task}` }] }; } taskData.completed = true; await this.env.TODO_STORE.put(task, JSON.stringify(taskData)); return { content: [{ type: "text", text: `Completed task: ${task}` }] }; },);
📝Data Structure Design
Each todo item is stored as:
Key: Task description (unique identifier)
Value: JSON object with completed status and creation time
Operations: Create, list, and update completion status
Consistency: Atomic updates ensure data integrity
Step 2: Deploy and Test
Deploy your updated server with npm run deploy, then head to the AI Playground and connect with your deployment URL. If you were already connected, click the refresh button next to “Available Tools” to pick up the new tools.
Try a natural conversation:
“Add a task to buy groceries”
“Show me my todo list”
“Mark ‘buy groceries’ as completed”
Refresh the page and list tasks again — they persist!
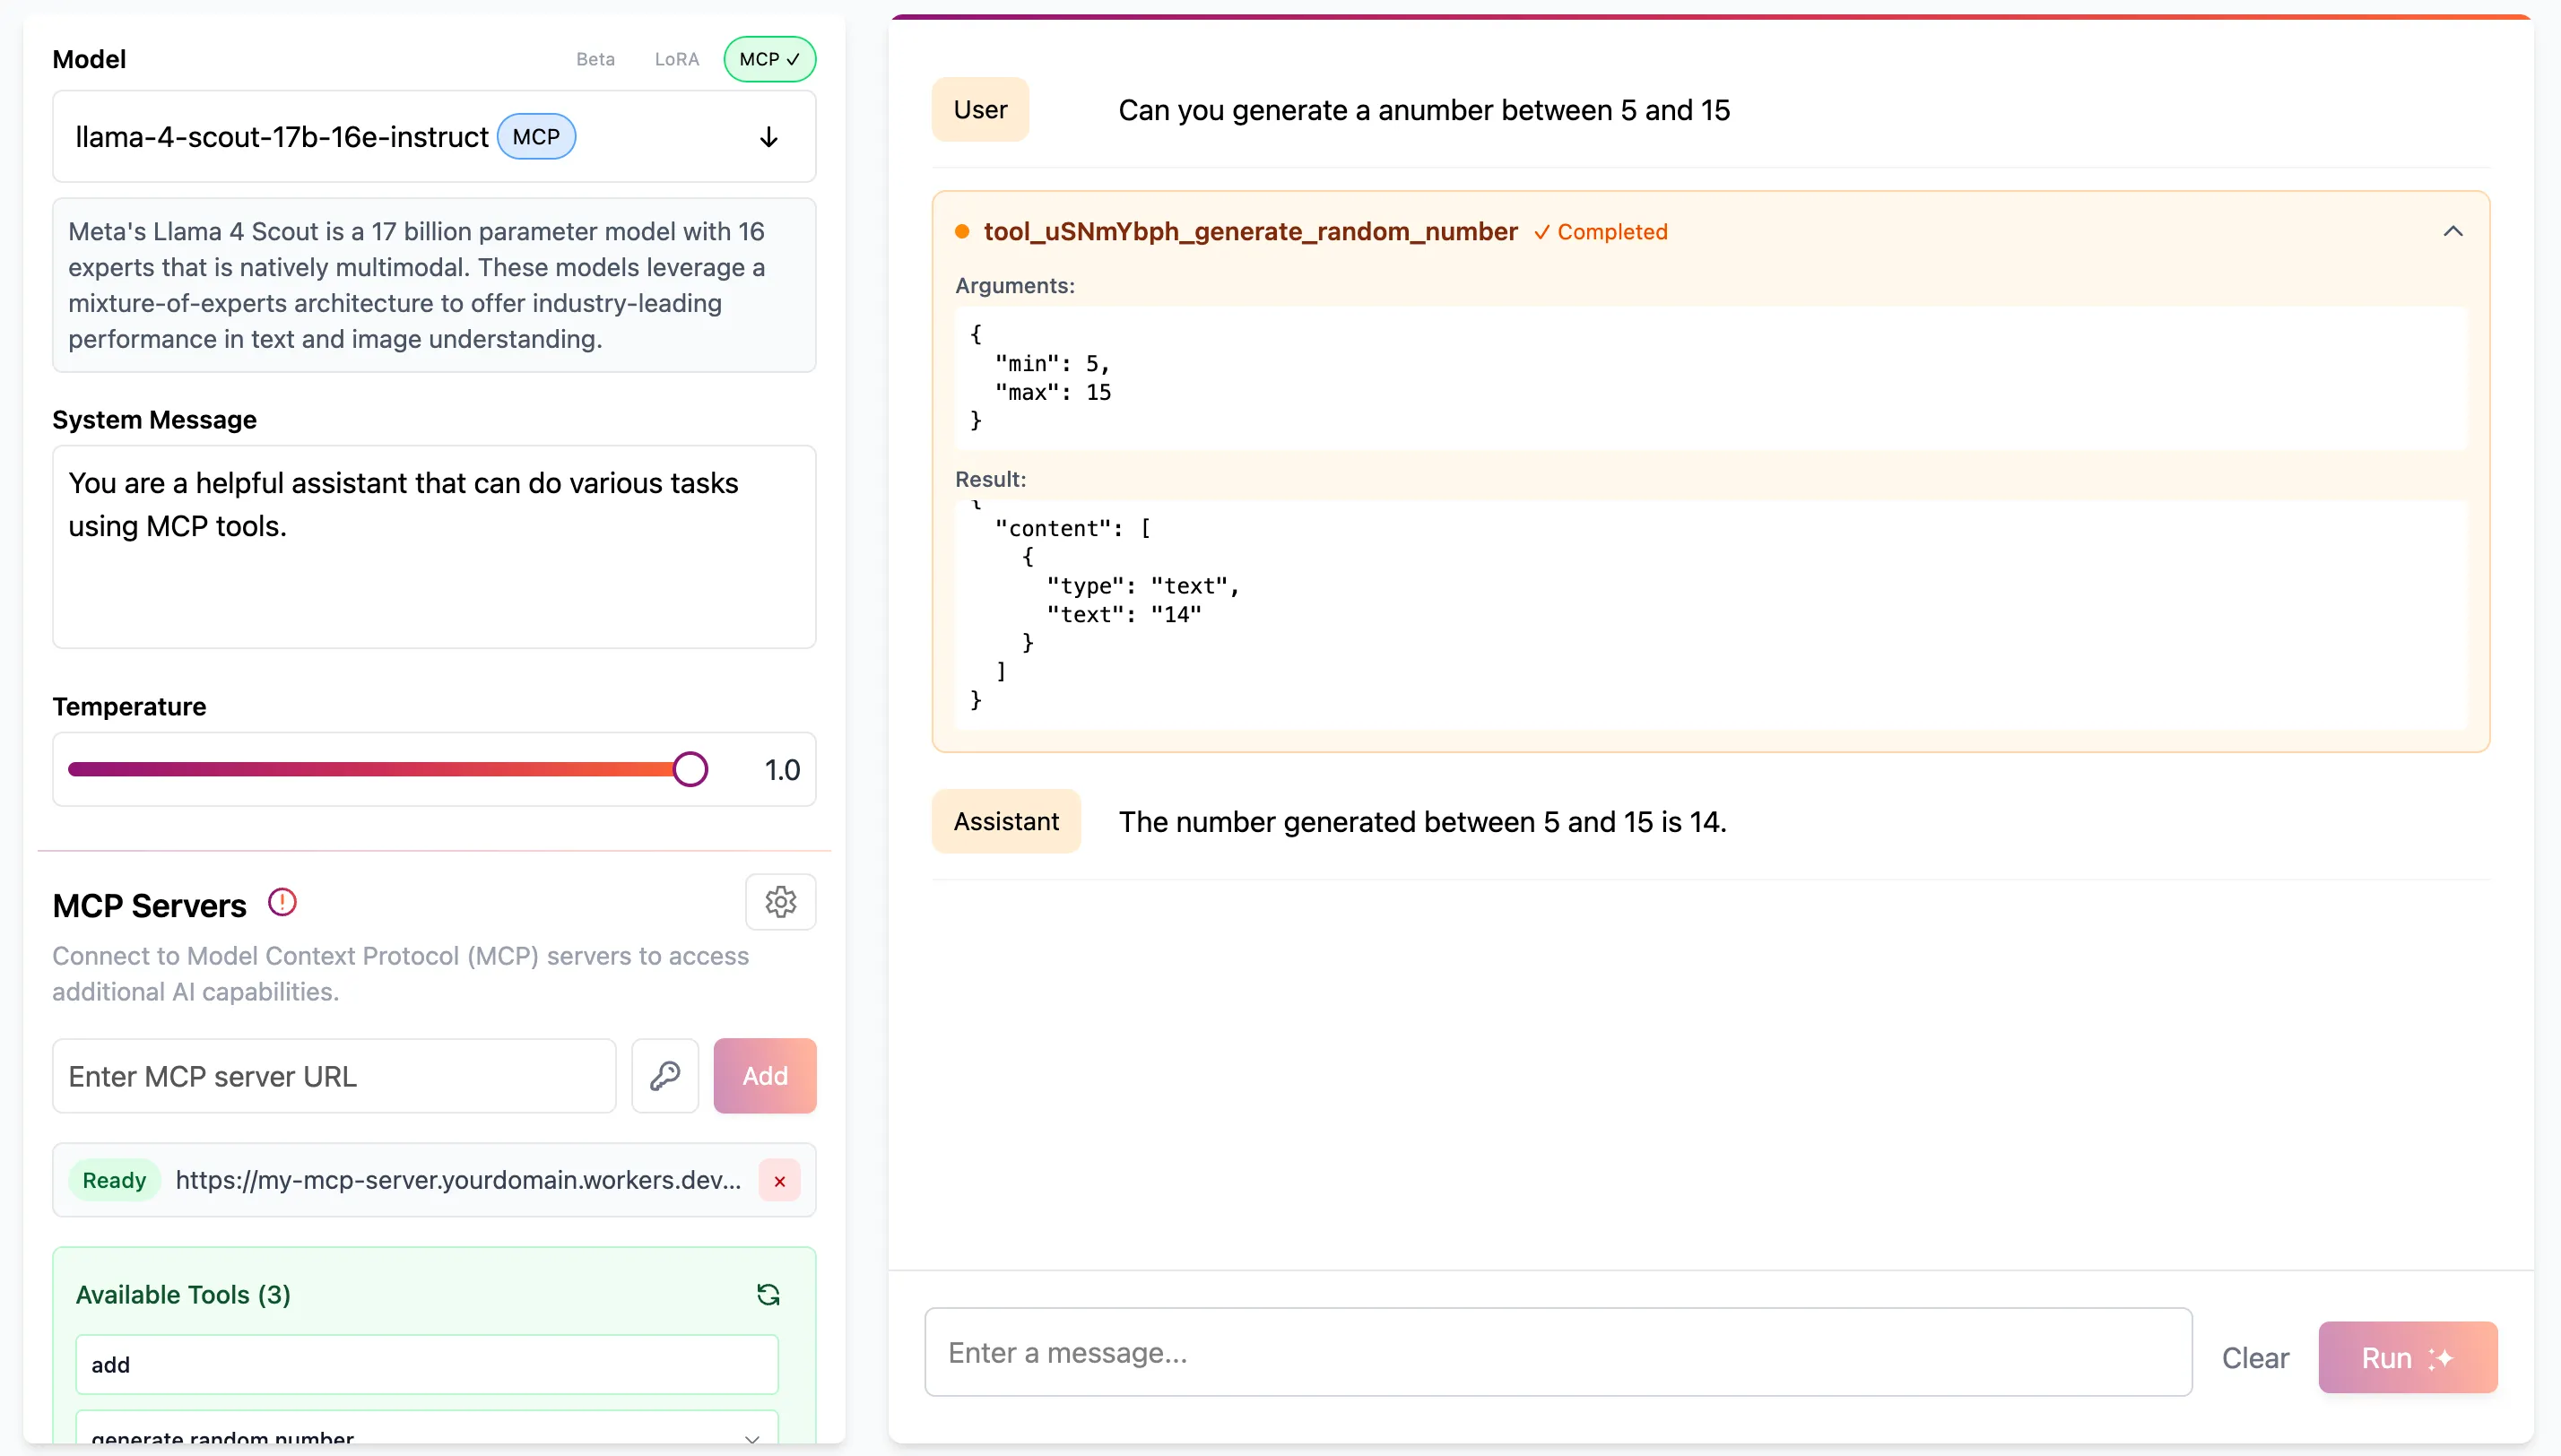
Here is a chat transcript with the qwen3-30b-a3b-fp8 model on the AI Playground and the MCP server we just created.
STEP 07
You're an MCP Builder Now
Celebrate what you built, understand the universal MCP pattern, and launch your next server with confidence.
🎯 Learning Objectives
Recognize the universal MCP tool pattern
Connect lab skills to real-world tool ideas
Use AI assistants to accelerate MCP development
Know where to go next in the MCP ecosystem
What we're building
A clear understanding of everything you built, the pattern behind it all, and the confidence to build your next MCP server.
Why this matters
You've learned every skill you need. This step connects the dots and points you forward.
What You Built
Over the last six steps you went from zero to a fully deployed MCP server with persistent storage and a real application on top of it.
💡Your Journey
Step 1 — Project Setup. Scaffolded the project, started the dev server, connected the MCP Inspector.
Step 2 — Tool Creation. Built a custom tool with Zod validation. You now know the core MCP pattern.
Step 3 — External APIs. Integrated a live API with a local fallback. Your tools can talk to the internet.
Step 4 — Deployment. Deployed globally to Cloudflare Workers. Your server runs at the edge.
Step 5 — Persistent Storage. Added KV storage. Your tools can remember things between requests.
Step 6 — Real Application. Built full CRUD todo management. A complete app, powered by AI.
That is the full stack of MCP development: tool creation, validation, external data, persistence, deployment, and a working app. Everything else is a variation on what you already know.
The Universal MCP Pattern
Every MCP tool you will ever build follows the same four-part structure:
server.tool( "tool_name", // What it's called "What this tool does", // How the AI understands it { param: z.string() }, // Zod schema for validation async ({ param }) => { // Your logic // Do the work return { content: [{ type: "text", text: "result" }] }; },);
You used this exact pattern in Steps 2, 3, 5, and 6. The only things that change between tools are the name, description, schema, and handler logic. The shape is always the same.
Go Build Your Next Tool
You already have every skill required. Here are some ideas, mapped to what you learned:
💡Tool Ideas
Weather tool — Fetch a weather API and return conditions for a city. You did this in Step 3 (external API + fallback).
Bookmark manager — Store and retrieve URLs with tags. You did this in Steps 5-6 (KV + CRUD).
Translation service — Call a translation API with source/target languages. Same pattern as Step 3.
Markdown converter — Accept raw text, return formatted markdown. Pure logic tool like Step 2.
Link shortener — Generate short codes, store mappings in KV. Steps 5-6 pattern.
Daily standup logger — Store daily notes by date, list recent entries. KV + CRUD again.
These are just starting points — the best tool is one that solves a problem you actually have. Come up with your own idea, build it, and deploy it. Your MCP server is already live — just add a new server.tool() call and run npm run deploy.
Use AI to Accelerate
AI coding assistants are great at generating MCP tools once you give them the right context. Use this prompt as a starting point:
📝Prompt Template
“I’m building an MCP server on Cloudflare Workers. It uses McpAgent from
agents/mcp and McpServer from @modelcontextprotocol/sdk/server/mcp.js.
Tools are registered with this.server.tool() inside async init(), using
Zod for parameter schemas. I need a tool called [name] that accepts
[parameters] and returns [what]. Here is my current src/index.ts for
reference: [paste your file].”
The key is giving the AI your actual code as context. It will follow the patterns you already have in place.
Ship It
Deploy your updated server one more time:
npm run deploy
Your MCP server is live on our global network. Any AI assistant that supports MCP can connect to it using your Workers URL.
You built an MCP server from scratch, gave it persistent storage, deployed it globally, and connected it to AI. That is a real thing in the world now. Go make it yours.
Learning Resources
Essential resources for mastering MCP development and building powerful AI tools.
📖 MCP Documentation
Official Model Context Protocol documentation with API references and best practices