Enable Gateway proxy with PAC files
You can apply Gateway HTTP and DNS policies at the browser level by configuring a Proxy Auto-Configuration (PAC) file.
A PAC file is a file containing a JavaScript function which can instruct a browser to forward traffic to a proxy server instead of directly to the destination server.
When end users visit a website, their browser will send the request to a Cloudflare proxy server associated with your account to be filtered by Gateway. Note that Gateway cannot filter every type of HTTP traffic proxied using PAC files.
Prerequisites
Install the Cloudflare certificate on your device.
1. Generate a proxy endpoint
You can generate a proxy endpoint on the Zero Trust dashboard or through the Cloudflare API.
In Zero Trust, go to Gateway > Proxy Endpoints.
Select Create endpoint.
Give your endpoint any name.
Enter the public source IP address of your device(s) in CIDR notation. For example:
- IPv4:
192.0.2.0/8 - IPv6:
2001:0db8:0000:0000:0000:1234:5678:0000/109
- IPv4:
- Select Save endpoint and confirm the endpoint creation.
Your Cloudflare proxy server domain is of the form:
https://<SUBDOMAIN>.proxy.cloudflare-gateway.comCreate a proxy endpoint with the following call:
curl https://api.cloudflare.com/client/v4/accounts/<ACCOUNT_ID>/gateway/proxy_endpoints \--header "Authorization: Bearer <API_TOKEN>" \--header "Content-Type: application/json" \--data '{"name": "any_name", "ips": ["<PUBLIC_IP>", "<PUBLIC_IP2>", "<PUBLIC_IP3>"]}'Replace
<PUBLIC_IP>with the source IP address of your device in CIDR notation. For example:- IPv4:
192.0.2.0/8 - IPv6:
2001:0db8:0000:0000:0000:1234:5678:0000/32
- IPv4:
After running the call, you should see an output similar to
Example output
{"result": {"id": "d969d7bf-ec28-4291-9af0-86825f472c21","name": "test","created_at": "2022-03-02T10:57:18.094789Z","updated_at": "2022-03-02T10:57:18.094789Z","ips": ["90.90.241.229/8"],"subdomain": "3ele0ss56t"},"success": true,"errors": [],"messages": []}Note the
subdomainvalue returned by the API. Your Cloudflare proxy server domain is of the form:<SUBDOMAIN>.proxy.cloudflare-gateway.comIn the example above, the subdomain is
3ele0ss56tand the proxy server domain is3ele0ss56t.proxy.cloudflare-gateway.com.
2. Test your proxy server
In Zero Trust, create an HTTP policy for testing purposes. For example:
Selector Operator Value Action Domain in example.comBlock Verify that nothing is returned by a
curlcommand:$ curl -4 -p -x https://3ele0ss56t.proxy.cloudflare-gateway.com https://example.com
If curl returns a 403 code, it means the public IP of your device does not match the one used to generate the proxy server. Make sure that WARP is turned off on your device and double-check that curl is not using IPv6 (use the -4 option to force IPv4).
3. Create a PAC file
A PAC file is a text file that specifies which traffic should redirect to the proxy server.
Below is the default PAC file. You can customize the file and host it somewhere your browser can access, such as on an internal web server or on Cloudflare Workers.
function FindProxyForURL(url, host) {  // No proxy for private (RFC 1918) IP addresses (intranet sites)  if (    isInNet(dnsResolve(host), "10.0.0.0", "255.0.0.0") ||    isInNet(dnsResolve(host), "172.16.0.0", "255.240.0.0") ||    isInNet(dnsResolve(host), "192.168.0.0", "255.255.0.0")  ) {    return "DIRECT";  }
  // No proxy for localhost  if (isInNet(dnsResolve(host), "127.0.0.0", "255.0.0.0")) {    return "DIRECT";  }
  // Proxy all  return "HTTPS 3ele0ss56t.proxy.cloudflare-gateway.com:443";
}
4. Configure your browser
All major browsers support PAC files. You can configure individual browsers, or you can configure system settings that apply to all browsers on the device. Multiple devices can call the same PAC file as long as their source IP addresses were included in the proxy endpoint configuration.
The following example demonstrates the setup procedure for Firefox.
In Firefox, go to Settings and scroll down to Network Settings.
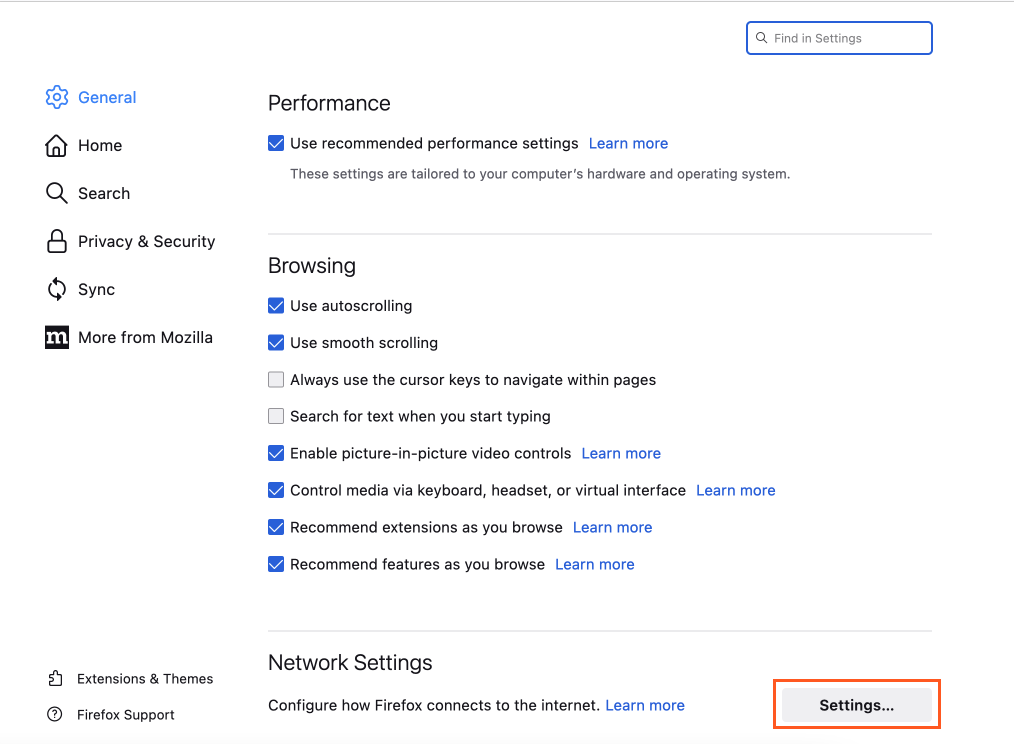
Select Settings.
Select Automatic proxy configuration URL.
Enter the URL where your PAC file is hosted, for example
https://proxy-pac.cflr.workers.dev/3ele0ss56t.pac.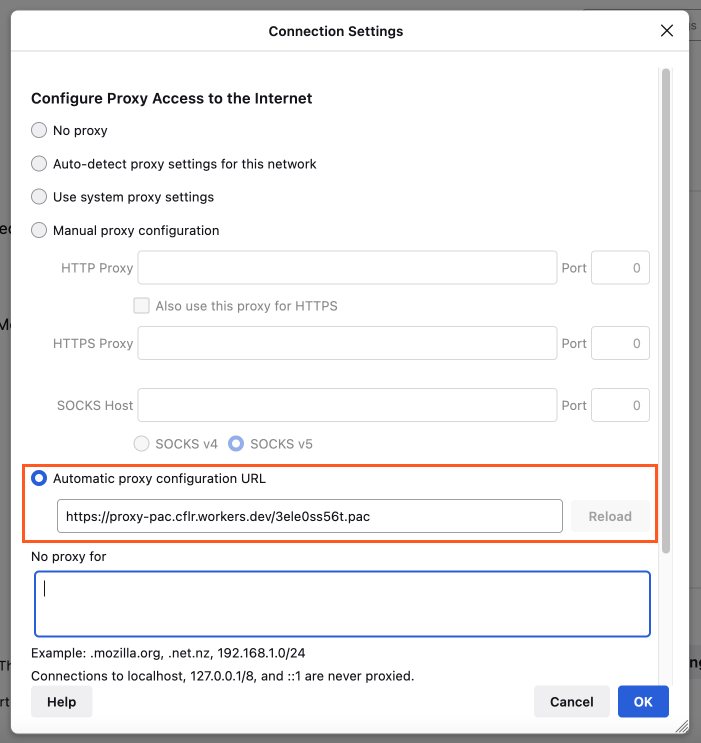
Select OK. HTTP traffic from Firefox is now being filtered by Gateway.
5. Test your HTTP policy
You can test any supported HTTP policy, such as the example policy created in Step 2. When you go to https://example.com in your browser, you should see the Gateway block page.
Limitations
HTTP policy proxy endpoint specificity
The Gateway HTTP policy does not have a Proxy Endpoint selector to match specific proxy endpoints. Despite this, Gateway will still apply HTTP policies to traffic sent to Cloudflare proxy servers.
Traffic limitations
At this time, the agentless HTTP proxy does not support identity-based policies, mTLS authentication, or UDP traffic. To enforce HTTP policies for UDP traffic, you must disable QUIC in your users’ browsers.
Gateway DNS and resolver policies
Gateway DNS and resolver policies will always apply to traffic proxied via PAC files, regardless of device configuration.