Admin Quarantine
Admin Quarantine allows you to automatically prevent incoming messages from reaching a recipient’s inbox based on the disposition assigned by Area 1.
The messages sent to Admin Quarantine are determined by your domain settings.
Quarantine emails by disposition
Log in to the Area 1 dashboard.
Go to Settings (the gear icon).
Select Email Configuration > Domains.
Select the three dots on the domain that you want to configure admin quarantine for, and choose Edit.
In Quarantine Policy choose the dispositions you want to enable quarantine for that domain.
Select Update Domain.
Access Admin Quarantine
You can view and potentially release emails that were sent to Admin Quarantine:
Log in to the Area 1 dashboard.
Go to Email > Admin Quarantine.
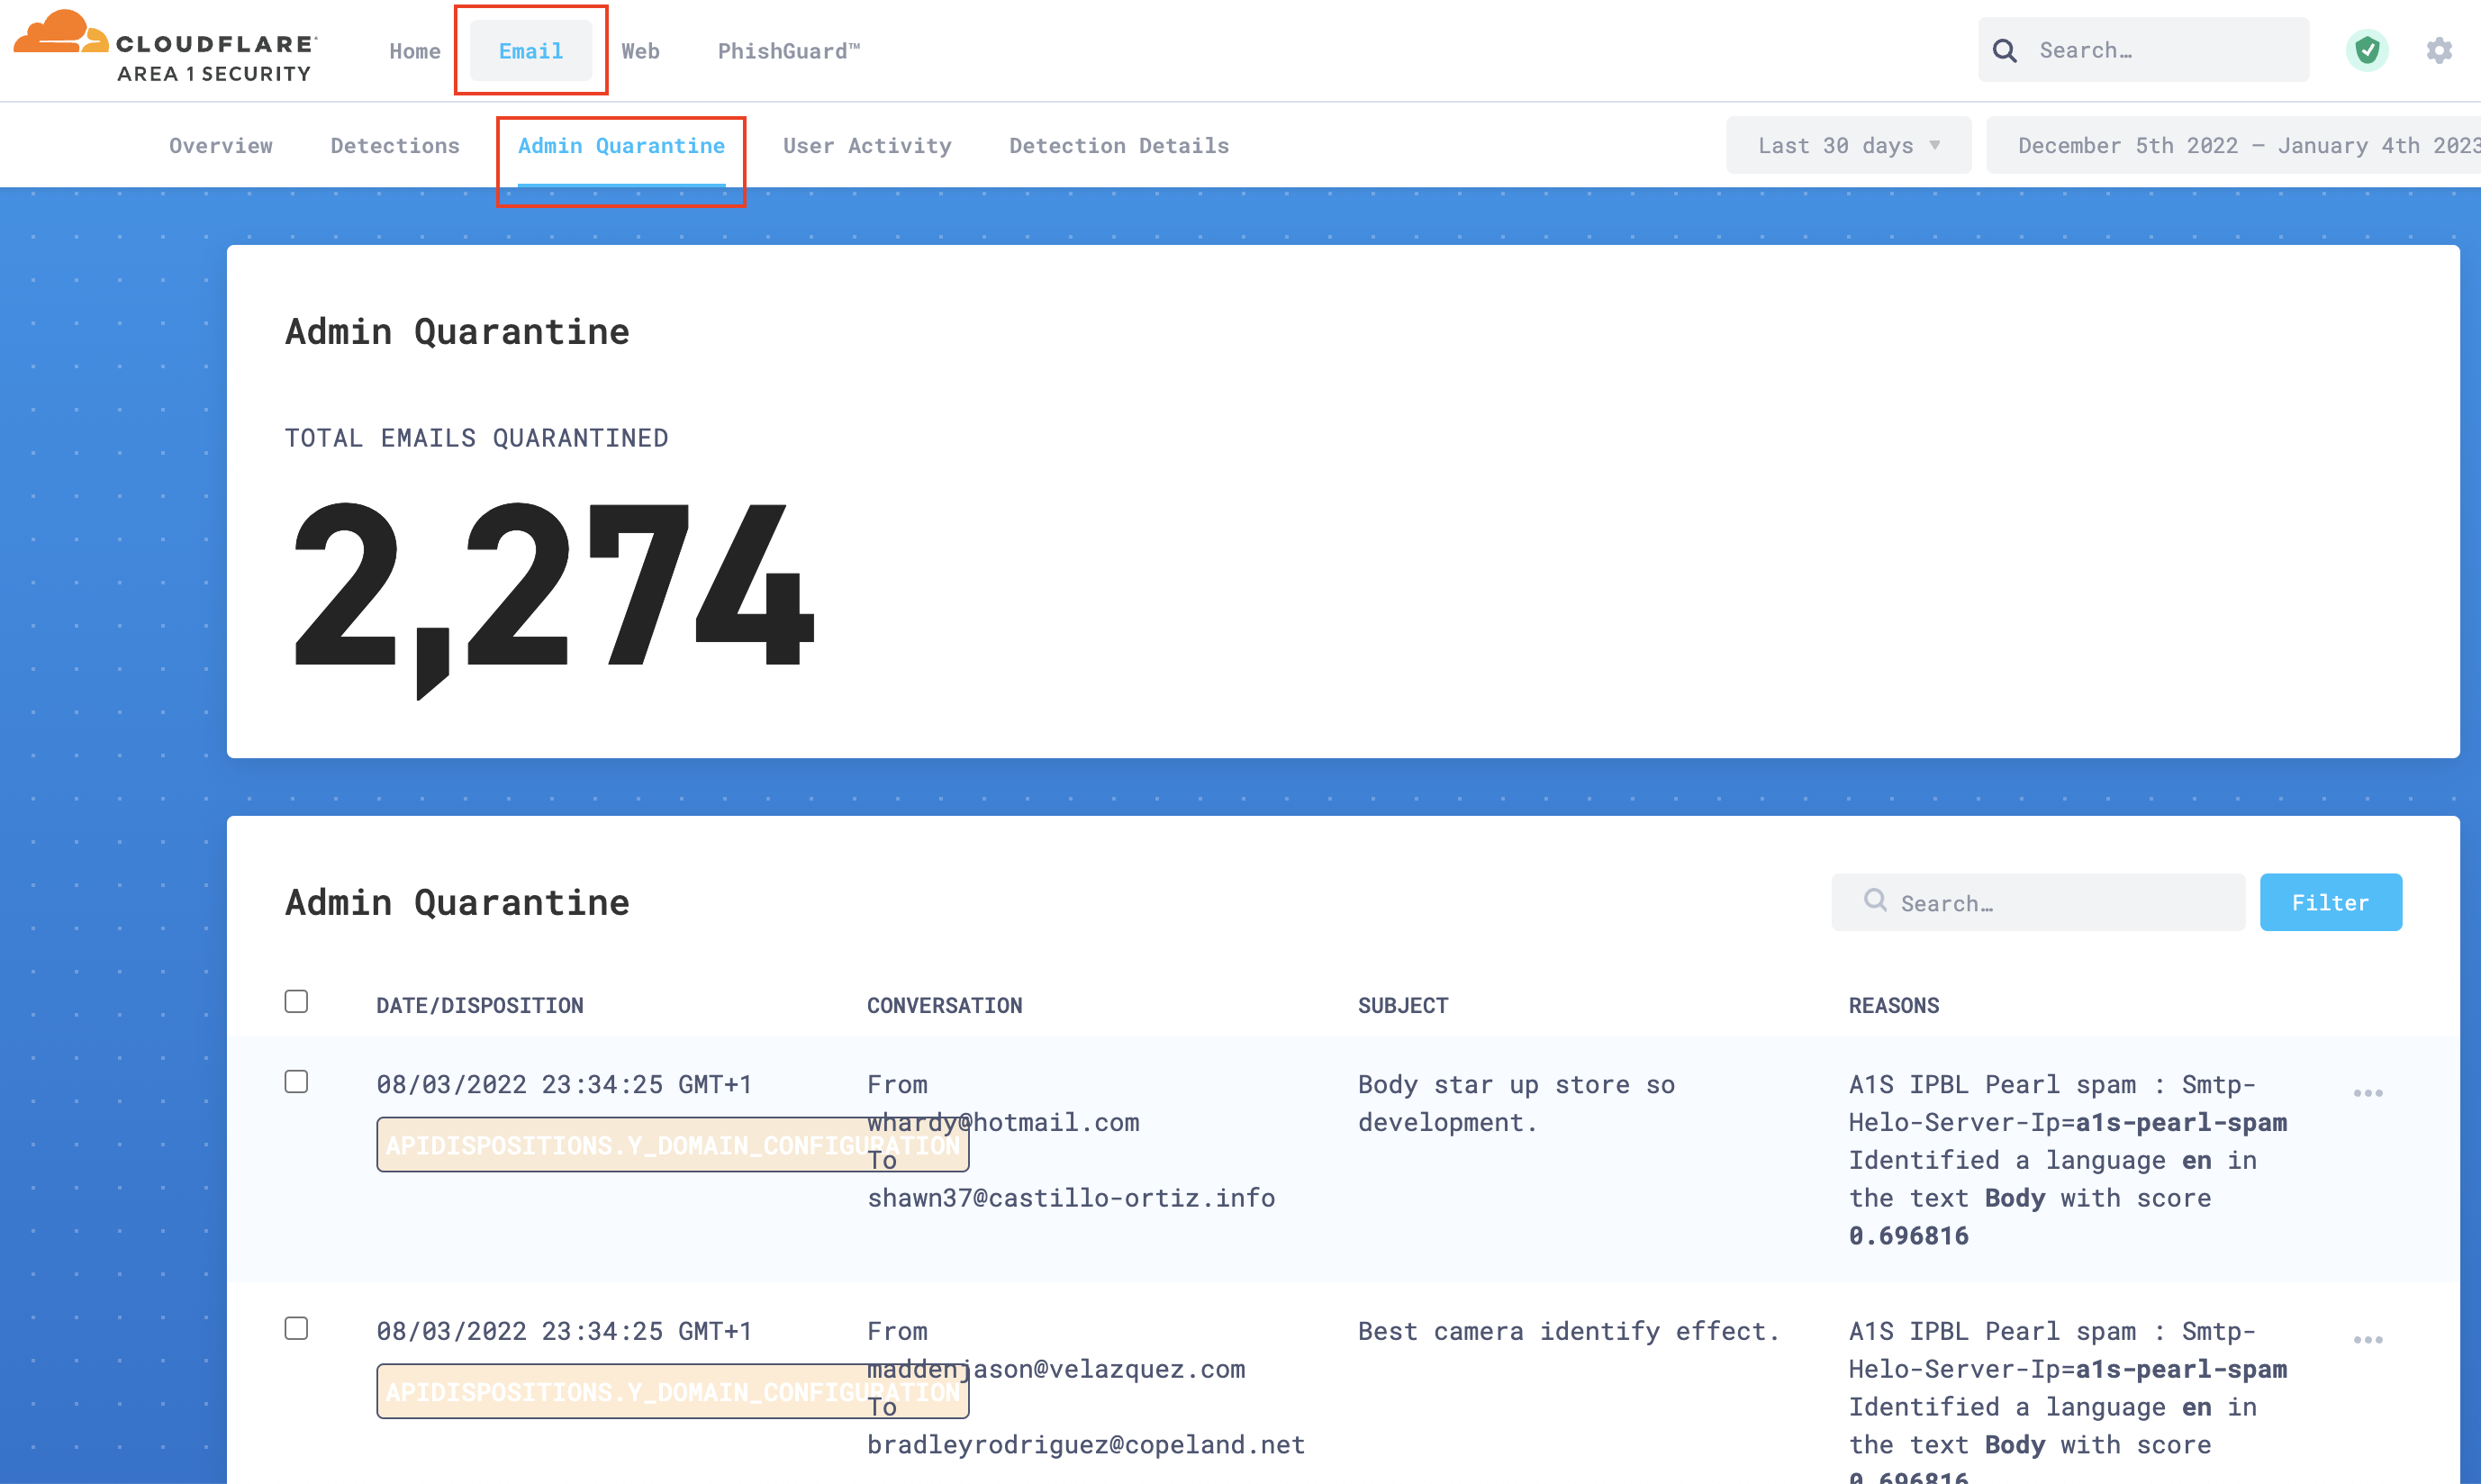
Review emails as needed.
Release quarantined emails
From Admin Quarantine, you can also release quarantined emails by selecting one or more messages:
Log in to the Area 1 dashboard.
Go to Email > Admin Quarantine.
Find the email you want to release.
Select … > Release.
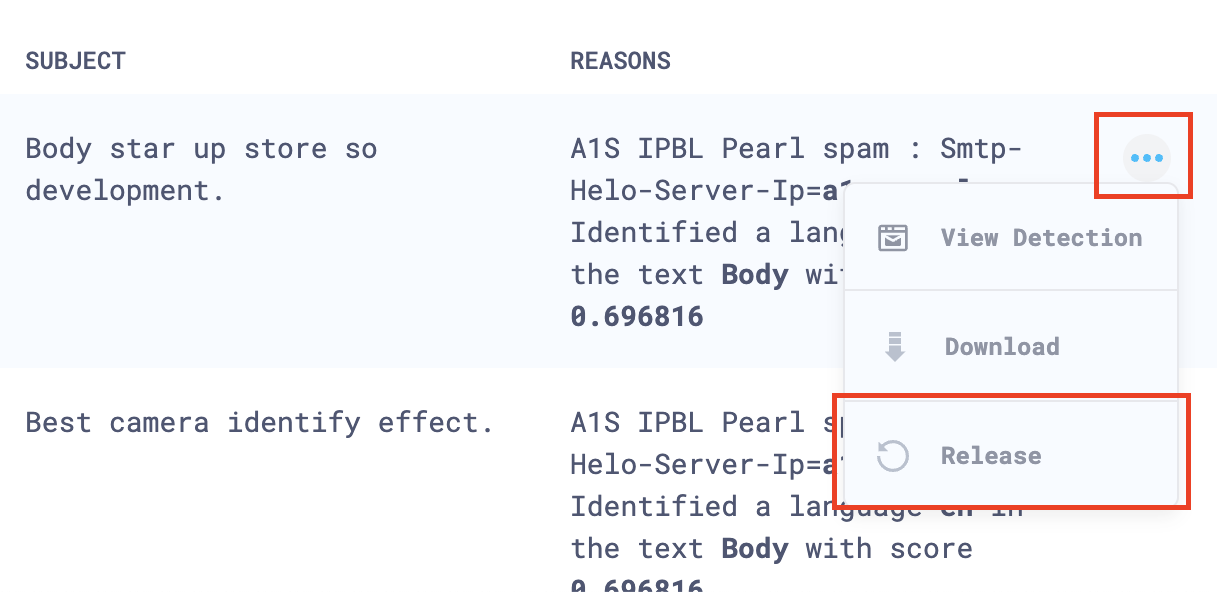
Select Release to confirm that you want to release the selected email.
(Optional) You can also release multiple messages, by selecting the box next to each message you want to release.