App Launcher
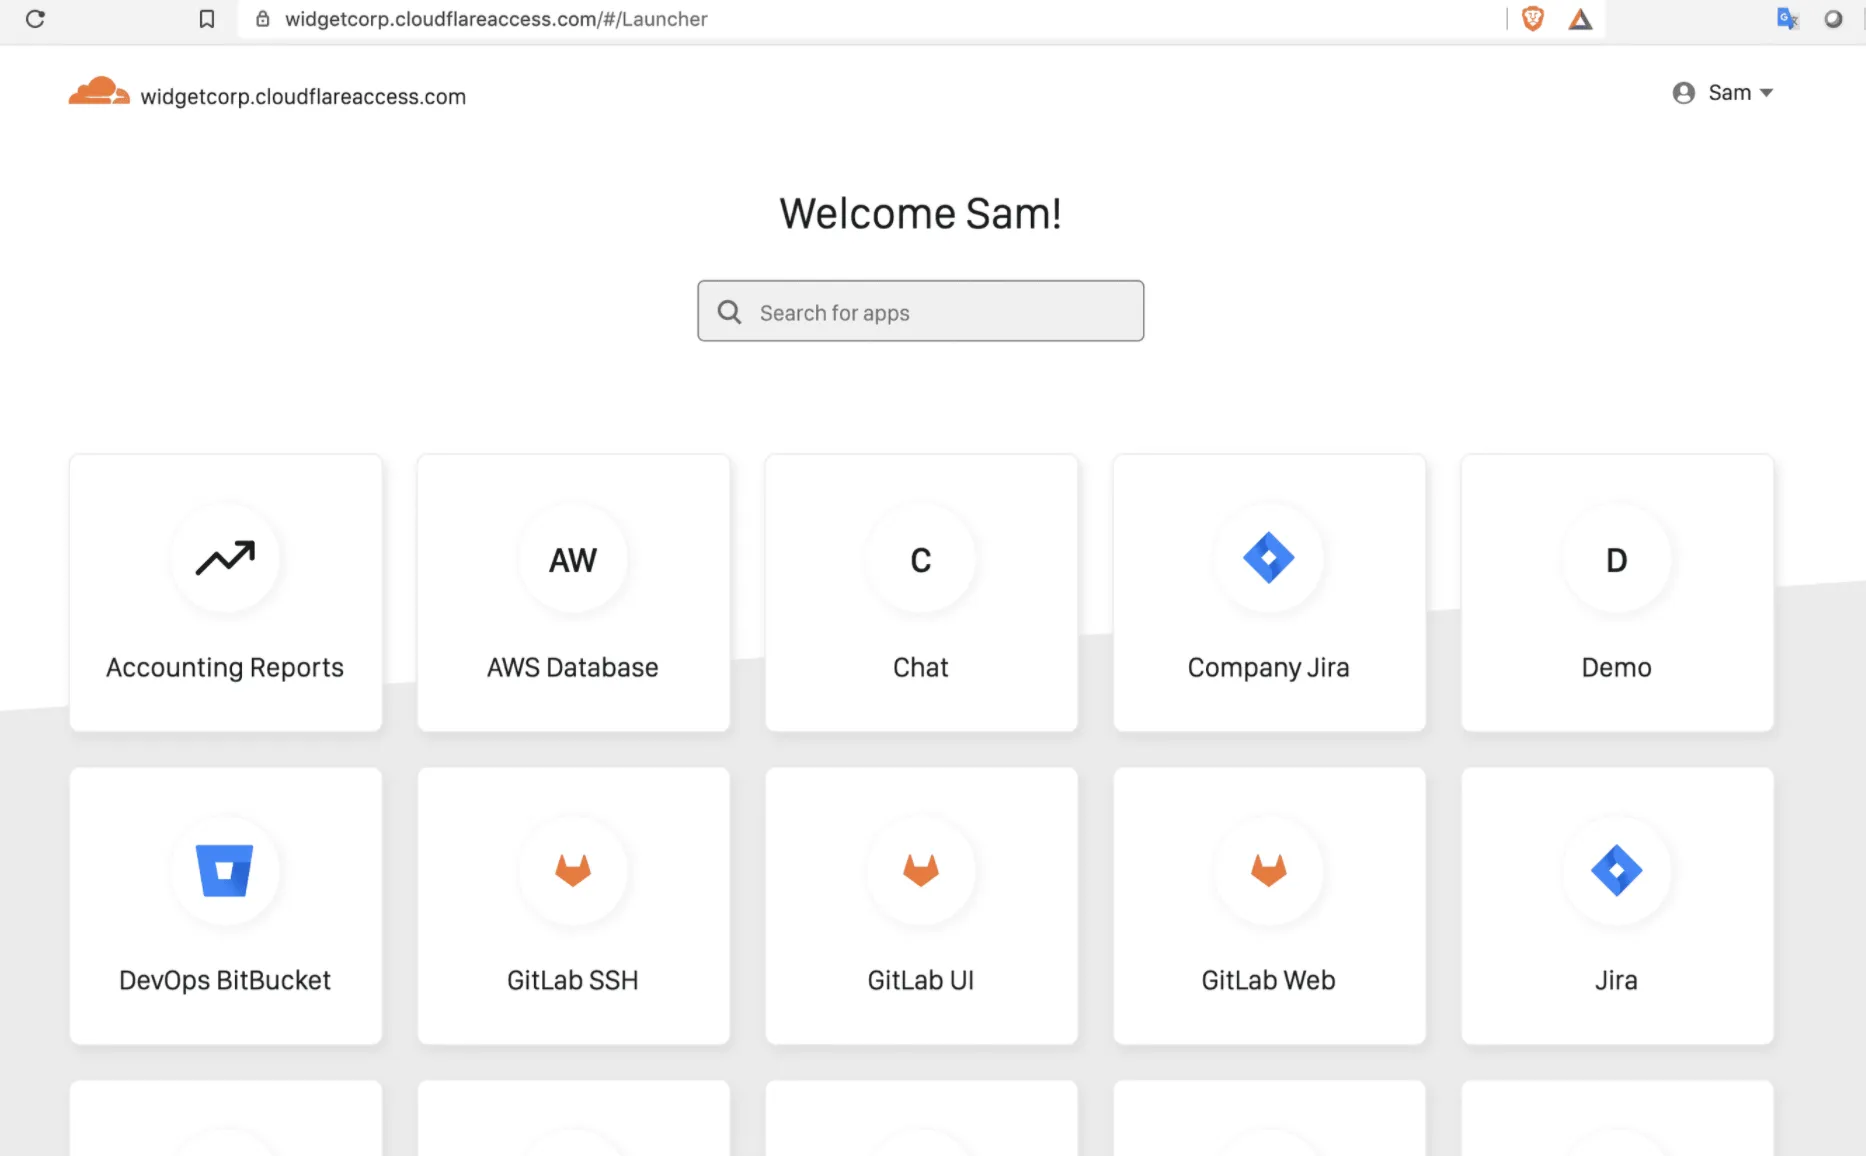
With the Access App Launcher, users can open all applications that they have access to from a single dashboard.
The App Launcher is available at a team domain unique to your Cloudflare Zero Trust account, for example mycompany.cloudflareaccess.com.
Users log in using one of the identity providers configured for the account. Once Access authenticates the user, the App Launcher displays applications they are authorized to use, in the form of application tiles. Selecting an application tile launches the application's hostname, sending the user to that tool as part of their SSO flow.

By default, the App Launcher is disabled. To enable it, you must configure a policy that defines which users can access the App Launcher.
To enable the App Launcher:
-
In Zero Trust ↗, go to Settings > Authentication.
-
Under the App Launcher card, select Manage.
-
On the Rules tab, build a rule to define who can access your App Launcher portal. These rules do not impact permissions for the applications secured behind Access.
-
On the Authentication tab, choose the identity providers users can authenticate with.
-
Select Save.
The App Launcher is now available at <your-team-name>.cloudflareaccess.com. You can always edit your App Launcher rules by going to Settings > Authentication.
Tiles have a one-to-one relationship with each application you create in Access. The tile names displayed in the Access App Launcher portal correspond to the application names listed under Access > Applications. For example, if you create one application for general access to your Jira deployment and a separate application that restricts requests to a particular Jira path, a user authorized for both will see separate tiles for each. If you add multiple hostnames to a single application, the user will only see the domain selected in the application's App Launcher settings.
To show an Access application in the App Launcher:
-
In Zero Trust ↗, go to Access > Applications.
-
Select an application and select Configure.
-
Go to Experience settings.
-
Select Show application in App Launcher. The App Launcher link will only appear for users who are allowed by your Access policies. Blocked users will not see the app in their App Launcher.
-
(Optional) To use a custom logo for the application tile, select Use custom logo and enter a link to your desired image.
-
In Application domains, choose a domain to use for the App Launcher link.
You can display your own branding, messages, and links to users when they open the App Launcher.
To customize the App Launcher appearance:
- In Zero Trust ↗, go to Settings > Custom Pages.
- Find the Customize App Launcher setting and select Customize.
- Give the App Launcher the look and feel of your organization by adding:
- Your organization's name
- A logo
- A preferred background color for the header
- A preferred background color for the page
- A custom footer with links to your organization's help desk or other internal resources.
-
Next, customize the landing page that users will see when they login to the App Launcher. Available properties include:
- A custom title
- A custom subtitle
- An image
- A preferred color for the Log in button
- A preferred color for the Log in button text
All of the properties configured in Step 3 will also apply to the landing page.
-
Once you are satisfied with your customization, select Save.
The App Launcher screens are now updated. To view your changes, select Preview.
You can label an Access application with up to 25 custom tags. End users can then filter the applications in their App Launcher by their tags.
To create a new tag:
- In Zero Trust ↗, go to Access > Tags.
- Select Add tags.
- Enter up to 35 alphanumeric characters for the tag (for example,
Human Resources) and select it in the dropdown menu. - Select Save.
You can now add this tag to an Access application.
To add a tag to an existing Access application:
- In Zero Trust ↗, go to Access > Applications.
- Select an application and select Configure.
- Go to Experience settings.
- In the Tags dropdown, select the tags that you would like to assign to this application. The tag must be created before you can select it in the dropdown.
- Select Save application.
The tag will now appear on the application's App Launcher tile.
Was this helpful?
- Resources
- API
- New to Cloudflare?
- Products
- Sponsorships
- Open Source
- Support
- Help Center
- System Status
- Compliance
- GDPR
- Company
- cloudflare.com
- Our team
- Careers
- 2025 Cloudflare, Inc.
- Privacy Policy
- Terms of Use
- Report Security Issues
- Trademark